Planning a Collage
Even in the early days of filmmaking, the idea of combining images was compelling and artists like George Melies were fast to practice this approach. Mattes were often used to block out certain areas of the exposed film frame and then the camera re-exposed the film (after it was rewound to the beginning of the first shot) to a new image in the blackened area. Working with film made the process of combining images in collage much more difficult than the present day digital approach.
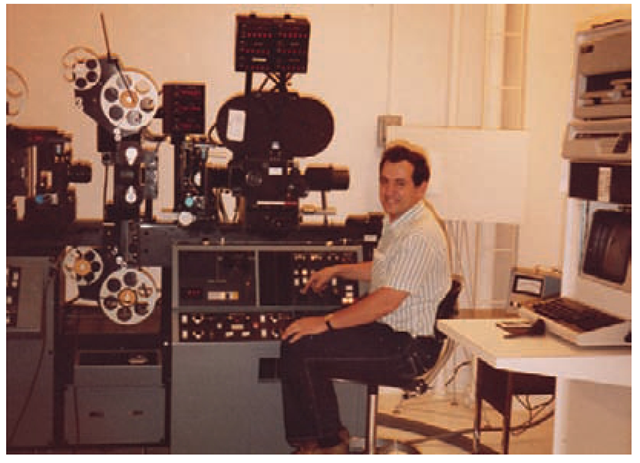
In film, effects had to be combined directly in the camera or with an optical printer, which was developed in the 1920s and 1930s. Optical printers are rarely used anymore, but they became quite sophisticated in the latter part of the 1980s, just as the dawn of digital compositing came into play. They involve one or more projectors that focus exposed developed film directly into a film camera with great precision and control.
FIG 10.1 An optical printer
Since the great majority of moving images are created digitally these days, compositing various images and frames together is much more accessible. A good computer and software like Photoshop, After Effects, Shake, Blender, and Nuke make this possible. These programs are not cheap, but they are more affordable to use than optical printers or even high-end professional posthouse programs. Many of these programs offer 30-day free trials and wonderful discounts for educational purposes. We get into some of these techniques but first we need to explore how to prepare for a composite/collage project.
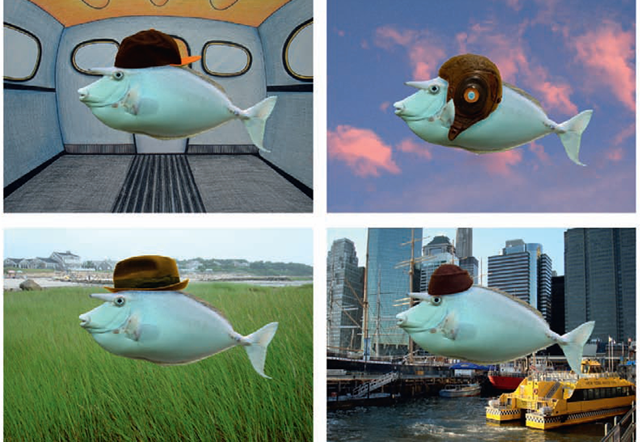
Why would you choose to composite images? Artists can make certain aesthetic decisions that determine whether they composite images or not. This is not something that can be easily pinned down. The combinations of imagery that can be paired together open up a huge area of visual imagination, and many artists are curious to open that door. Quite honestly, any combination of figures and images can be combined to serve any idea. There are also many practical reasons to composite images. A filmmaker may not be able to find two images that can be placed together, like an elephant and the Empire State Building or paper hearts that might surround the heads of lovers. In cutout animation, this juxtaposition of unlikely images can easily be achieved under the camera in one pass. We saw this in the work of JibJab, Terry Gilliam, and Jim Blashfield. Photographs and drawings can be cut out with a scalpel or scissors and prepared for shooting under the camera. Anything is possible with this approach. Ultimately, as mentioned previously, new cutout animation has become the ultimate digital composite form. This new cutout animation, which utilizes programs like Flash, Toon Boom, and After Effects, composites images electronically with layers and lots of fine control. In any cutout, pixilation, time-lapse, or other animated compositing, the consistent lighting of images is critical to a unified composition. The other important aspect that needs to be considered is how these images interact. If they are figures, will they have to look at each other? Will the eyeballs have to move? Will the objects or figures cross over each other? Do you want to have shadows fall from one object to the other? These and other questions need to be addressed as you prepare for your composite work.
Match Lighting and Rotoscoping
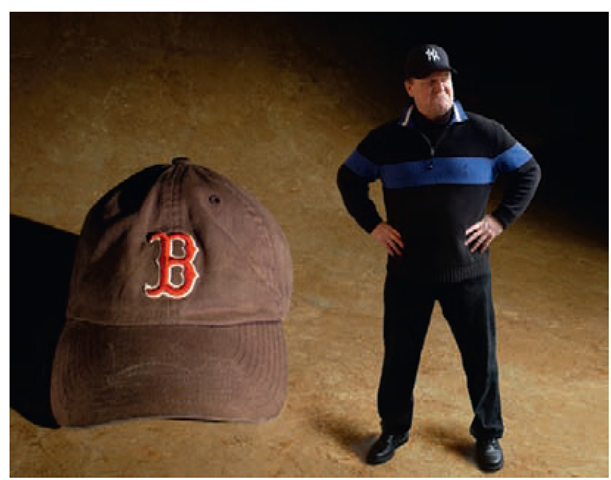
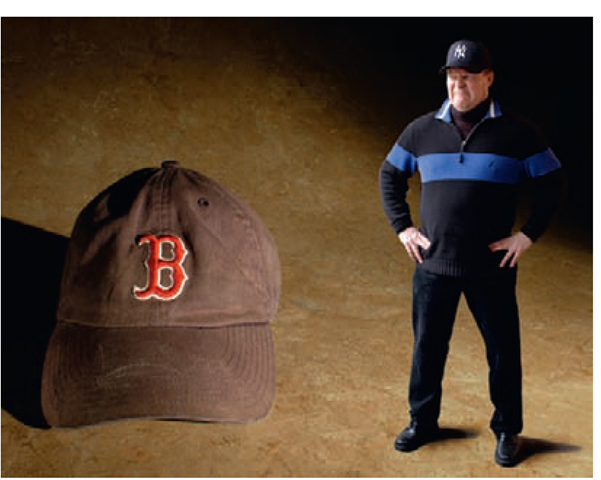
You can start to combine images in a test to make sure that they work together to your satisfaction. But, before we explore that, let us talk about lighting. When you have different objects or people that you want to put together in one frame or image, you need to decide on a unified lighting plan. Your key object or person should be lit to match the atmosphere you want to have in the final collage or composite. This might be the classic three-point lighting we discussed, or it could be a high-noon sun from an outside shot or even single-source lighting in a studio. Once you established that lighting, all of the other objects that you shoot to be combined with your main image must be lit with the same lighting scheme, including any gelling or filtering of lights. This can take a lot of planning and careful coordination. If you cannot control all the lighting with the various objects, then your final composite image looks pieced together and unnatural.
Fig 10.2 a matched-lighting composite image.
Fig 10.3 A composite image where the lighting of the objects does not match.
An adequate solution to uncontrollable lighting is to light all objects with flat overall lighting. This unifies the objects when they are placed together, but flat lighting is dull and does not highlight the dimensional quality of your objects or people. Keep in mind that you can improve these images in color and contrast in a composite program like After Effects. One hint for helping to match images is to shoot your objects in a low-contrast lighting situation, where there is enough fill light in the dark areas. This way you have the important detail from the image that you can color and contrast correct after you have the whole composite image put together.
FIG 10.4 Objects that have been blended together with flat lighting.
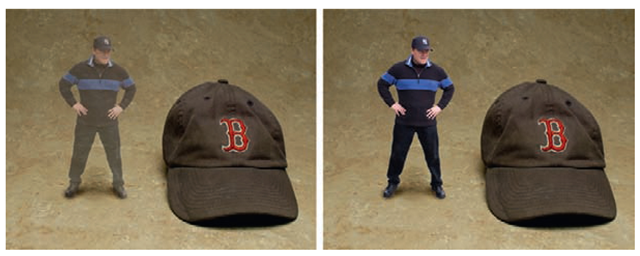
The other important element to consider when combining images is the placement and "eyeline" of those images or figures. Once you place various images together in one frame, you want to know if they have a relationship to each other based on their visual connection and image dialog. If you had two people being animated separately and you had to put them together, would it feel like they were addressing each other? One way to gauge this relationship is to take the most difficult element or person to animate of the composite and animate it. You can then import this movie into the rotoscope function of a program like Dragon. When you animate the second element or person for the composite, the rotoscope function allows you to onionskin or ghost each frame from the initial footage to each frame of your new animation. You can see where your new object or person needs to be adjusted, so it has a relationship with the initial image or person for every frame you animate. This makes your final composite much more controllable.
One element that can help sell the composite technique is the shadow of the composited image. It is often difficult to take the shadow of an image, cut it out, and blend in with a new image. This is because the shadow is not solid, and when it is cut out, it brings with it the image of the area that it is shading, which may not blend into your new composite. One solution that many composite artists use is to create a new shadow for the cutout composite image in After Effects or Photoshop. The trick they use is to copy the layer element (of your composite image), flip it, and place it below the original object or element. Turn the copy black and lower the opacity to 20 or 30%. Then you need to transform it and angle it so it looks like it’s on the ground or wherever it needs to fall naturally in the new composition.
FIG 10.5 An onionskin rotoscope image.
FIG 10.6 An onionskin comparison in Dragon Stop Motion for eyeline.
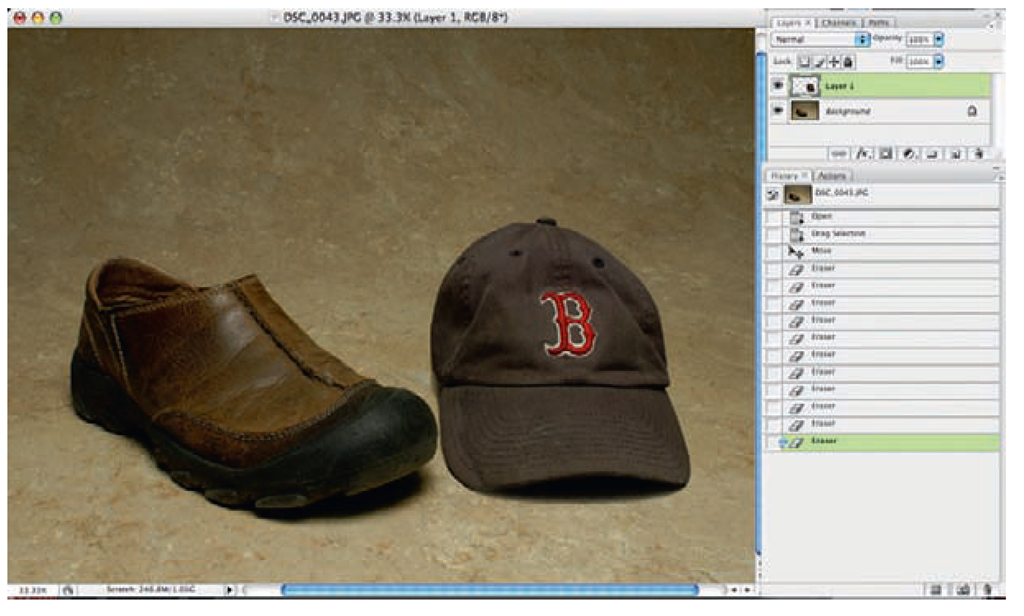
You can also take one image into Photoshop then open the second image. You have to do a rough cut out of the key element in the second image with the lasso tool and drag that element onto the first image. This gives you a quick and general idea about how the images might match in lighting and position.
