Lighting in Maya is much like lighting for theater or live action film. To illuminate a VV scene, you must place lights in space, brighten or dim them, color them, and set ^ countless other of their attributes. You can think of lighting in realistic terms: How high should this light be to cast a flattering glow on my subject? Where will light come from to fill in harsh shadows? You can also go well beyond reality. Would my scene look better if I had a light that tinted my background without affecting the subject? What if some lights cast no shadows?
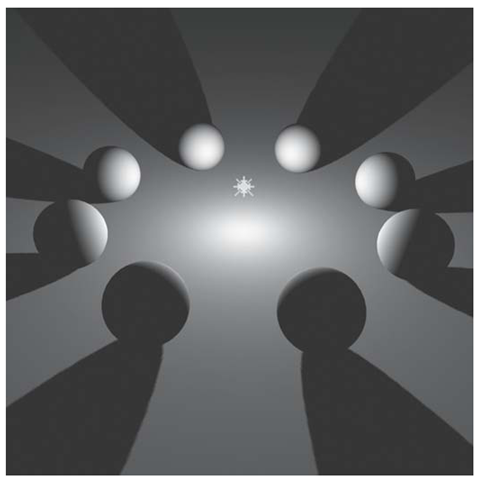
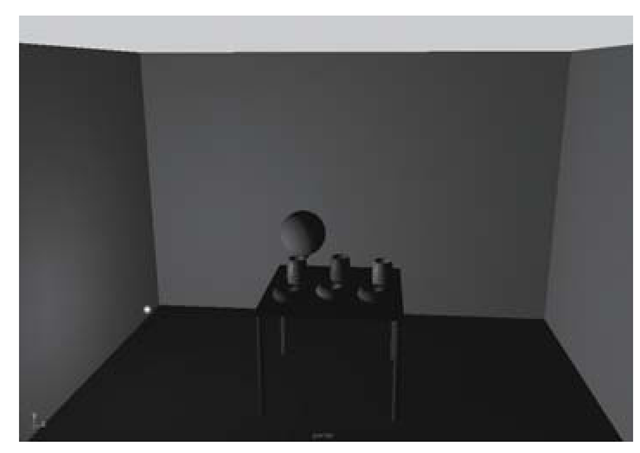
Maya allows you to create six different types of lights for use in a wide variety of lighting scenarios. We’ll look first at the simple point light. It’s a lot like a normal household light bulb, in that it casts lights in all directions from a single source. By varying its position, intensity, and color you can achieve many moods and effects in your scene. Figure 1.90 shows a single point light in the center of some objects. Notice the omni-directional pattern of light thrown.
Figure 1.90: Point light throw pattern
Lighting Exercise — Lighting Donuts
1. Set your project to understanding_maya\Chapter01\lighting_Donuts.
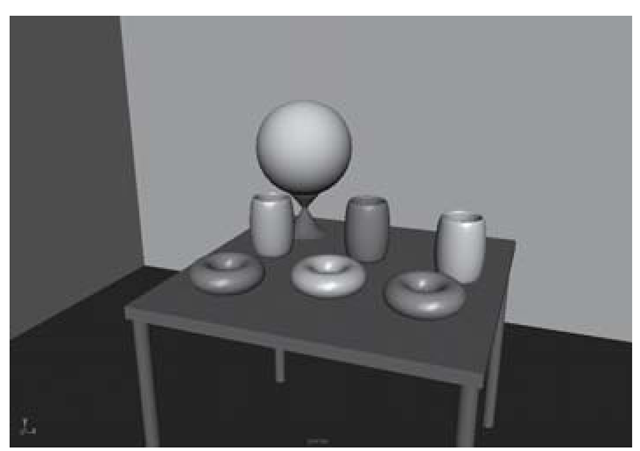
2. Open the scene pointlight_donuts_begin.ma. This scene looks just like the scene you worked with in the last shading exercise, with the addition of a white globe object. (With its neutral shape and color, this object will help you evaluate the scene lighting.)
3. Click Create > Lights > Point Light to place a new point light in the scene.
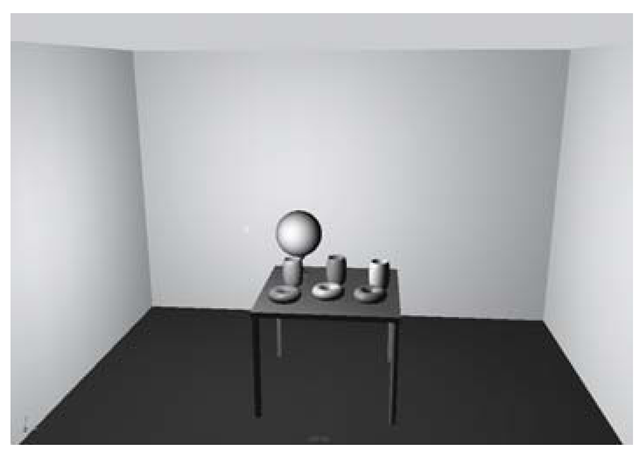
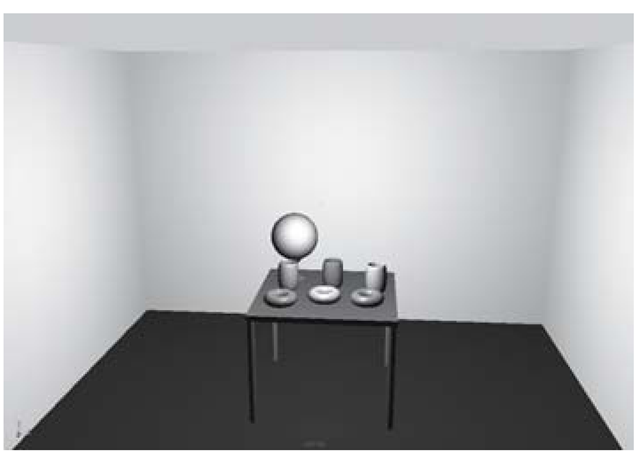
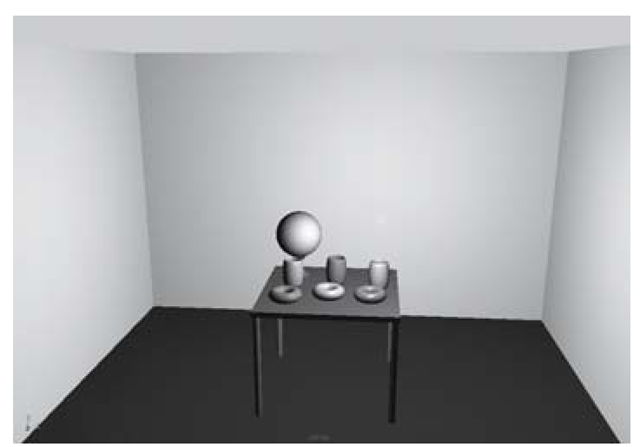
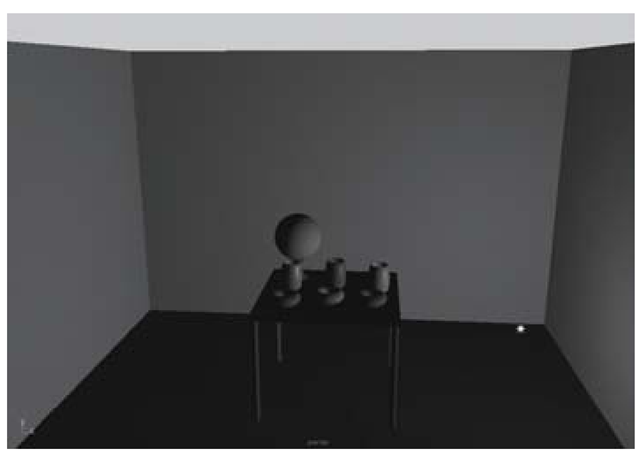
4. In the perspective view, press 5 to turn on smooth shading (see Figure 1.91), then press 7 to turn on hardware lighting (see Figure 1.92). Notice how the scene is being up-lit by the point light, sort of like an incandescent bulb.
5. With the pointLight selected, use your move tool to raise it above the table 30 units on the Y-axis.
6. Try moving the pointLight back and forth on the X-axis, paying attention to how the scene lighting changes.
7. An important note on point lights: They cannot be selected by direct clicking in a view panel. You must click-drag a marquee around them in order to make the selection.
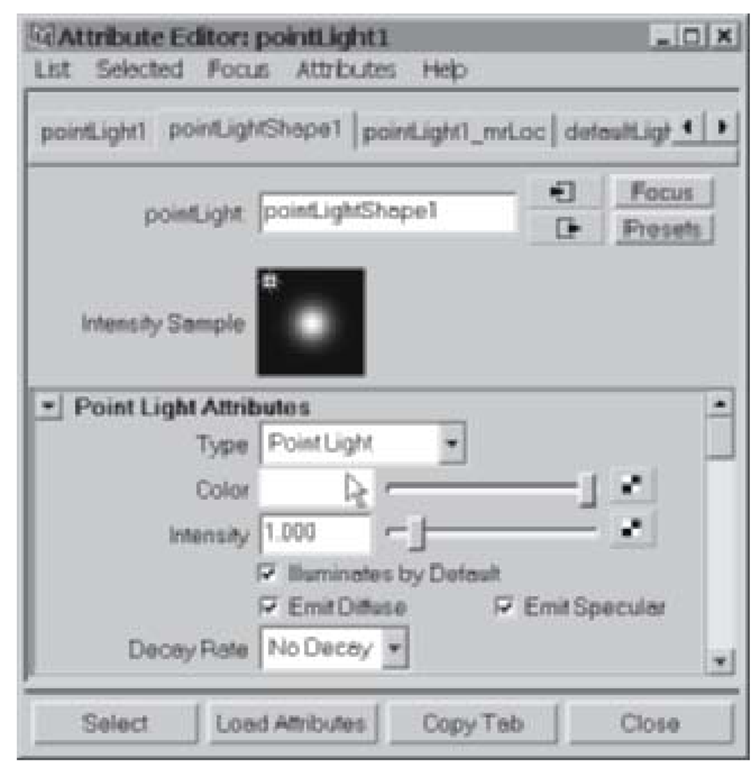
8. The default point light in Maya casts white light at an intensity of 1. To change these values, select the pointLight and open the Attribute Editor by pressing the hotkey combination Ctrl-a.
Figure 1.91: Default lighting
Figure 1.92: Point lighting
9. In the Point Light Attributes section of the Attribute Editor, click on the Color swatch (see Figure 1.93). Drag the Attribute Editor and the Color Chooser so that they are out of the way and you can see the scene in your perspective view. Click-drag in the color wheel and notice how the entire scene is affected by tinting the light.
Figure 1.93: Adjusting color
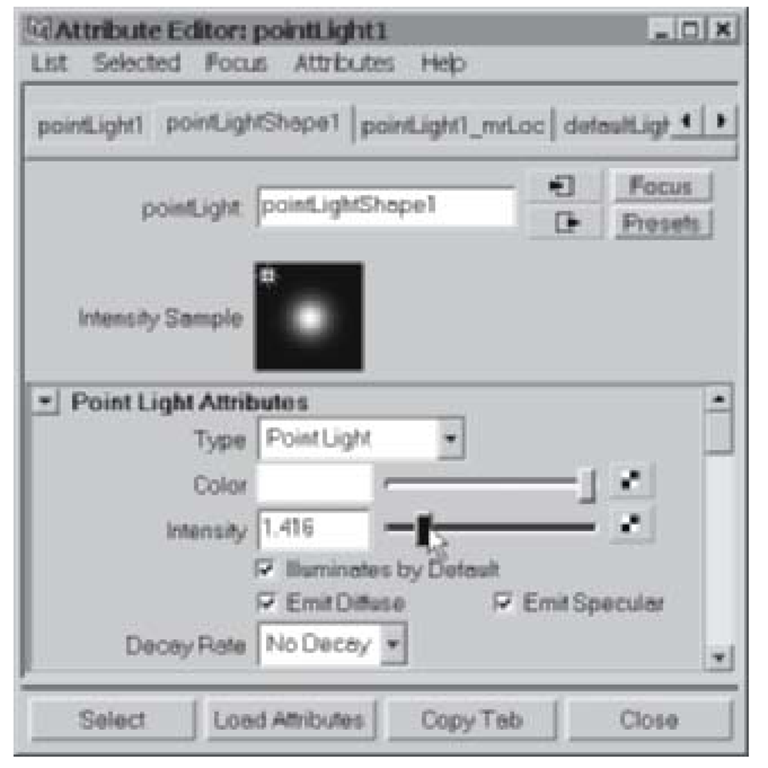
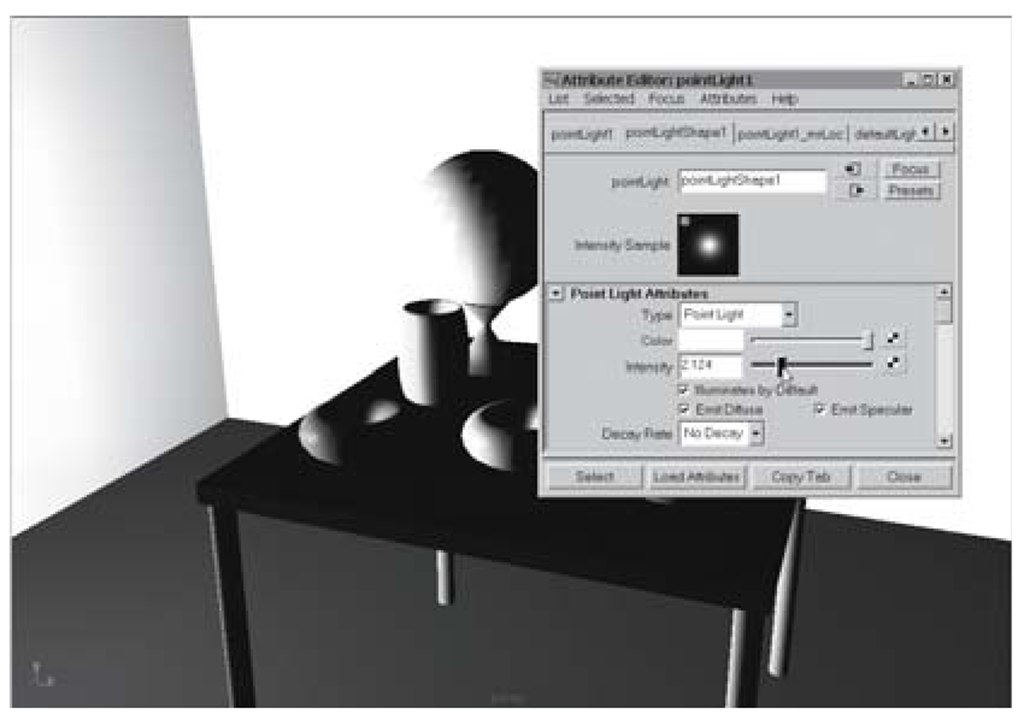
Figure 1.94: Adjusting intensity
10. Unless you’re going for an extreme effect or mood, a small color tint on your lights goes a very long way. With overly strong light color, all of your careful selection of material colors will be thrown out the window.
11. Close the Color Chooser.
Now, try varying the intensity of the pointLight. In the Attribute Editor, slide the intensity slider (see Figure 1.94) lower and higher, paying attention to the effect on your scene. You’ll probably notice that even small adjustments can have a great impact on your scene lighting. As in Figure 1.95, it’s easy to either “blow out” your scene with too high an intensity value or shroud your scene in darkness with too low an intensity value.
Figure 1.95: Too much intensity
12. In Maya, nearly every attribute of a node can be animated. The transform node of the pointLight, for example, can be keyframed for position on its X, Y, and Z translate channels. The shape node of the pointLight can be keyframed to brighten the light over time on its Intensity channel.
13. Set the Range Slider to 72 frames (see Figure 1.96).
Figure 1.96: The range slider set to 72 frames
14. Go to frame 1 of the timeline.
15. Move the pointLight to -16, 10, 0.
16. Set a keyframe for translateX, translateY, and translateZ.
17. Advance to frame 36.
18. Move the pointLight to 0, 20, 0.
19. Set a keyframe for each translate channel.
20. Advance to frame 72.
21. Move the pointLight to 16, 10, 0.
22. Key the translate channels.
23. Play the animation to see the light arc over the scene.
24. Rewind to frame 1.
25. In the Channel Box, look at the pointLightShape node channels. Find the Intensity value. Change the value to 0.3. This will darken the lighting at the beginning of the shot.
26. Set a keyframe for the Intensity channel.
27. Advance to frame 22.
28. Increase the Intensity to 1.
29. Key the Intensity channel.
30. Advance to frame 46.
31. Leave the Intensity set to 1, but set a keyframe to hold the value during the middle of the animation.
32. Advance to frame 72.
33. Decrease the Intensity back down to 0.3.
34. Key the Intensity channel.
Figure 1.97: Frame 1
Figure 1.98: Frame 18
Figure 1.99: Frame 36
Figure 1.100: Frame 54
35. Play your animation. Now, the scene brightens, holds, and then dims while it arcs over the scene, as in Figures 1.95 – 1.101. If you don’t see light levels changing during playback, make sure that you place the panel into shaded and lit mode (5 and 7 on the keyboard).
36. Stop the playback.
Figure 1.101: Frame 72
37. When you are finished, save your scene as pointlight_donuts_end.ma.
