Modeling Exercise — Barn
In this modeling exercise we’ll use the polygon and NURBS primitives as building blocks for a barn and silo. Numeric precision is a bit more important here than in the last exercise, because of the symmetrical construction of the building. We’ll use the Channel Box to enter in exact values, and duplicate elements that appear more than once on the model.
1. Create a new project directory by clicking File > Project > New.
2. In the Name field enter the name Intro_Project.
3. Click the Use Defaults button, followed by the Accept button.
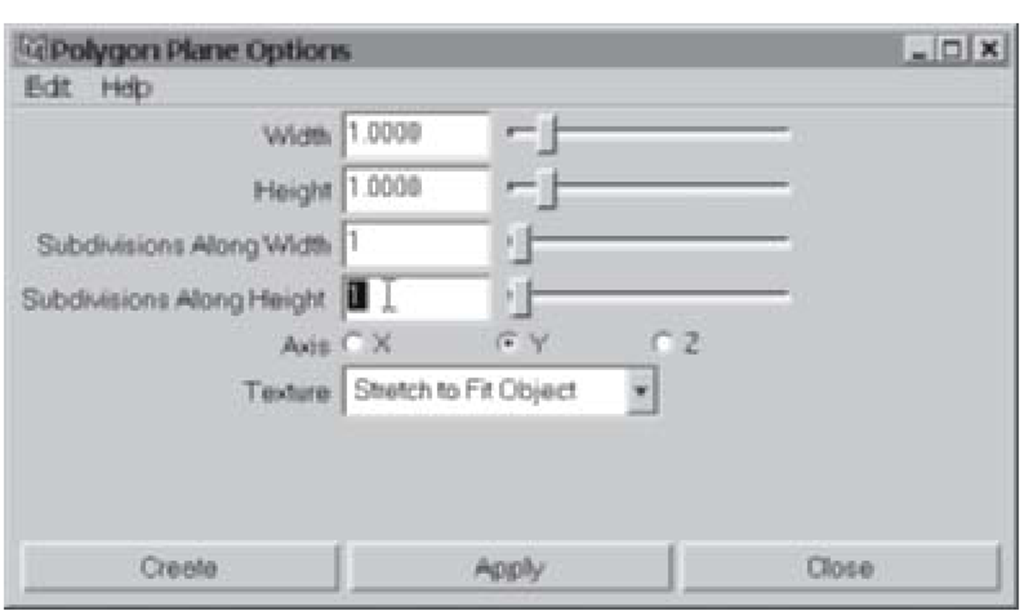
4. Click Create > Polygon Primitive > Plane options. In the options box (see Figure 1.58), for both Subdivisions Along Width and Subdivisions Along Depth change the number to
1. All other settings should be at their defaults. Now, click the Create button. (Note: Throughout all the exercises in this topic, you’ll want to be sure to use default tool and action settings, unless otherwise specified. One way to ensure this is to click Edit > Reset Settings in each tool’s options window before use.)
Figure 1.58: Polygon Plane Options box
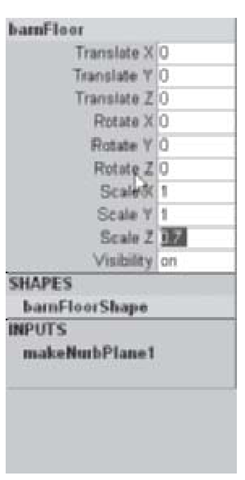
Figure 1.59: Scaling the plane
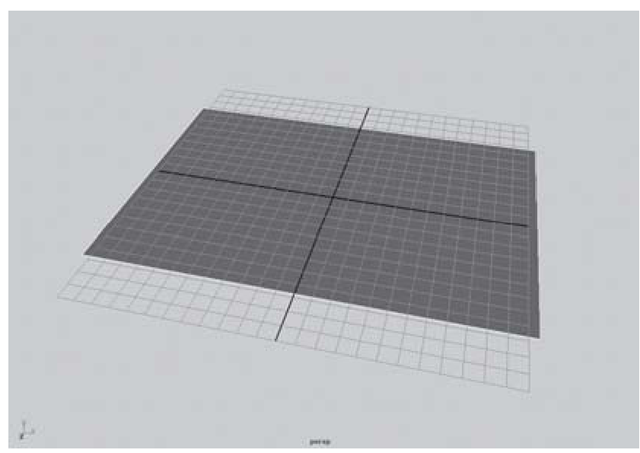
Figure 1.60: The scaled floor plane
5. In the Channel Box, set the polyPlane1 object’s Scale X = 25 and Scale Z = 17.5 (see Figures 1.59 and 1.60).
6. Once your scenes grow to a moderate level of complexity (which happens pretty quickly) it can be difficult to sift though all the different elements. In order to maintain organization, give your objects sensible descriptive names. These names will be associated with your objects in all of Maya’s editors and listings. In the top of the Channel Box click on the name of your object to highlight it, then rename it floor. You are limited to naming your objects with normal alphanumeric characters and the underscore (“_”) symbol.
7. Next, create a polygon cube for the corner post. This can be done either by clicking Create > Polygon Primitives > Cube, or by clicking on the Poly Cube button on the Shelf. The shelf gives you quick access to commonly used tools and actions, and can be customized to fit your workflow.
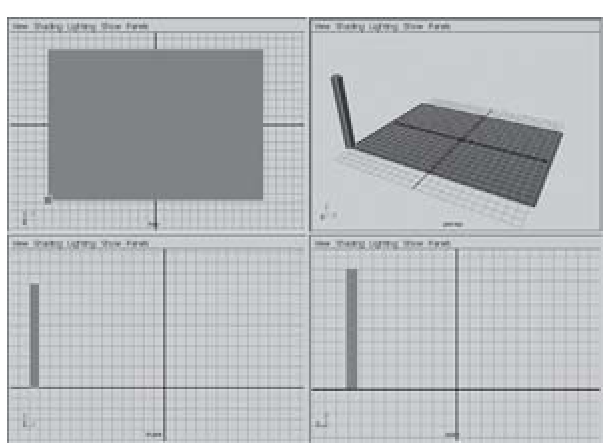
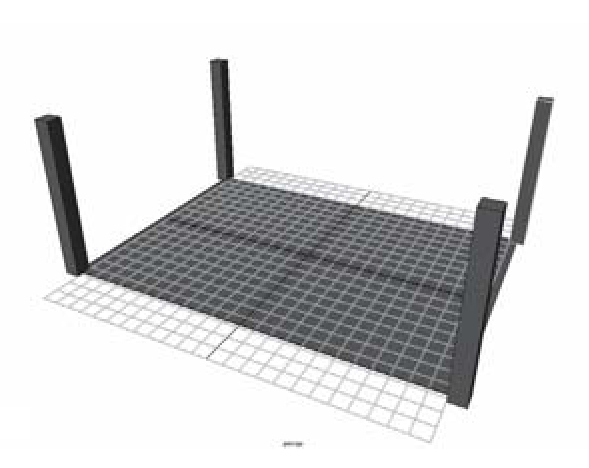
8. Using the Move Tool and the Scale Tool, as well as direct numeric input in the Channel Box, move the new pCube1 object to TranslateX -12.5, TranslateY = 5, TranslateZ = 8.75, and ScaleY = 10 (see Figure 1.61). These sets of coordinates can be listed as Translation = -12.5, 5, 8.75 and Scale = 1, 10, 1. Maya always presents XYZ in this same order.
9. Rename the object barnPost01.
10. Create another polygon cube.
11. Move and scale it to Translation = 12.5, 5, 8.75 and Scale Y = 10.
12. Rename it barnPost02.
13. Create another polygon cube, move and scale it to Translation = 12.5, 5, -8.75; Scale to 1, 10, 1 and rename it barnPost03.
Figure 1.61: Creating a post
Figure 1.62: Adding the fourth post
14. Create another polygon cube, move, and scale it to Translation —12.5, 5, -8.75; Scale to 1, 10, 1 and rename it barnPost04 (see Figure 1.62).
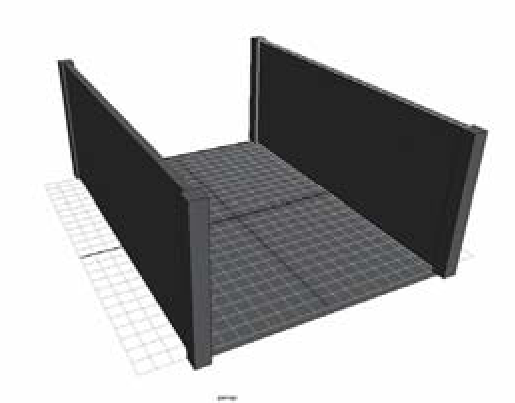
15. Next, you’ll build some walls (see Figure 1.63). Create a polygon cube; Translation = 0, 5, 8.75; Scale = 24, 10, 0.5 and rename it barnWall01.
16. For the opposite wall, create a poly cube; Translation = 0, 5, -8.75; Scale = 24, 10, 0.5 and rename it barnWall02.
17. Here are the remaining walls (see Figure 1.64), all of which are made from polygon cubes:
a. barnWall03: Translate -12.5, 5, 0; Scale 0.5, 10, 16.5.
b. barnWall04: Translate 12.5, 5, 6.5; Scale 0.6, 10, 3.5.
c. barnWall05: Translate 12.5, 5, -6.5; Scale 0.5, 10, 3.5.
d. barnWall06: Translate 12.5, 9, 0; Scale 0.5, 2, 9.5.
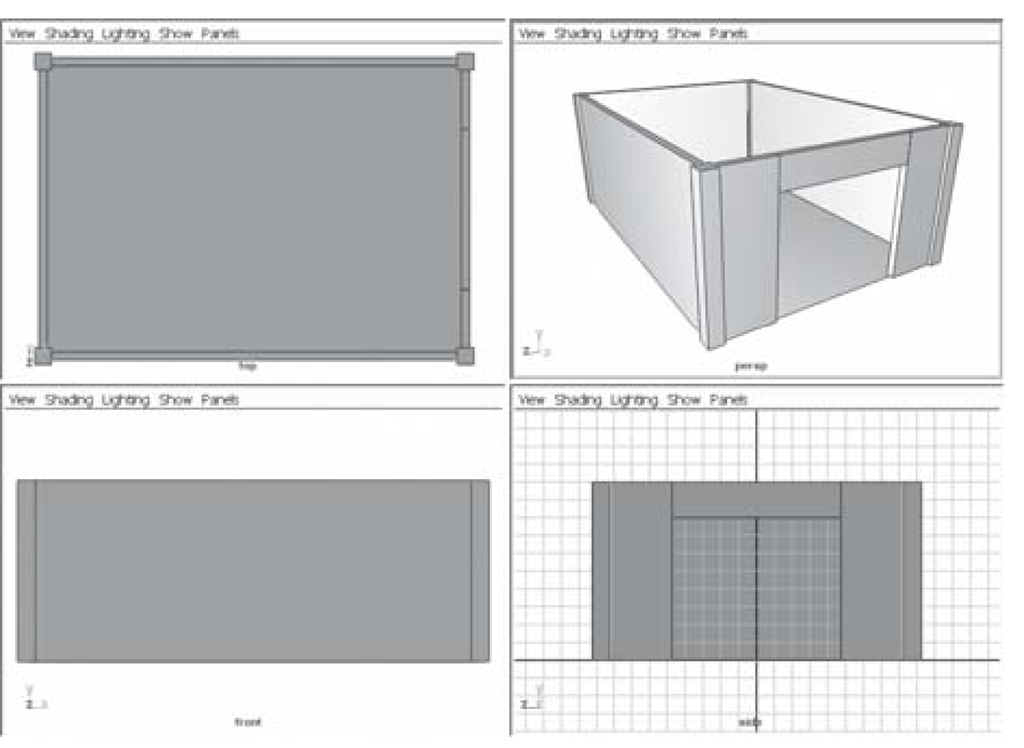
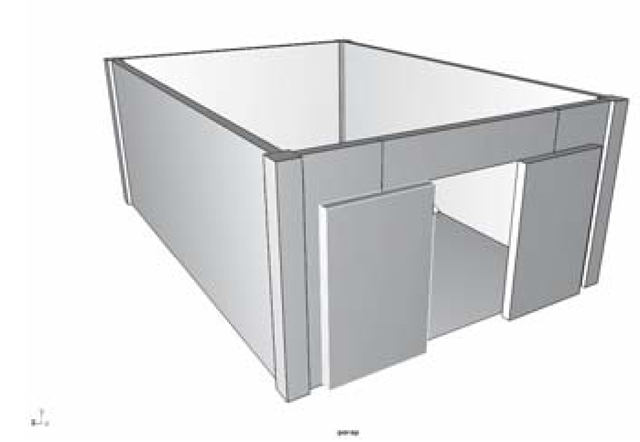
18. Next, you’ll make a couple of sliding doors (see Figure 1.65). Create a polygon cube: Translation = 13, 4, 5; Scale = 0.5, 8, 5. Name it barnDoor_Left. The underscore is used to separate the elements of the name, since Maya doesn’t allow spaces in object names.
19. For the other door, create a polygon cube: Translation = 13, 4, -5; Scale = 0.5, 8, 5.
Figure 1.63: The first two walls
Figure 1.64: All four walls
Figure 1.65: Sliding doors
Figure 1.66: The roof
Name it barnDoor_Right.
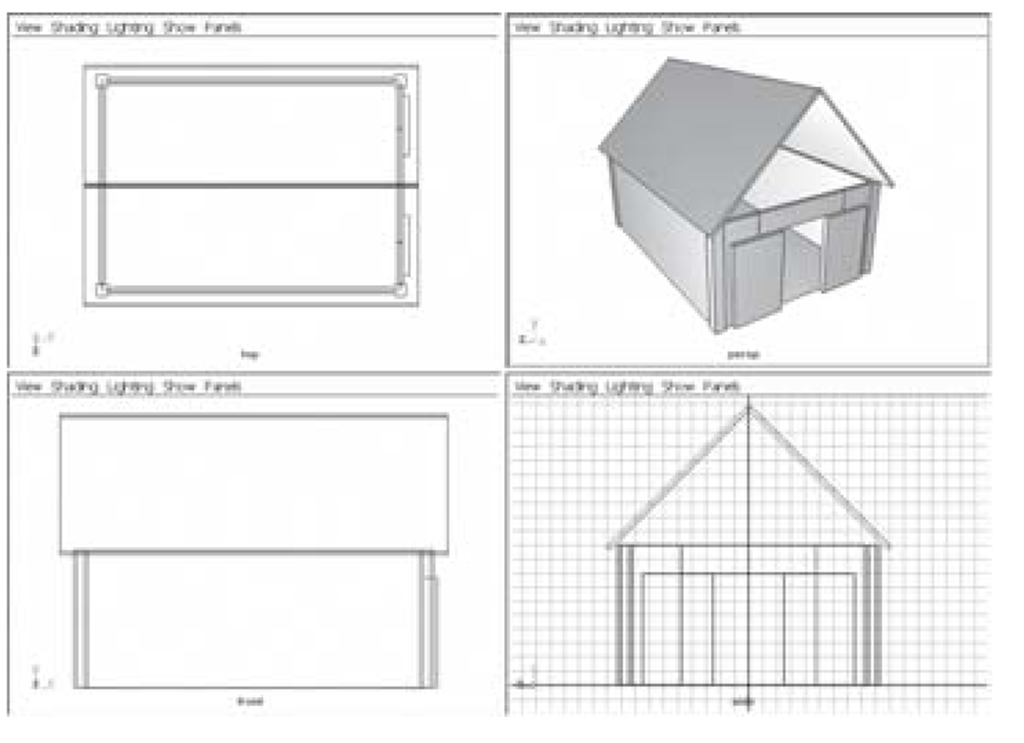
20. The roof will also be made from poly cubes, however, these will need to be rotated as well as translated and scaled (see Figure 1.66). Create a poly cube: Translation = 0, 14.75, 5; Rotation = 45, 0, 0; Scale = 28, 0.3, 14. Name it barnRoof01.
21. For the other side of the roof: barnRoof02: Translate 0, 14.75, -5; Rotate -45, 0, 0; Scale 28, 0.3, 14.
22. We’ll use a cylinder to make the upper walls of the barn (see Figure 1.67). By reducing the number of subdivisions around the cylinder’s axis, you can make a variety of useful primitive shapes. Click Create > Polygon Primitives > Cylinder options. In the options window, change the number of Subdivision Around Axis to 3. Click the Create button.
Figure 1.67: Three-sided cylinder wall
Figure 1.68: Duplicating the wall
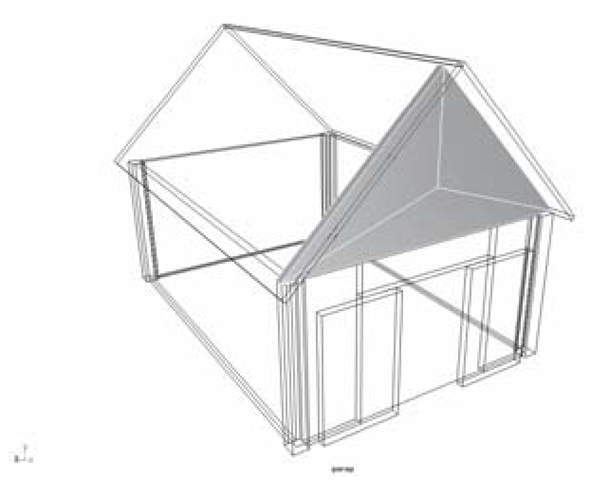
23. Transform the cylinder: Translate = 12.5, 13.2,0; Rotate = 0,0,90; Scale = 6.3, 0.25, 10.9.
24. Name the cylinder barnWall07.
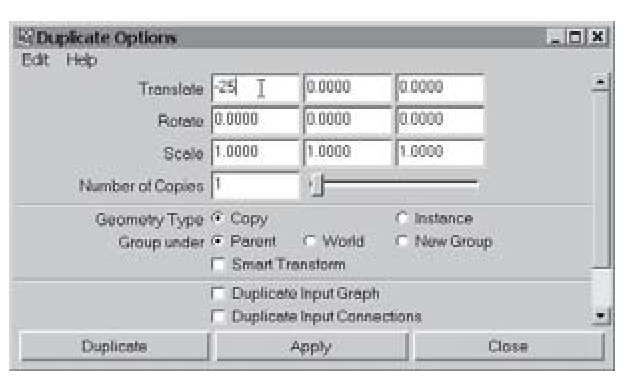
25. In order to save time, you can take an object you have already created and duplicate it. Select barnWall07 and click Edit > Duplicate options (see Figure 1.68). In the options window, be sure to reset the settings. The default settings will create a copy in the same place as the original. We want to make a new wall on the opposite side of the barn, so change the Translate X setting to a -25. (In most cases, when you see three data fields in a row, they refer to XYZ, so the first box here should change from 0 to -25.) This will make the copy and move it to the back of the barn in one step. Click the Duplicate button.
26. For added details, we’ll build an air vent out of NURBS primitives. Click Create > NURBS Primitives > Cylinder.
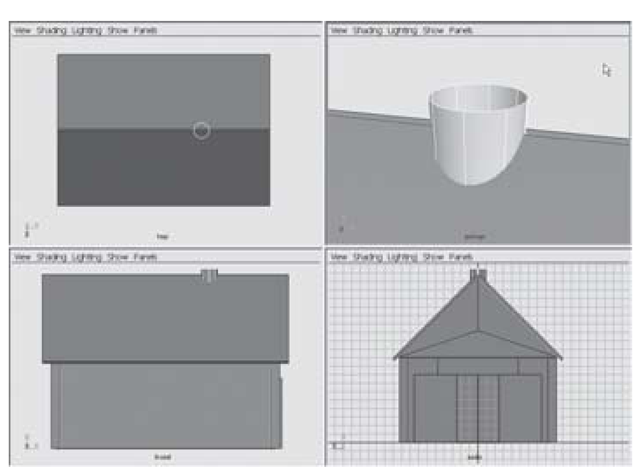
27. Place the cylinder on top of the roof; Translate = 5, 19.5, 0, and rename it barnVent01 (see Figure 1.69).
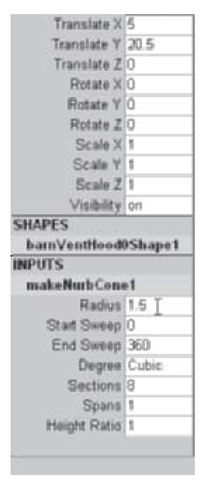
28. Now, make a hood for the vent. Click Create > NURBS Primitives > Cone. Instead of going to the options window to specify the cone’s creation attributes, we’ll use Maya’s node-based architecture to alter some of the attributes after the cone has been created. In the Channel Box, look at the area marked INPUTS. As long as Construction History is turned on in the Status Line, you will see a node called makeNurbCone1 in the bottom of the Channel Box. Click on it to reveal its attributes (see Figure 1.70). Change the Radius to 1.5, and the Height Ratio value to 1.
Figure 1.69: The vent
Figure 1.70: Hood radius
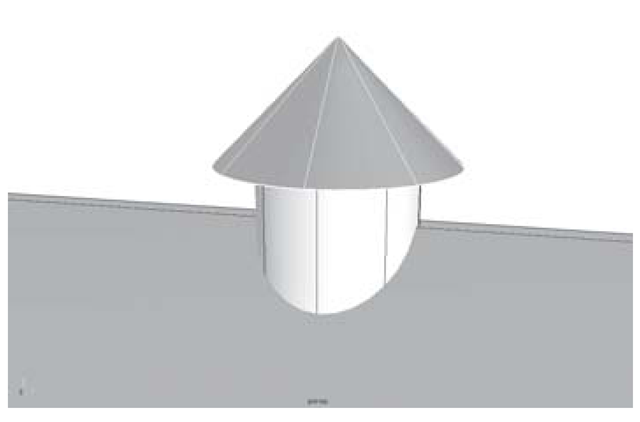
29. Translate the cone to 5, 20.5, 0. Rename it barnVentHood01 (see Figure 1.71).
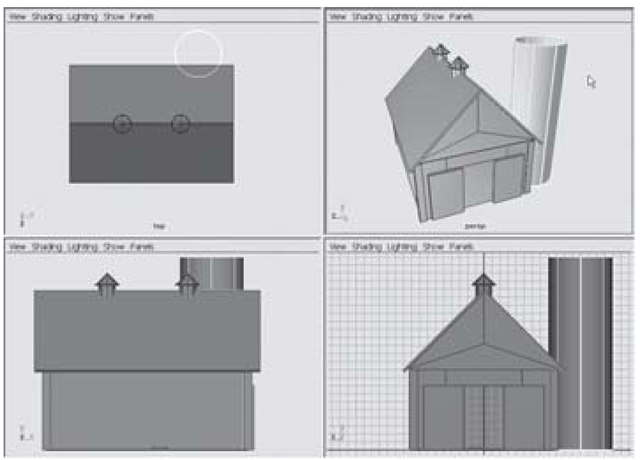
30. Duplicate the vent and hood: select barnVentHood01, then shift-select barnVent01. Click Edit > Duplicate options. Change Translate X to-10 and then click the Duplicate button.
31. We’ll use a large cylinder to create a silo adjoining the barn (see Figure 1.72). Create a NURBS cylinder, Translate = 8, 12, -12; Scale = 4, 12, 4. Rename it siloWalls.
32. Top off the silo by creating a NURBS sphere, Translate = 8, 24, -12; Scale = 4, 4, 4. (Note that in this case there would be little practical difference between scaling the sphere uniformly to 4, and changing the input node radius to 4.) Name it siloDome.
33. For a bit of detail, we’ll make a band that encircles the silo.
Figure 1.71: The vent hood
Create a NURBS torus. In the input node, change the radius to 4 and the height ratio to 0.1.
34. Translate the torus to 8, 22, -12, and rename it siloRmg.
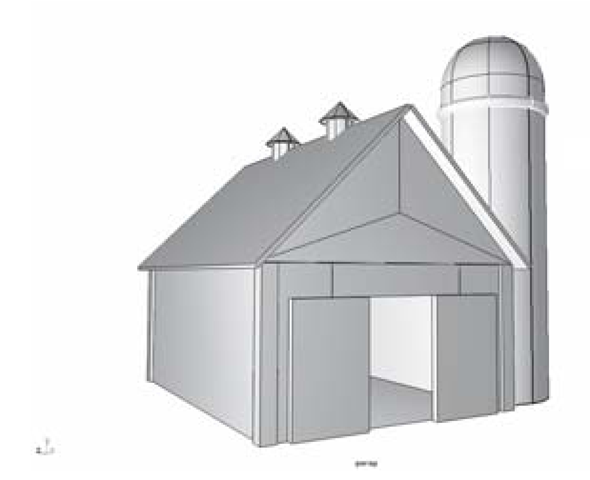
35. You are done modeling the barn (see Figure 1.73), so click File > Save Scene As. and type in the name Barn01.ma. Click the Save button.
Figure 1.72: The silo
Figure 1.73: The finished barn model
