Rotate Tool
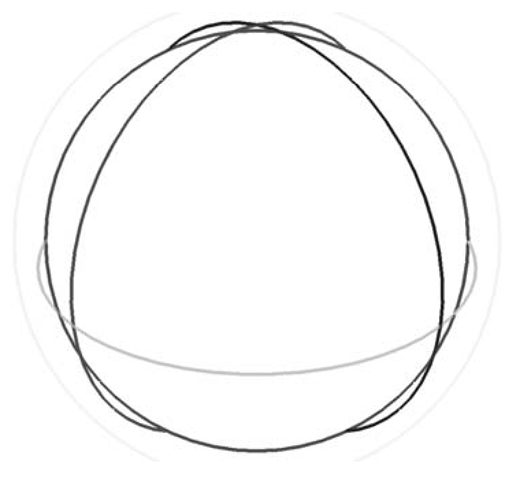
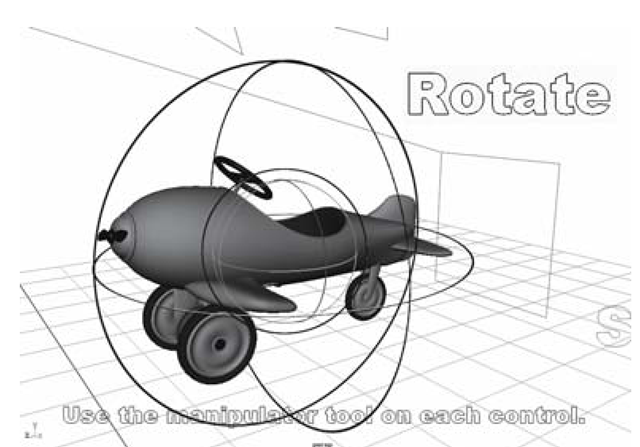
Another common manipulation is rotation, which is accomplished with the Rotate Tool (see Figures 1.27 and 1.28). To use the rotate tool, select and LMB-drag to increase or decrease the rotational angle. The manipulator handles allow you to rotate on any of the individual axes by using the inner circles, or around the screen axis by using the outer circle. The screen axis is an axis created by drawing a vector from the center of your view camera through the center of the object.
Figure 1.27: Rotate tool
Figure 1.28: Rotate tool
Scale Tool
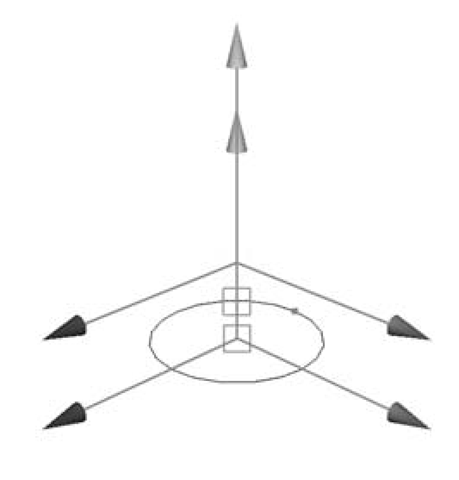
With the Scale Tool you can change the scale of an object along the individual axes (see Figures 1.29 and 1.30). Again, select one of the axis handles and LMB-drag to increase or decrease the scale of an object. Or, drag from the tool’s center to scale on all three axes simultaneously.
Figure 1.29: Scale tool
Figure 1.30: Scale tool
Show Manipulator Tool
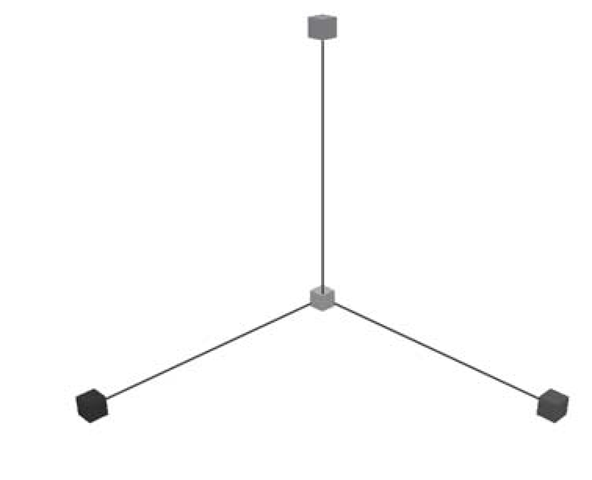
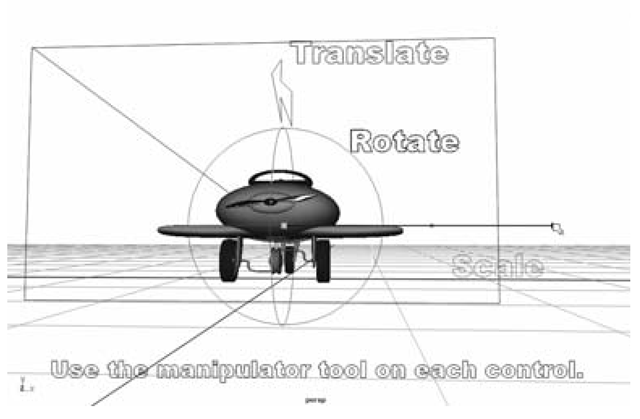
The Show Manipulator Tool’s appearance and function varies depending upon the object on which you use it (see Figures 1.31 and 1.32). As we’ll see in the next exercise, an object can also be customized to automatically display a specific manipulator handle (such as one of the other transformation tools) when it is selected.
Figure 1.31: Show manipulator tool
Figure 1.32: Show manipulator tool
Workspace Exercise — Transformation Tools
To try out some of these transformation tools we’ll do an exercise. There are many of these hands-on exercises throughout the topic, and all of them can be completed using nearly any version of Maya or Maya Personal Learning Edition. (An installation for the latest version of Maya PLE is included on the CD-ROM that comes with this topic.) It is assumed that you are running Maya with the default factory settings and all tools and commands have been reset.
Also, I’d like to point out that the online help documents that come with Maya are an excellent source of additional information. Should you ever want to explore a tool, command, or technique in greater depth, press F1 on your keyboard and search the manual!
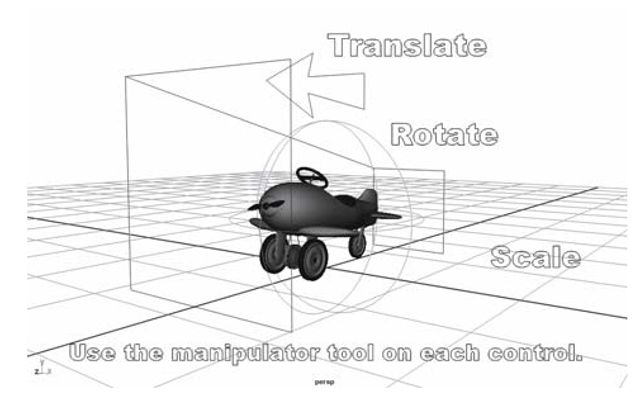
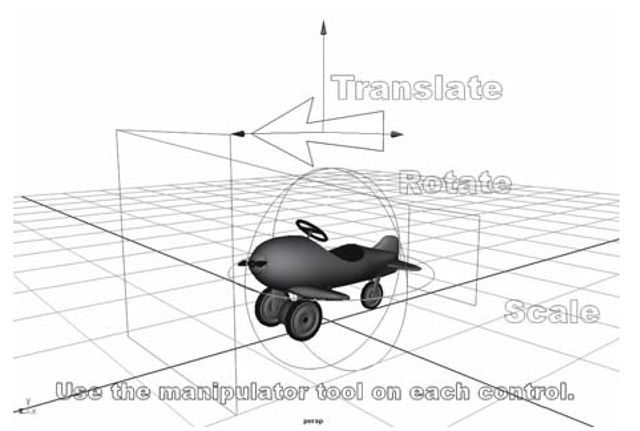
In this exercise, you will translate, rotate, and scale an airplane model (see Figures 1.33).
1. Launch Maya.
2. Click File > Project > Set.
Figure 1.33: The pursuit plane transformation exercise
3. The Browse for Folder window appears. Browse to your CD-ROM and select understanding_maya\Chapter01\workspace_PursuitPlane. Click OK.
4. Click File > Open Scene…
5. The Open window appears and is already set to the understanding_maya/Chapter01/ PursuitPlane/scenes directory. Select the file PursuitPlane_begin.ma and click Open.
6. When the scene has opened you will see an airplane model and three labeled control objects. These control objects have been created to familiarize you with the transformation tool functions.
7. Choose the Move Tool from the Tool Box.
8. Click on the TranslateControl arrow to select it. Notice the Move Tool handle. It represents X, Y, and Z translation with red, green, and blue arrows. These arrows are aligned with the View Axis in the lower-left corner of the Perspective panel.
9. Now, LMB click-drag the red translateX handle left and right. The airplane translates on the X-axis. Also, notice how the translateX handle has turned yellow. This indicates that it’s the currently selected handle.
10. As you continue to LMB click-drag the translateX handle left and right, take a look at the Channel Box on the right side of the screen. The Translate X channel’s value is increasing and decreasing as you move the airplane. Notice how dragging the handle in the same direction its arrow points results in an increase in value. Dragging in the opposite direction that the arrow points results in a decrease in value.
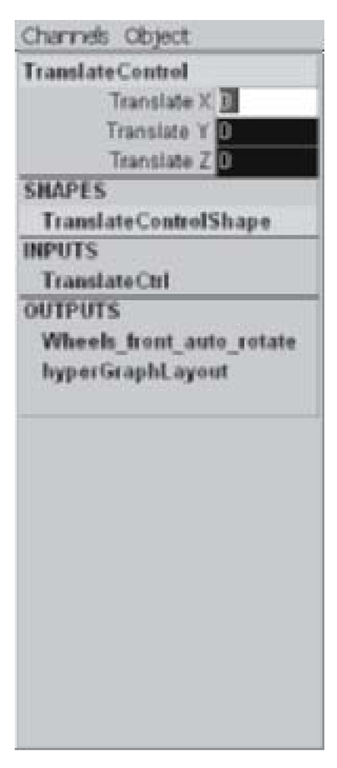
11. In order to reset the airplane’s position (see Figure 1.34), go to the Channel Box and LMB-click the number in the box to the right of Translate X. This highlights the entire value. Type 0 and then press the enter key. The airplane has now returned to the center of the scene.
12. Repeat steps 9, 10, and 11 on the green translateY handle and the blue translateZ handle, zeroing each channel after you’re done. (“Zeroing” means resetting a channel to its default value. In the case of Translation and Rotation this number is zero, whereas for Scale this number is one.)
Figure 1.34: Resetting the Channel Box
Figure 1.35: Using the Translate Tool
13. If you look at the center of the Move Tool handle you will notice a small box. LMB click-drag this box to change the translation values on multiple axes simultaneously (see Figure 1.35). Once you’re done, zero out the Translate X, Translate Y, and Translate Z channels.
14. Next, we’ll look at rotation. Switch to the Rotate Tool (see Figures 1.36) and click on the RotateControl sphere to select it. You will now see the Rotate Tool handle, which has rotateX, rotateY, and rotateZ handles represented by red, green, and blue rings. The outer ring (which is highlighted yellow when you first switch to the Rotate Tool) allows you to rotate an object around the view axis.
15. Now, LMB click-drag the red rotateX handle left and right. The airplane rotates on the X-axis, just like the pitch control on a real plane. To understand the effect of the different axes of rotation, think of this: If you were to skewer the model with a stick that ran along the X-axis, spinning the model around that stick would result in X-axis rotation.
16. As in the previous example of the Move Tool, when you LMB click-drag the rotateX handle, the Channel Box indicates an increase and decrease in value for the Rotate X channel. When you pitch the airplane’s nose down, Rotate X increases. When you pitch the airplane’s nose up, Rotate X decreases.
17. Reset the airplane’s Rotate X value by zeroing it in the Channel Box.
18. Repeat steps 15, 16, and 17 on the green rotateY handle and the blue rotateZ handle. Be sure to zero out the rotation values when you’re done.
19. Next, we’ll try out the Scale Tool (see Figure 1.37). In the Tool Box, switch to the Scale Tool icon and then click on the ScaleControl box to select it. The Scale Tool handle looks very similar to the Translate Tool, but instead of arrows, there are boxes at the ends of the individual axes. Once again, scaleX, scaleY, and scaleZ are color-coded red, green, and blue. The initially highlighted center handle allows for proportional scaling in all three dimensions.
20. To widen the airplane, LMB click-drag the red scaleX handle to the right. Dragging to the left will narrow the airplane. Notice this time that as the Scale X value approaches and then surpasses zero, the airplane seems to pass through itself and emerge as a mirror image of the original model. (This behavior will be explored further when we look at object duplication.)
Figure 1.36: Using the Rotate Tool
Figure 1.37: Using the Scale Tool
21. Reset the airplane’s Scale X value to 1 in the Channel Box. Notice that resetting, or “zeroing,” a scale to its default value means setting it to one, not zero, as is the case with translation and rotation.
22. Repeat steps 20 and 21 on the green scaleY handle and the blue scaleZ handle. Reset the values to 1 when you are finished.
23. You won’t normally use the Show Manipulator Tool on an object like this airplane. However, the three transformation controls in this scene (the arrow, sphere, and box) have been specially set up for use with the Show Manipulator Tool. Let’s try this now.
24. In the Tool Box, switch to the Show Manipulator Tool. Click the TranslateControl arrow. You will see the Translate handle appear.
25. Without switching tools (the Show Manipulator Tool is still active) click on the RotateControl sphere. Notice how it automatically displays the Rotate handle.
26.Lastly, click on the ScaleControl box. Again, the Show Manipulator Tool updates to display the Scale handle.
The key things you’ve learned in this exercise are how the transformation tools work, the relationship between an object’s values and the Channel Box, and that there are often multiple ways to do something inside the Maya interface.

