Lesson Overview
In this lesson, you’ll learn the skills and techniques you need to put together a sophisticated print magazine:
• Using Mini Bridge and Bridge to preview and select files
• Creating a document in InDesign
• Working with layer comps in Photoshop files
• Adjusting raw images
• Importing and styling text
• Laying out graphics efficiently
• Working with transparency
You’ll probably need between one and two hours to complete this lesson.
Inspecting and selecting documents with Adobe Bridge
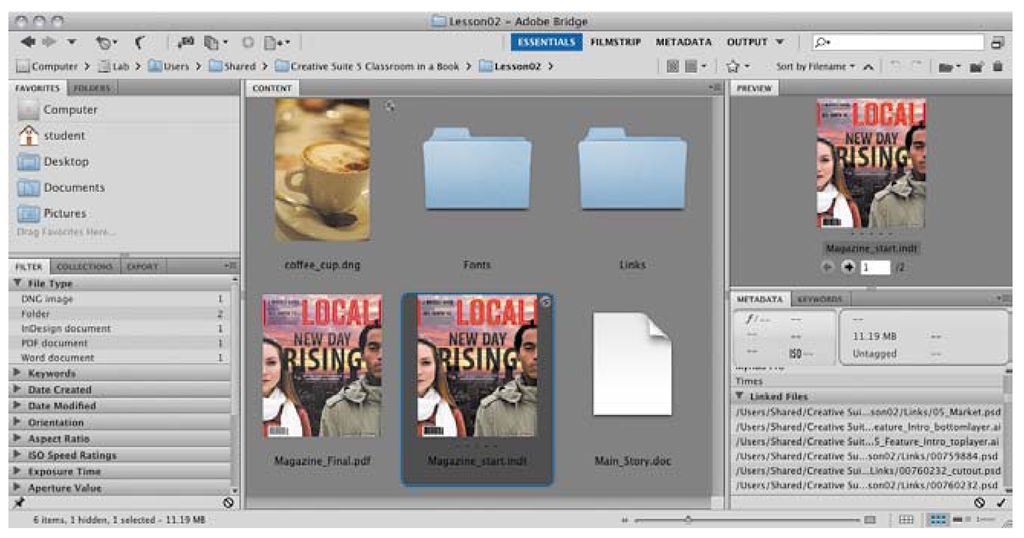
If you’ve ever looked at a folder full of files and were unsure about which one you should open, take advantage of Adobe Bridge. Using Bridge to find the right document is often easier than using the standard Open dialog box, because Bridge gives you tools to inspect documents without opening them. Bridge can preview many file types produced in Design Premium. For InDesign files, Bridge can display the fonts and links in an InDesign document, and you can preview the document’s pages.
You’ll use Adobe Bridge to locate a partially completed InDesign document that you will use for the exercises in this lesson. The document represents the latest issue of a printed magazine.
1 Start Adobe Bridge, and make sure the Essentials workspace is selected at the top of the Bridge window.
2 Navigate to the Lesson02 folder on your hard disk. Within that folder, select the file Magazine_Start.indt.
3 In the Preview panel, click the arrow buttons under the document preview to explore the InDesign document without opening it.
4 Notice the chain link badge at the top-right corner of the selected InDesign document icon in the Content panel. This badge indicates that you can inspect the links in the InDesign document. You’ll do that next.
5 Scroll the Metadata panel until you find the Linked Files pane, where you can view a list of the files linked to this InDesign document. Click the triangle icon to reveal the list.
Notice that above the Linked Files pane is the Fonts pane, where you can see which fonts are used in the InDesign document. Now you’ll open the document.
Jump-starting design and production using templates
When you produce a certain type of document repeatedly, such as a monthly issue of a magazine, you can save time by starting each issue from a template. A template is an InDesign document that contains any custom design elements and production settings you save into it, such as master page layouts, background elements, placeholder frames for text and graphics, and text and object styles. When you open a template it opens as a new, untitled InDesign document. Using templates as the basis for frequently created documents is faster and easier than opening an old version and deleting all the content.
To create your own template from any InDesign document, choose File > Save As and then choose InDesign CS5 Template from the Format menu. Template documents used the .indt filename extension.
6 Select the file Magazine_Start.indt, and then choose File > Open With > Adobe InDesign CS5 (default).
Magazine_Start.indt is a template—it opens as a new, untitled document (see the sidebar “Jump-starting design and production using templates”) You’ll save this document under a new name; the template file will remain unchanged so that you can always go back to it if you need to start over.
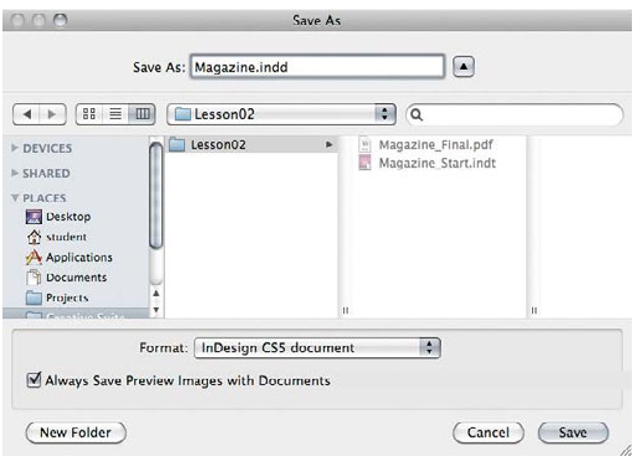
7 In InDesign, choose File > Save. In the Save As dialog box, navigate to the LessonO2 folder, name the document Magazine.indd, choose InDesign CS5 document from the Save As Type/Format menu, and then click Save.
Modifying an InDesign document
Now that you have created a document from the InDesign template, you can adjust it just as you can any other InDesign document. You can replace illustrations and photos, add and stylize text, and even change the document layout settings you’ve acquired from the template.
Navigating through the document
Before making any changes to the document, navigate through its pages so you can plan which elements you’d like to customize.
1 Choose Window > Workspace > [Advanced]. This will lay out all the panels you’ll need for this lesson and make all menu commands visible.
► Tip: The visibility of menu items can be customized in InDesign. Selecting a predefined workspace may result in some menu items being hidden. If you can’t find the menu item you’re looking for, choose Show All Menu Items at the bottom of the menu, when available.
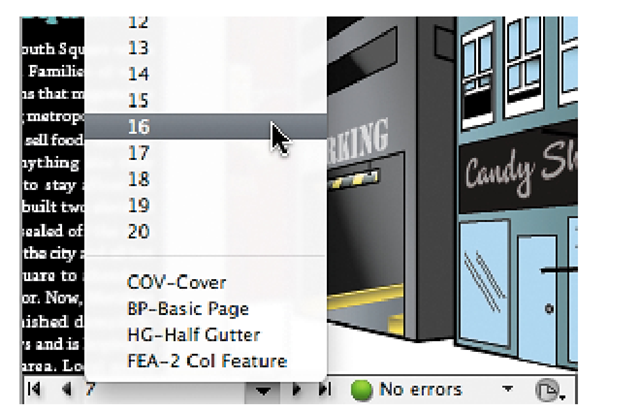
2 Use the navigation buttons in the lower-left corner of your document window to navigate through the pages of the magazine. Then use the menu next to the current page number to return to the first page.
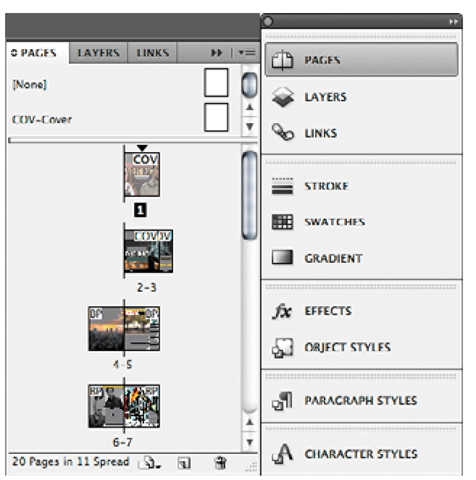
3 Click the Pages button in the right panel bin to open the Pages panel.
If necessary, enlarge the Pages panel by dragging its lower-right corner downwards so you can see preview images of all pages. Double-clicking a page in the Pages panel will open that page in the main document window. Double-clicking the page number under the preview image will center the page spread in the main document window.
4 Click the Pages button in the right panel bin again to close the Pages panel.
Viewing the reference document
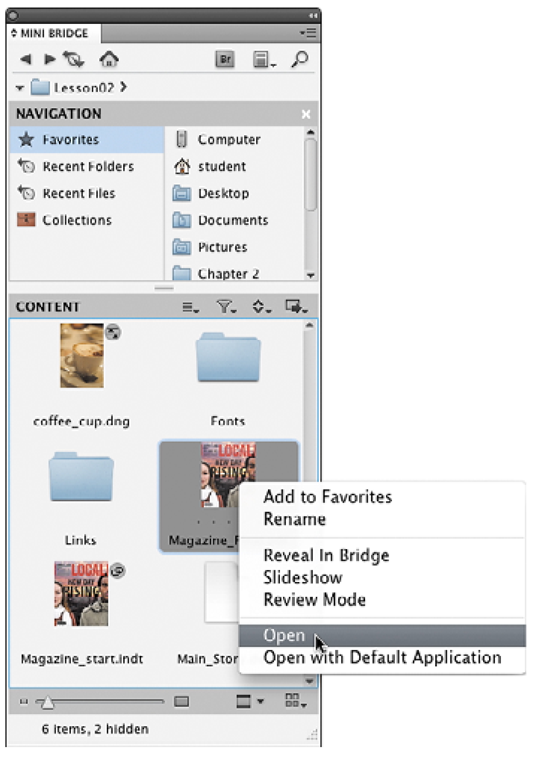
In the Lesson02 folder you’ll find a PDF version of the completed magazine that you can use as a reference as you work through this lesson. This time we’ll use Mini Bridge, a version of Adobe Bridge that you can use as a panel inside InDesign for easier access to the assets you want to bring into an InDesign document.
1 Choose Window > Mini Bridge. If you see a “Browse Files” icon, click it now.
2 Navigate to the Lesson02 folder, and select the file Magazine_ Final.pdf in the Lesson02 folder.
3 Right-click/Control-click Magazine_Final.pdf, and choose Open.
4 In Acrobat, choose View > Page Display > Two-Up and View > Zoom > Fit Width. Then use the arrow keys on your keyboard to navigate through the spreads.
5 When you’re done, return to InDesign. You can leave the PDF document open for reference.
Working with multiple page sizes
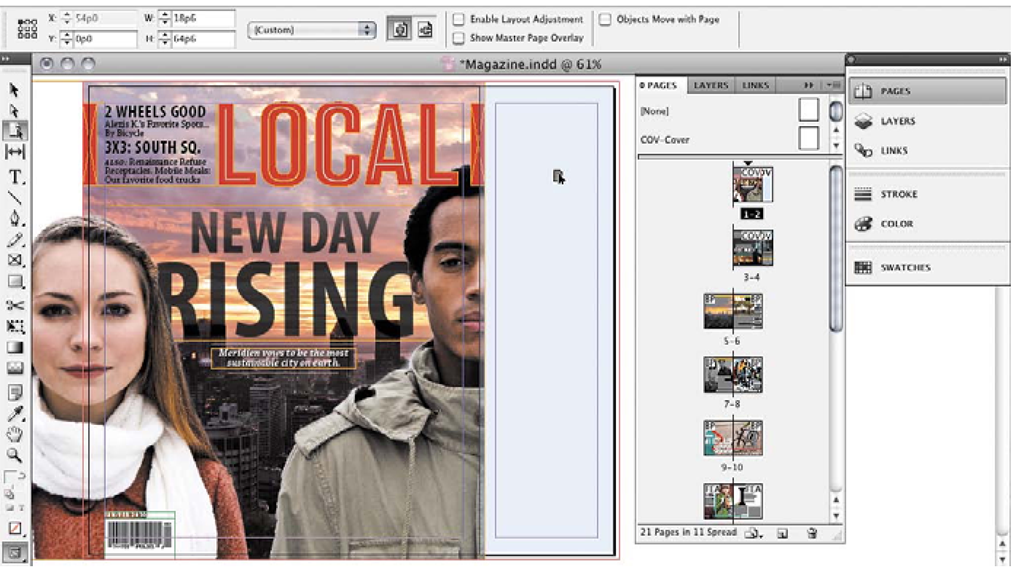
The magazine cover looks good, but to give it a little more interest, the client wants to extend the right side of the cover using a foldover flap. You’ll create this by adding a page to the cover to create a spread. In addition, the page you add to the spread will use a smaller, narrow page size.
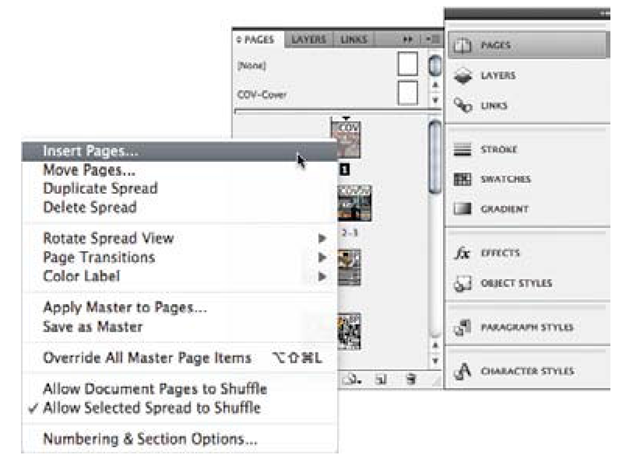
1 In the Pages panel, double-click page 1, then right-click/Control-click the Page 1 thumbnail, choose Insert Pages, and in the dialog box that appears, click OK.
Because you created the new page from Page 1, it’s part of the Page 1 spread.
2 In the Tools panel, click the Page tool ( Gt), and then click the new page you created. As you do this, the Control panel displays options for the selected page.
3 In the Control panel, change the page width (W) to 18p6.
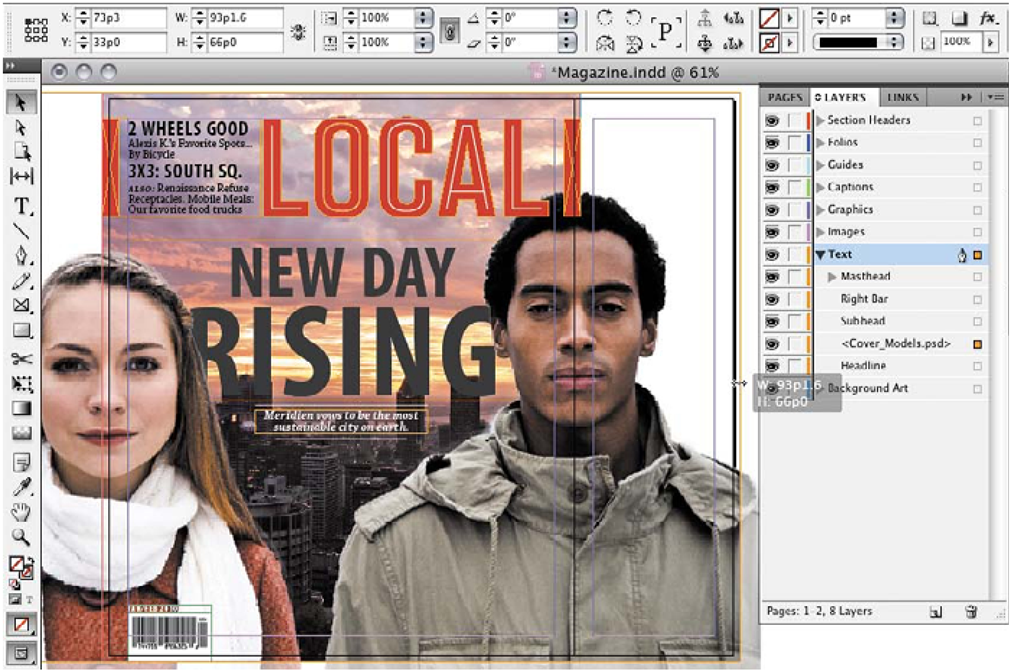
4 In the Layers panel, click the triangle to the left of the Text layer and Background Art layer to reveal sublayers and the objects on those layers.
5 Click the square icon to the right of the <Cover_Models.psd> object label to select it.
6 In the Tools panel, click the Selection tool (\). Drag the handle in the middle of the right edge to extend the graphic all the way across the new page until the graphic is 93pl.6 wide, all the way to the right edge of the bleed area. The Control panel and the tool tip display the width as you drag.
► Tip: To adjust the bleed and slug areas, choose File > Document Setup. If you don’t see the Bleed and Slug options, click the More Options button.
7 Choose Edit > Deselect All.
You could have also selected the graphic by clicking it with the Selection tool, but on a busy layout like this one, using the Layers panel can be a more direct way of ensuring that you select exactly the object you want.
