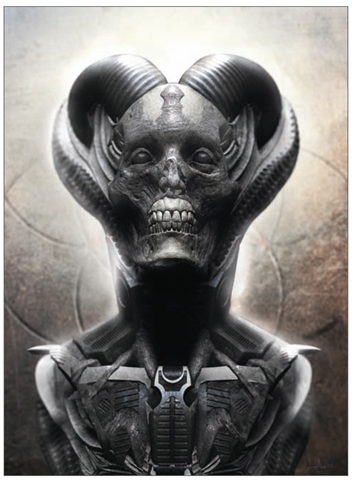
We will now move on to creating hard-surface models in ZBrush. For this exercise we will build a sci-fi ray gun using ZSketch to build our base form. We will then move on to the Clip, Planar, and Trim brushes to create complex machined shapes that have, until recently, been impossible to create in ZBrush. Figure 10.35 shows the final gun we will create in this exercise. It is also possible to combine mechanical and organic shapes to create interesting characters. Figure 10.36 shows a character created by combining organic and industrial forms.
Figure 10.35 The final gun from this exercise
Figure 10.36 This character was created by combining organic and hard-surface sculpting techniques.
When I refer to the hard-surface brushes, I am really talking about a variety of brush tools that have been introduced to ZBrush since version 3.5. While some of them, like the Polish brushes, are not intended solely for mechanical modeling, others are designed purely for creating machined shapes.
Hard-Surface Brushes
Hard-surface brushes fall into four categories (Figure 10.37):
• Clip
• Planar
• Polish
• Trim
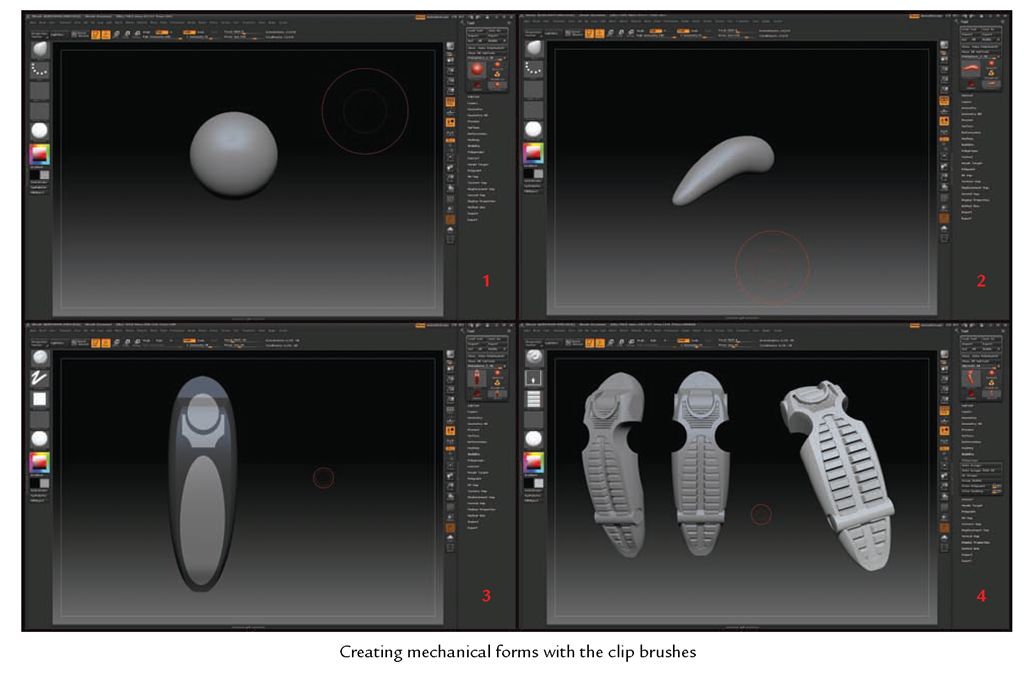
Together these brushes are generally referred to as the hard-surface brush set. You’ll need a level of understanding of how these brushes behave to fully appreciate the effects you can achieve with them. I highly recommend that you explore using a variety of the brushes on your own to see what works best for you. In the following exercise I will show you my hard-surface technique, which relies heavily on the Clay and Form brush to build general shapes, the Trim brushes to plane the shapes down into angeled surfaces, and the Clip brushes to further carve away more complex forms (Figure 10.38).
Figure 10.37 The highlighted brushes are used in the creation of hard-surface forms.
Figure 10.38 This image shows a hard-surface methodology. A general shape is created, then carved and shaped using the Clip brushes.
Clip Brushes
Access the Clip brushes by pressing Ctrl+Shift. When selected, they will replace the default selection Marquee or Lasso brushes. They function by creating a selection, which is flattened into the rest of the model. Figure 10.39 shows a sphere before and after using ClipCurve. Clip brushes have a feathered edge that represents the side that will be clipped.
You can move the Clip brush stoke by pressing the spacebar. If you discover you want to clip the opposite side from the feathered edge, simply hold the Alt key and the clip plane will be reversed. One useful trick is to press Ctrl+spacebar to open the menu shown in Figure 10.40. Turning on Polygroup will cause ZBrush to automatically polygroup any faces you clip (Figure 10.41).
Figure 10.39 The Clip brush in action
Figure 10.40 Pressing Ctrl+spacebar reveals this menu.
Figure 10.41 Faces clipped with Polygroup turned on
Figure 10.42 Laying in anchor points can further refine the clip plane.
You can further refine the clip plane by adding anchor points. Press the Alt key once while drawing a clip line to create a curve point; press Alt twice to create an anchor point for a right angle (Figure 10.42). With these tools you can create complex compound mechanical shapes faster than in any other program. It is literally like sculpting mechanical forms (Figure 10.43). Be sure to see the accompanying DVD for a video on the Clip brushes.


