Graphics Programs Reference
In-Depth Information
If you've used curves in Photoshop or other sot ware, the Tone Curve panel will
be familiar to you. h e horizontal axis represents the original, unaltered values
in the image, with the black point at the let and the white point at the right. h e
vertical axis represents the adjustments you make.
4
h e background of the curve
box shows a histogram and
a highlighted area indicating
(see Figure 4-44) the minimum
and maximum range of curve
adjustments based on the split
controls in ef ect (see below).
Lightroom 3 allows you to apply
and save custom point curves; see
below.
Parametric Curve
Lightroom's default Tone Curve is
parametric:
it adjusts sections of
the tone scale, rather than from
individual points. h is provides
smooth transitions between tone ranges
and reduces the possibility of introducing
undesirable hue shit s and posterization
(banding).
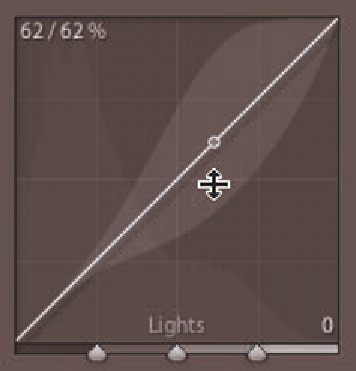
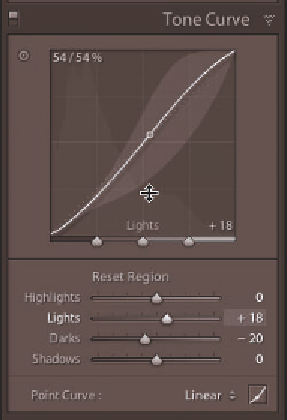
Figure 4-44
Adjust the curve to increase or decrease
contrast in specii c areas of the tonal range.
Positive values lighten tones and negative
values darken them. h e steeper the curve
(or section of the curve), the higher the
contrast. h e l atter the curve, the lower
the contrast. A typical example of this is
the application of an “S” shaped curve,
which increases contrast in the photo
by lightening highlights and darkening
shadows. h us, the midtone section of the
curve displays a steeper slope than before
the adjustment. And viola—increased
contrast; see Figure 4-45. I typically start with these custom default settings:
Highlights: 0; Lights: +5; Darks: -5; Shadows: 0; and Point Curve: Linear.
Figure 4-45


Search WWH ::

Custom Search