Graphics Programs Reference
In-Depth Information
Fill Light and Highlight Recovery have been modii ed in the 2010 Process
Version. You will probably need to adjust these sliders on which you upgrade
the process version.
4
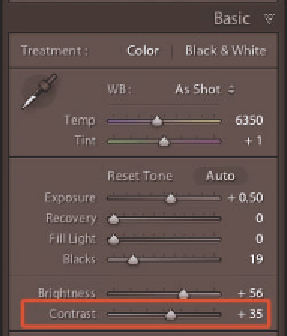
Step 3. Adjust Contrast
h is simple slider on the Basic panel (see
Figure 4-39) conceals a lot of power.
Unlike the crude, old-school controls in
programs like Photoshop, Lightroom's
Contrast (and Brightness) adjustment has
been programmed from scratch and can
be used to great ef ect. h e Lightroom
default for Contrast is +25; my personal
default starts with Contrast at +35
and I adjust up or down from there as
appropriate for each photo.
Figure 4-39
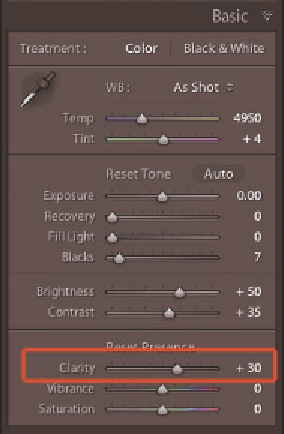
Step 4. Clarity
Also in the Basic panel, the Clarity
slider adjusts contrast—but only in the
midtones; see Figure 4-40. Increasing
the Clarity value can enhance contrast
and the appearance of sharpness, while
negative amounts create a lower contrast,
“sot er” look. Some images benei t
greatly by increasing the Clarity slider;
others, not as much. Photos with strong
edges and details containing relatively
high contrast, such as buildings and
architecture, are good candidates for
increased Clarity amounts; see Figure
4-41 next page. Portraits may benei t
from
negative
Clarity settings. Negative
Clarity values create a sot ening ef ect
that is beautiful for some images; see
Figure 4-42 next page. I particularly like to use negative Clarity
on black and white photos.
Figure 4-40
Like Sharpening, setting Clarity too high can result in visible halos along edges,
producing a cartoonish look; keep an eye out for this. I recommend that you try
adding Clarity to your photos to determine the proper amounts and what kinds
of images work best with this adjustment.


Search WWH ::

Custom Search