Graphics Reference
In-Depth Information
If your character has any appreciable amount of dialog, you will most likely need a full range of mouth shapes
to properly lip sync to the vocal track. On the other hand, if your character will only be “gooing” and “gaa-
ing” like the Beast, you can get away with a smaller set of shapes.
Different Ways to Construct Expressions
There are two different approaches to creating shape keys for expressions. The fi rst, creating individual move-
ments or “expression fragments” (raised left eyebrow, raised right eyebrow, wrinkled nose, etc.), is easier to
do but will produce less predictable, and therefore probably less realistic, overall expressions. The second
method—creating a full expression (angry face, happy face) and breaking it up into component movements—
is more work but gives you signifi cantly better control over the fi nal result. The following instructions apply
to the faces of human characters, but you can easily adapt the methodology to whatever type of character you
are using.
Expression Fragments
Creating shapes for individual movements is simple. Add, name, and edit new shape keys for each of the
following:
●
Left eye, with the brow both raised and lowered. When editing the shape for each of these, keep in mind
that the upper portion of the cheek generally moves with opposing motion to the brow. When the eye-
brows move up, the lower eyelid and upper cheek move down.
●
Right eyebrow, the same as the left.
●
The midbrow (the space between the eyebrows), both raised and lowered; for additional control, you can
create rotations of the midbrow, both clockwise and counterclockwise. A rotation control is good for
lopsided, twisted eyebrow poses.
●
Nostrils fl ared and contracted.
●
Nose wrinkled. For additional control, create separate
shapes for the left and right.
●
A smile divided into left and right halves.
●
A frown divided into left and right halves.
●
The mouth opened with the jaw dropped.
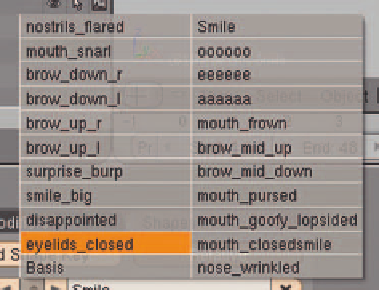
When you are done, you will have a fairly long list of shapes
that will look something like Figure 10.9. The shapes can
be browsed and viewed either by selecting them from the
drop-down menu in the
Shapes
panel or using the forward
and backward arrows to either side of the shape's name.
Later, we'll see how to link these fragments to controls and
mix and match them to create full facial expressions.
Figure 10.9
The list of saved shapes for the Beast
Search WWH ::

Custom Search