Graphics Reference
In-Depth Information
Figure 11.20
Deleting a section of a clip.
7.
Let's see how many ball bounces we now have in sync. Out of the eight bounces, only the ball hits for the
first, second, third, fifth, and eighth line up with the hits in the Bouncing Ball clip. This means we need to
cover the bounces for the fourth, sixth, and seventh with Katie's reaction shots. Before we do that, we need
to make sure that the video clips that we've just added and the Bouncing Ball audio remain in sync as we
work. Our Bouncing Ball clip is attached to the Primary Storyline as a Connected clip, and it would be very
easy for us to accidentally move it and lose sync with the pictures above. A safer option would be to place
all the clips that make up this Bouncing Ball section inside a Compound clip to help keep the audio locked
to the pictures and also allow us to treat it as a single clip.
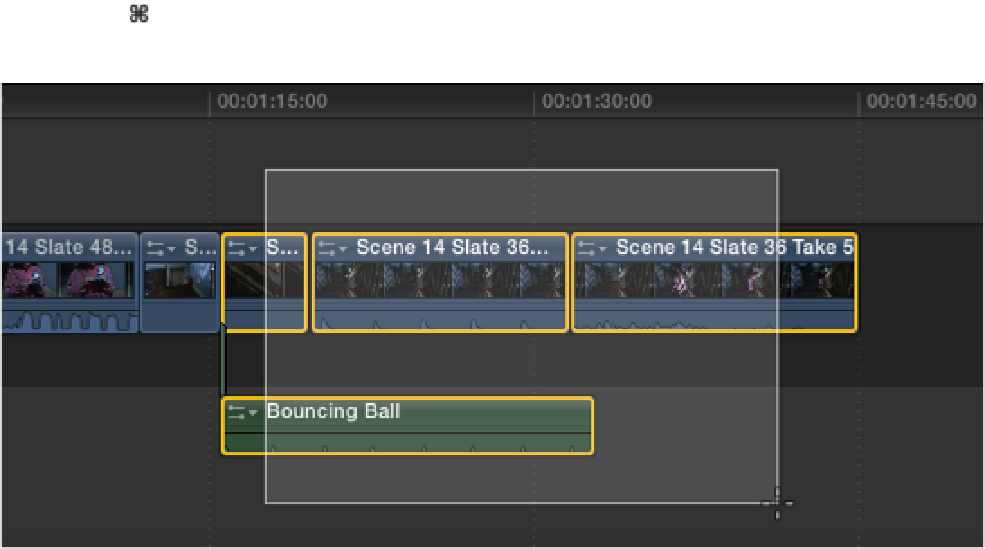
Using the mouse, draw a selection box over the last three clips in the Timeline, making sure to include the
connected Bouncing Ball audio clip in the selection (see Figure 11.21). With these four clips selected, press
Option+G to place them inside a Compound clip. To rename the Compound clip, select it in the Timeline
and press +4 to open the Inspector if it isn't already open. In the Inspector's Info panel, highlight the
name field, type
Bouncing Ball on Stairs
, and press Return (see Figure 11.22).
Figure 11.21
Selecting clips in the Timeline.