Graphics Programs Reference
In-Depth Information
do not need to do so. The rib feature is capable of extending itself to
fill in the geometry.
3.
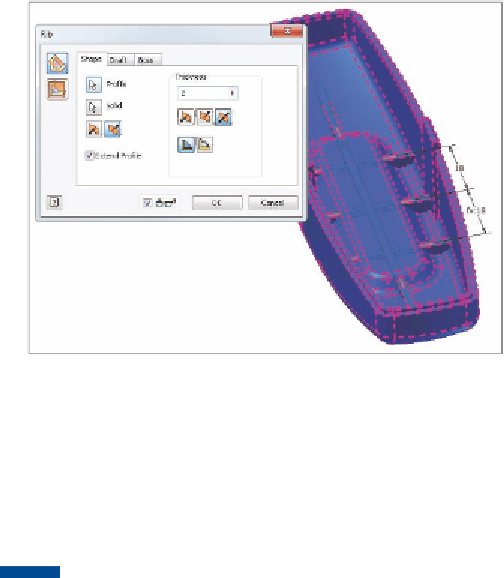
Start the Rib tool from the Create panel of the 3D Model tab.
4.
Click the four lines that are partially obscured by the block in the
middle of the part.
5.
Set the thickness to 2. See Figure 9.14 for the preview of the feature.
FIGURE 9.14
Rib features can extend beyond the sketch.
6.
Click the OK button to create the ribs.
7.
Orbit the part to see that the ribs did not penetrate through the front
face of the part.
TIP
On parts with draft, it is difficult to properly create a sketch that
doesn't risk creating a gap as it is created. Being able to create a rib with a
sketch that doesn't meet the faces helps avoid problems when these parts change.
Adding Decals
It is possible to include geometry, text, or images in a sketch. A
decal
is a feature
made from an image that is applied to flat or curved surfaces.
1.
Verify that the 2013 Essentials project file is active, and then open
c09-12.ipt
from the
Parts\Chapter9
folder.


Search WWH ::

Custom Search