Graphics Programs Reference
In-Depth Information
4.
Leave the BOM View value as Structured, and click OK.
As you place a balloon, it moves smoothly but snaps at 15-degree
increments. Before the position of the leader is set, you can override
the snap. Hold the Ctrl key as you position the balloon, and it can be
placed at any angle.
5.
Click a second point to set the length of the leader.
6.
Right-click and click Continue to place the balloon. Then, press the
Esc key to end the Balloon tool. See Figure 6.17.
7.
Click the leader of the balloon, and the grip points will highlight. Click
the point at the tip of the arrow, and drag it to the housing to the right.
8.
When the edge of the part highlights, release the mouse to attach the
balloon to the other part.
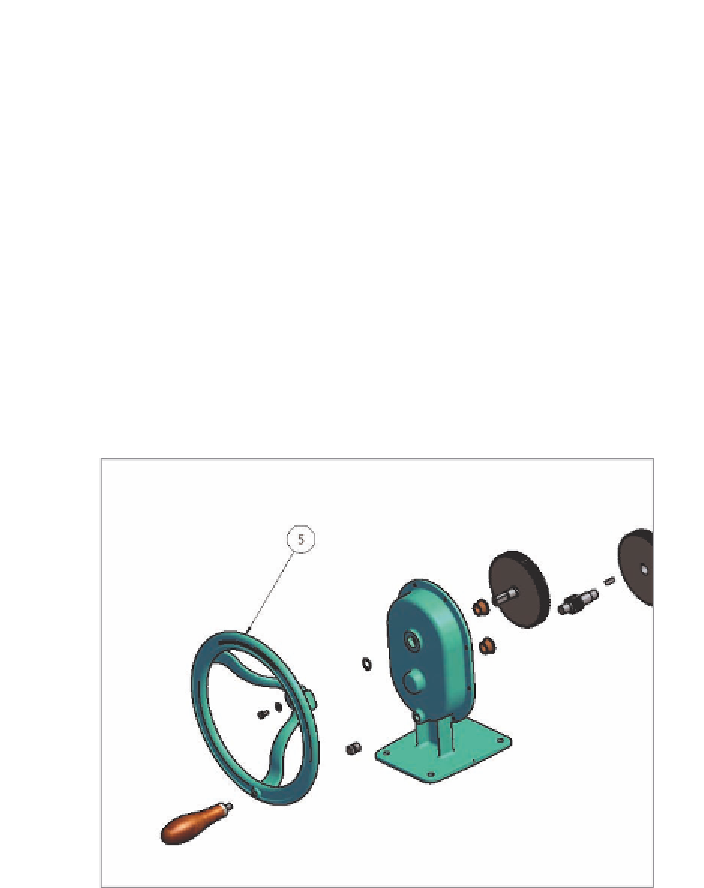
FIGURE 6.17
Placing a balloon in the drawing view
The balloon number will update to correspond with the value gathered from
the bill of materials contained in the assembly.
Auto Balloon
The Balloon tool is effective, but a faster alternative is Auto Balloon.
1.
Verify that the 2013 Essentials project file is active, and then open
c06-14.idw
from the
Drawings\Chapter6
folder.
Search WWH ::

Custom Search