Graphics Programs Reference
In-Depth Information
4.
Once the exploded assembly is selected, its preview appears. Below
the list of standard view orientations is the Change View Orientation
button. Click it.
This opens the presentation file in a specialized Custom View tab
with file-viewing tools.
Certification
Objective
5.
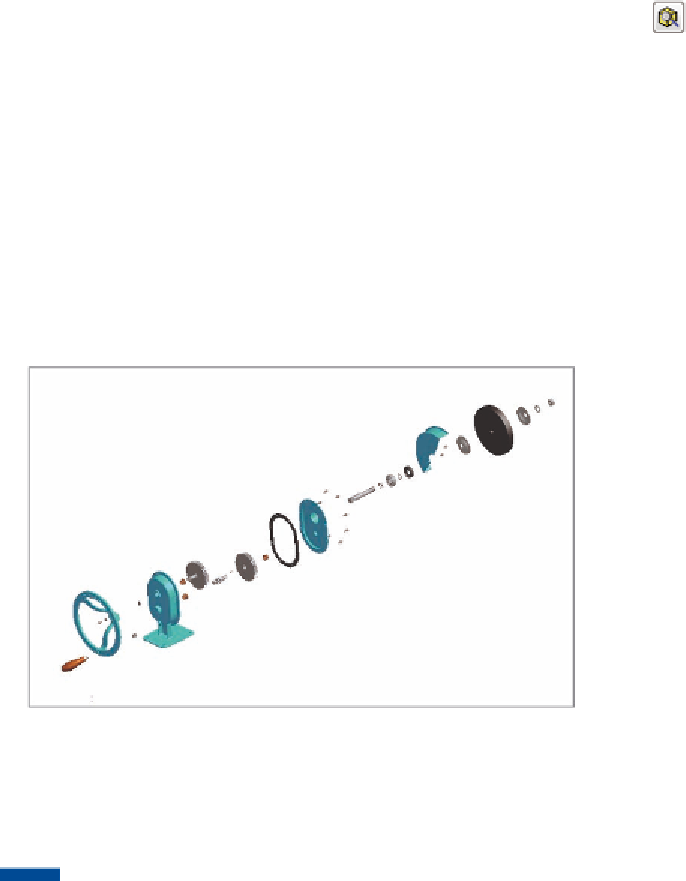
Position the exploded view similar to Figure 6.12.
6.
Once the view is positioned, click the Finish Custom View tool at the
end of the Custom View tab.
7.
The preview updates to the view you established. Set the scale so
the exploded view of the assembly fits across the page, as shown in
Figure 6.13. Make it a shaded view.
8.
Click the location for the view on the drawing sheet, and then right-
click and select OK to finish the command and place the view.
FIGURE 6.12
Positioning the parts for a drawing view
The presentation file can also create animated assembly instructions, and you will
do that in Chapter 13, “Creating Images and Animations from Your Design Data.”
TIP
A nice but less commonly used capability is to copy drawing views
on the same page. This can be handy if you need to duplicate views to dis-
tribute detailing or want to save time setting up an alternative presentation
of the views.


Search WWH ::

Custom Search