Graphics Programs Reference
In-Depth Information
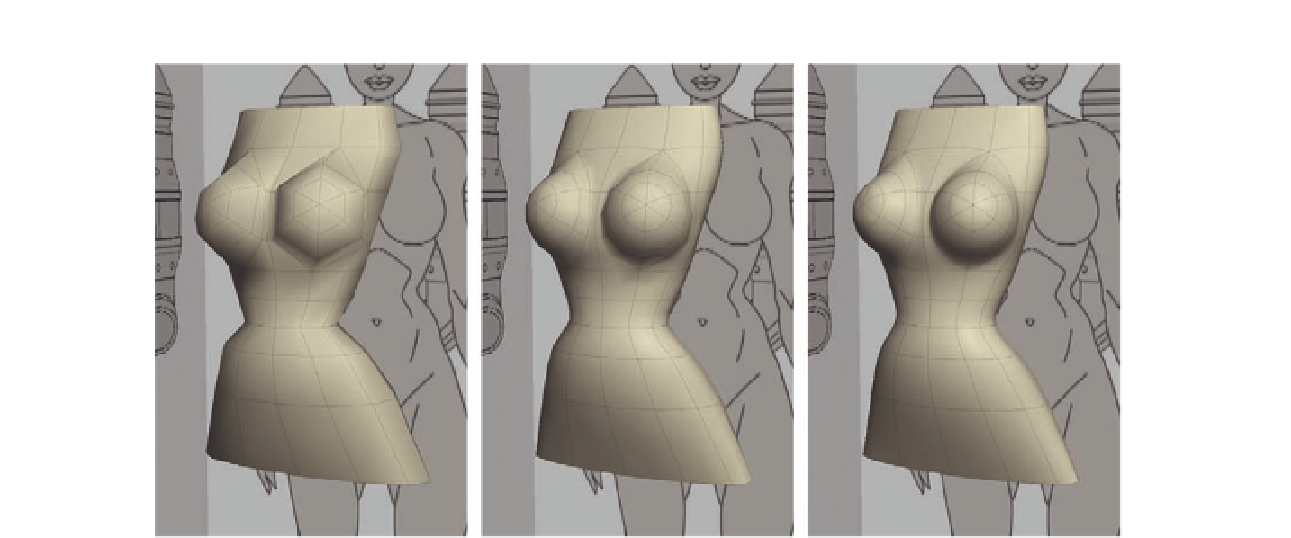
FIG. 5.46
T h e r ough torso quickly and easily smoothed.
The beauty of this is that we can see what the smoothed version will look like,
while editing the lower resolution model, or cage as it is known. We get a nice
model, with minimal ef ort.
If you want to step down a subdivision and get back to the i rst model, press
V
(or go to
Subdivision
>
Unsubdivide
).
From here on, we will work on a subdivided version of the model. Just
remember,
C
will
Subdivide
and
V
will
Unsubdivide
.
Before we move on to the limbs, there is one area we need to address. If you
glance back at Figure 5.46c, you will see the pole above and below each
breast. At the moment this isn't too much of an issue, but it could lead to
problems later.
Let's quickly address this now.
●
Move around to the front of the model and select the row of edges
running from the top of the model to the bottom, but leave the two at the
center of the sphere (Figure 5.47b).
●
Press and hold
B
and bevel these edges, removing the of ending points
( Figure 5.47c ).
(Note: Notice that because we enabled Symmetry, the bevel is also applied to
the opposite side.)
Creating the bevel left us with some unwanted geometry at the center of each
sphere. What we have are two new triangles, which aren't ideal but can easily
be used because at present the middle of each sphere is triangle based.