Graphics Programs Reference
In-Depth Information
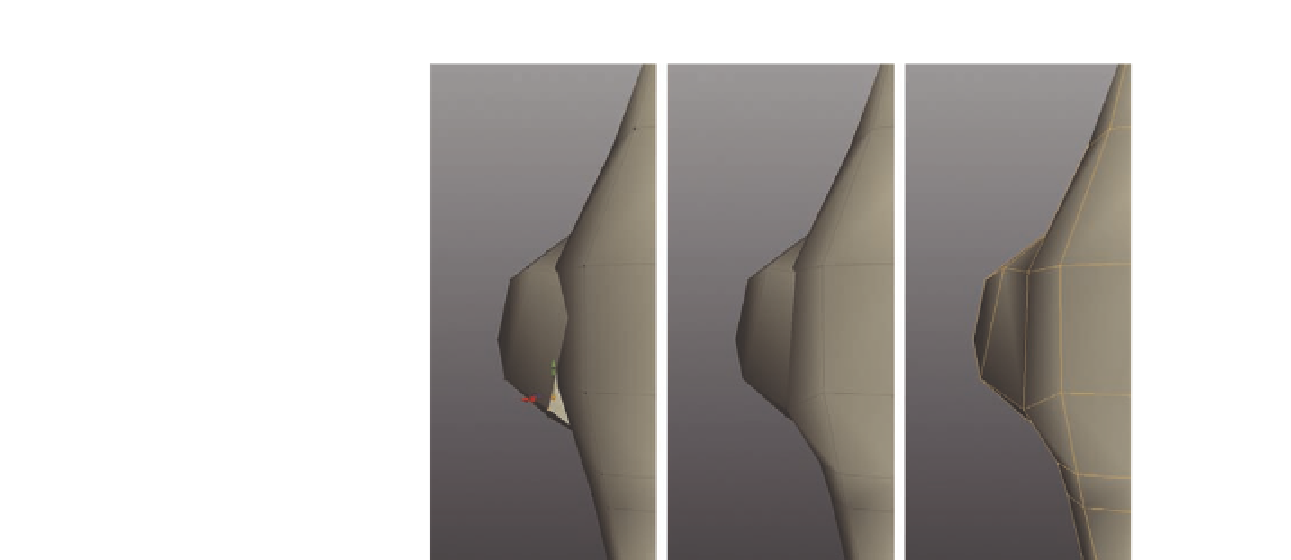
FIG. 5.39
Attach the left side of the sphere to the torso.
●
Next, select the inner triangles and delete them, opening the model.
●
Finally, switch to vertex editing mode, select the vertex on the lower
sphere i rst, then the one closest on the torso (Figure 5.38f ), and press
Alt
M
to merge them.
The top and bottom are now connected, so let's connect the sides.
At the left side of the model are four clear vertices we can merge. At both
the top and bottom of the sphere, we have two torso vertices close by that
we can use.
●
Starting at the bottom of the sphere, select the two vertices shown in
Figure 5.39a, making sure you choose the one on the torso last, and press
Alt
M
to merge them.
●
Next, select the upper two vertices on the sphere and the torso and press
Alt
M
to merge them (Figure 5.39c).
If we move around to the front of the model, we can see what looks like an
obvious way to connect the sphere. We can simply merge the two remaining
vertices to the center of the model, right? Wrong. Ideally, we don't want the
sphere to be directly connected to the center of the torso mesh. Instead, we
need there to be a slight of set or her two breasts will become one.
If you look at Figure 5.40a, we have a large polygon cutting through the
sphere. Instead of deleting this, we will use it to help us.
●
Select the model and press
X
to enable the
Cut tool
.
●
Place the start of the cut along the top of the polygon close to the sphere,
and the end of the cut directly below it (Figure 5.40b). We now have two