Graphics Programs Reference
In-Depth Information
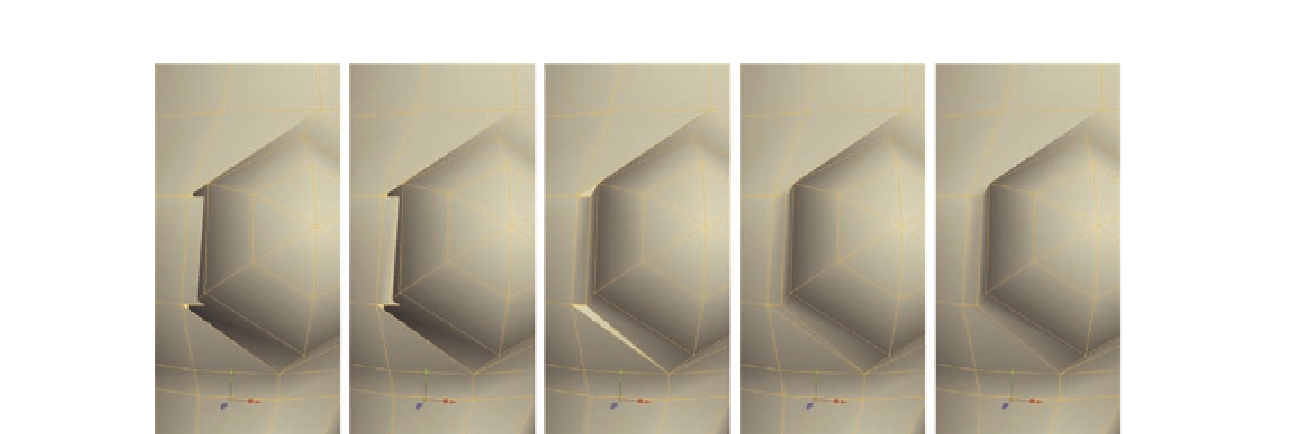
FIG. 5.40
Attach the front of the sphere to the torso.
new vertices we can merge the sphere to, meaning we retain the of set
we need.
●
At this point, check inside the model and delete any internal faces that are
now hidden by the sphere. Remember to switch to face editing mode i rst
by pressing
D
.
●
With those deleted, we can now merge the inner vertices on the sphere
to the polygon on the torso, ef ectively connecting them to the two new
vertices we created with out i rst cut. You can see the result in Figure 5.40c.
What we have now is the chest fully connected to the torso, but there are
two triangular holes left in the model. We could build a new polygon into the
model, but instead we have a quicker option in the form of the
Fill Hole tool
.
The
Fill Hole tool
does exactly what the name suggests. If you have a hole in
your model that is enclosed by a ring of edges, this will quickly i ll it for you.
●
Select an edge around the upper hole and go to
Modify
>
Fill Hole
(or
press
Shift
F
).
●
Next, select an edge around the lower hole and go to
Modify
>
Fill Hole
(or press
Shift
F
).
As you can see in Figure 5.40d, the holes are gone.
All that is left to do now is to tidy the model a little and remove the four
triangles that now exist.
The i rst triangles to remove are at the front of the model, just where we have
been working. These are easy, as the four triangles currently form two quads,
so deleting the diving edge will i x the issue.
●
To remove these, enter edge editing mode (
S
), select the two middle
edges, and press
Delete
.