Graphics Programs Reference
In-Depth Information
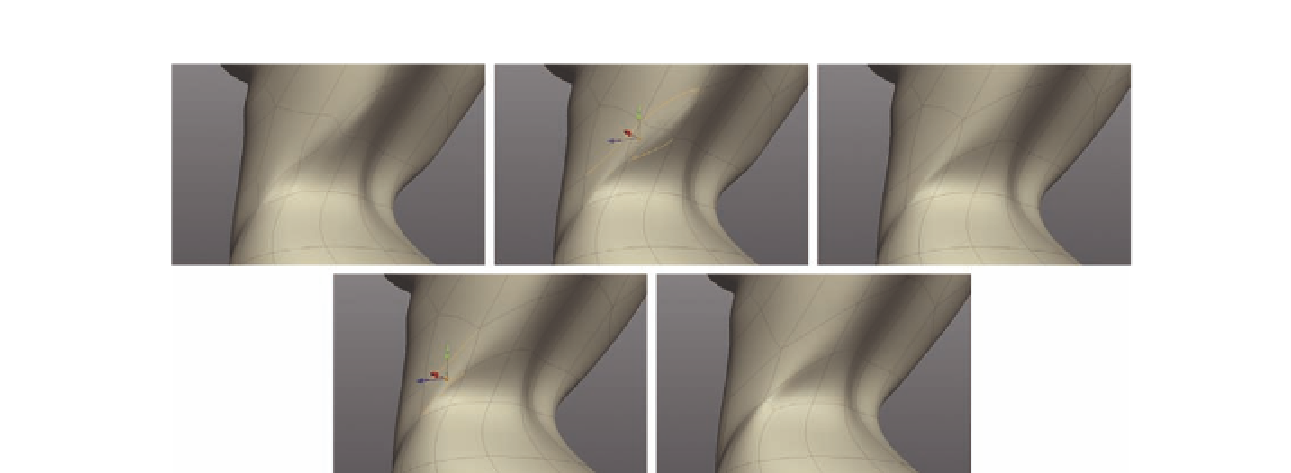
FIG. 6.32
Clean the unwanted triangles from her side.
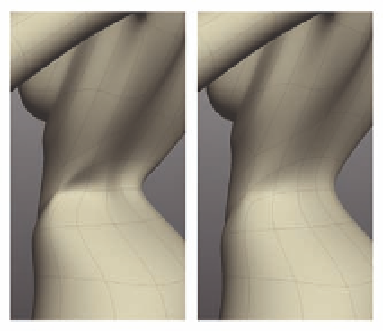
FIG. 6.33
S often the crease on the hip.
In the next section, we will add more geometry into her back, which will later
allow us to dei ne her spine, and continue the earlier cut we created on her
rear shoulder.
●
Select the four horizontal edges moving up the center of the model.
Follow this selection to also add the edges leading to the open edge on
the shoulder. These edges are highlighted in Figure 6.34a.
●
Cut
these edges by pressing
X
( Figure 6.34 b).
We now have three triangles to remove. We can adopt a similar process to
how we i xed her side, turning the two connected triangles into a quad.
●
Create the three
Cuts
shown in Figure 6 34c—one on either side of the
triangles and another connecting the open edges near the shoulder.
●
N o w
Delete
the crossing edges, and
Merge
the remaining triangle above
them, giving you something similar to Figure 6.34d.