Graphics Programs Reference
In-Depth Information
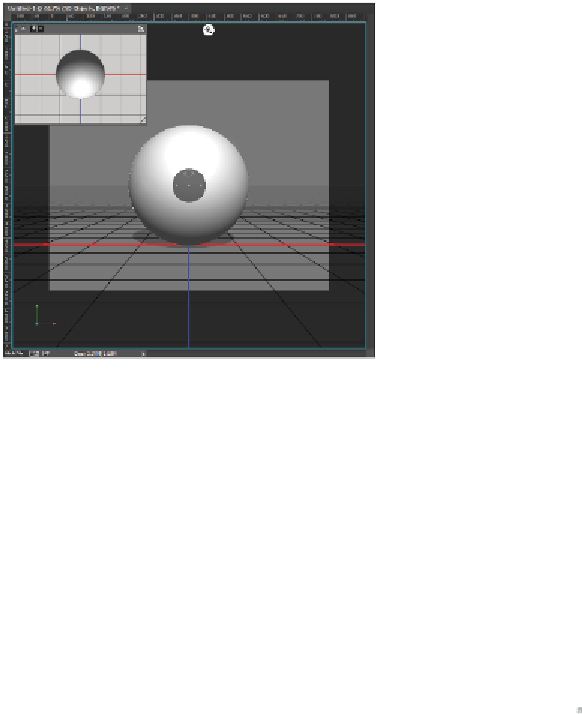
A new spherical 3D object has been created in Photoshop.
6
Choose File > Save. In the Save As dialog box, type
Photoshop3D
into the File Name text field and
then verify that the format is Photoshop (.PSD). Make sure that your destination folder is advps12les-
sons folder, and then click Save.
At this point, you have created a 3D object in Photoshop quickly and easily, but as you can see, there
are only a limited number of available presets for these meshes. Next, you will find out how to make
more customizable 3D content.
Extruding paths
You can use 2D Photoshop elements, including layers, paths, and selections, to create customized 3D ob-
jects. In this part of the lesson, you will use the Custom Shape Tool to create a path and extrude that into
a 3D object. To this end, you will make a new layer for your next 3D object.
1
In the Layers panel, Alt/Option+click the Create a new layer button ( ), type
Fleur-De-Lis
into the
Name text field, and click OK.
2
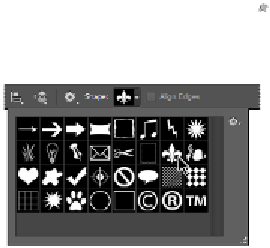
Select the Custom Shape tool ( ) from the Tools panel. Make sure that the tool is set to “Path” in the
Options panel so the result of this tool will be a path. Choose the Fleur-De-Lis shape from the default
shapes palette.
Using the Custom Shape Tool to create a path in the shape of a fleur-de-lis.
3
Click and drag to draw the path anywhere on your new layer. You can press and hold the Shift key to
constrain the proportions; try to make the new shape roughly the same size as the sphere. When you
release, the new path is selected.