Graphics Programs Reference
In-Depth Information
2
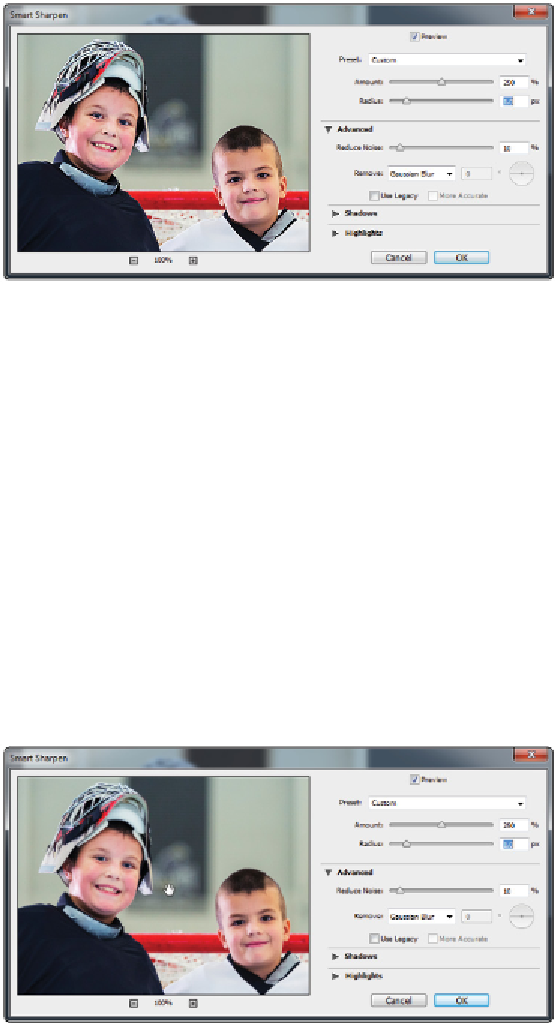
Click and drag the value in the Amount slider to the right to about 250%. Leave all other settings the
same, but do not click OK yet.
Apply a sharpening amount of approximately 250%.
How much sharpening is enough?
Many users are confused about how much sharpening should be applied. The amount can vary based upon the subject
matter in the image, where it is going to be viewed, and even the type of paper it will be printed on. Here are some
generic suggestions to get you started.
Up to 150%
Images where you don't want a lot of edge detail, hence lower numbers, would be older people, where you do not
want to accentuate skin flaws and wrinkles.
Over 150-200%
Images that are OK to go higher in the amount value are images that include children, product, or architectural im-
ages. By increasing the value of the sharpening, you can bring out details such as wood grain and other important tex-
tures.
3
Click and hold the image preview to turn off the sharpening preview and see what the image looked like
before the Smart Sharpen feature was applied. You should be able to see more detail when you release
and let the preview show how the sharpening is applied.
Click and hold the Preview to turn off the preview of the sharpening.