Graphics Reference
In-Depth Information
11. Split the 3D window into two horizontal rows. Change the upper row to a Node Editor
window.
12. Go to the Render window, and under the Sampling subpanel, set both the
Clamp Direct and Clamp Indirect values to
1.000
. Go to the Light Path subpanel
and set the Filter Glossy value to
1.000
.
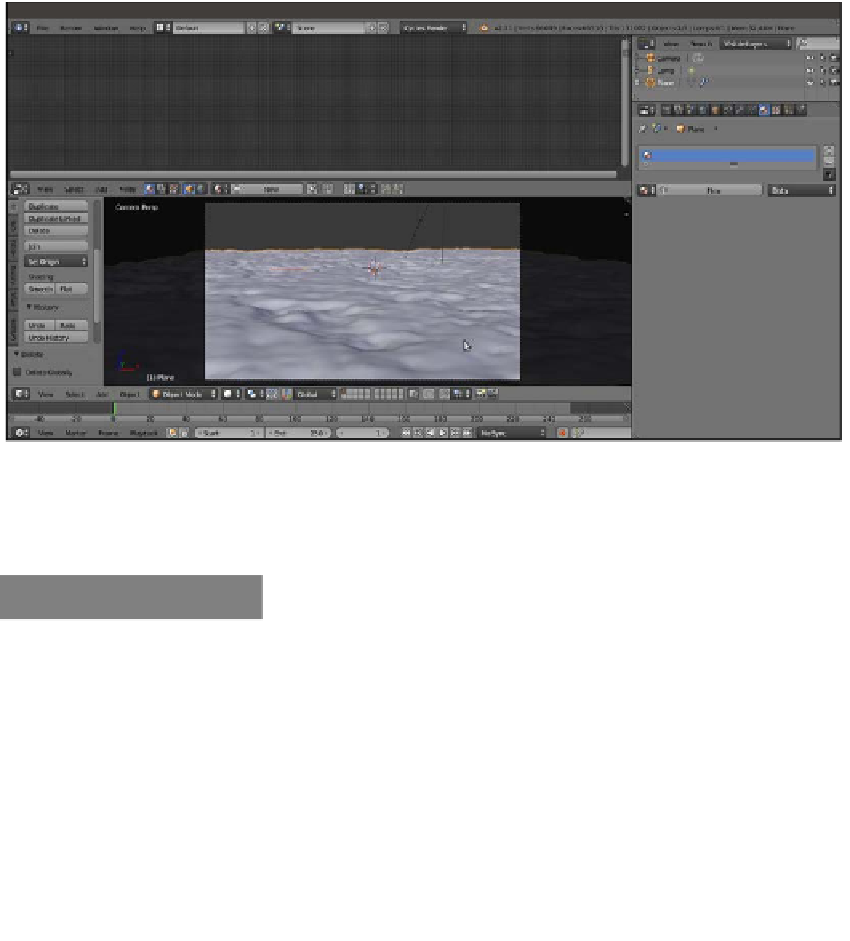
13. Reselect the Plane and go to the Material window under the Properties panel.
Disable the transformation widget by clicking on the icon in the 3D window toolbar
or by pressing
Ctrl
and the spacebar, as shown in the following screenshot:
Screenshot in the Solid viewport shading mode of the ground scene
In the final scene, I added three UV Spheres with simple diffuse colors, just for lighting
reference. Obviously, you can skip this step.
How to do it...
Let's now start with the ground material:
1.
Put the mouse cursor in the Camera view and press
Shift
+
Z
to switch the Viewport
Shading mode to Rendered.
2.
Click on the New button in the Material window or in the Node Editor toolbar.
Rename the material
Ground_01
.
3.
In the Node Editor window, add a Texture Coordinate node (press
Shift
+
A
and
navigate to Input | Texture Coordinate), a Mapping node (press
Shift
+
A
and
navigate to Vector | Mapping), and a Musgrave Texture node (press
Shift
+
A
and
navigate to Texture | Musgrave Texture).