Graphics Programs Reference
In-Depth Information
Finish the Process
When you are satisfied with the settings you've entered into the
Adjustment sliders, you can decide what to do with the file. Before
you open (or close) the file, you should check a few things.
1.
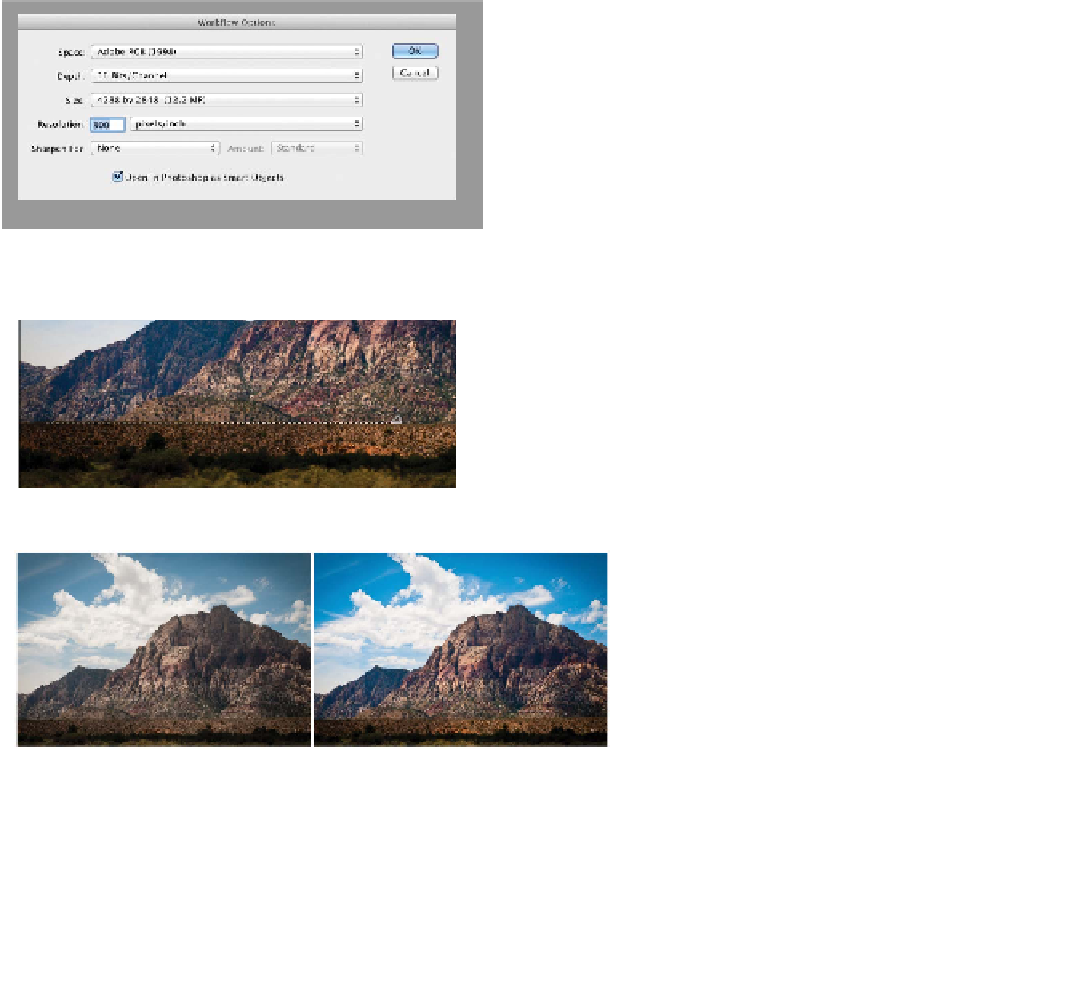
Click the Workflow Options text at the bottom of the image.
2.
Set the Depth to 16 Bits/Channel for the maximum tonal
fidelity.
3.
Set the resolution to 300 pixels per inch.
4.
Select the Open in Photoshop as Smart
Objects check box to ensure future ease
in readjusting the raw processing.
5.
Click OK to store the settings.
6.
Select the Straighten tool (A).
7.
Drag across the horizon line at the base of the
mountain to straighten the image.
When you release, you'll see a new crop box
drawn on the image. If you need to reset the
crop, click the Crop tool in the Tools panel
and choose Clear Crop.
8.
You now mu s t c ho o s e w h a t t o do w it h t he i file.
Clicking the Done button stores the Camera
Raw settings in a sidecar file (or database)
without opening the image in Photoshop. For
this image, click Open Object
to develop the raw file and send
it to Photoshop.
A new file opens in Photoshop
with the raw file added as a
Smart Object.
You c a n now u s e a ny of t he
adjustment techniques you've
learned in this chapter. Be sure
to save the file as a layered
Photoshop or TIFF file. If you need to reprocess the raw file, just
double-click its thumbnail in the Layers panel to reopen the image
into Camera Raw.
The image on the left is unprocessed, whereas the image on the right has had
many settings adjusted.