Graphics Programs Reference
In-Depth Information
connected by a curved line (as opposed to Levels, which uses only
three control points) to make adjustments. So, color correction can
be applied in a more gradual manner (without the hard clipping
that can be associated with Levels).
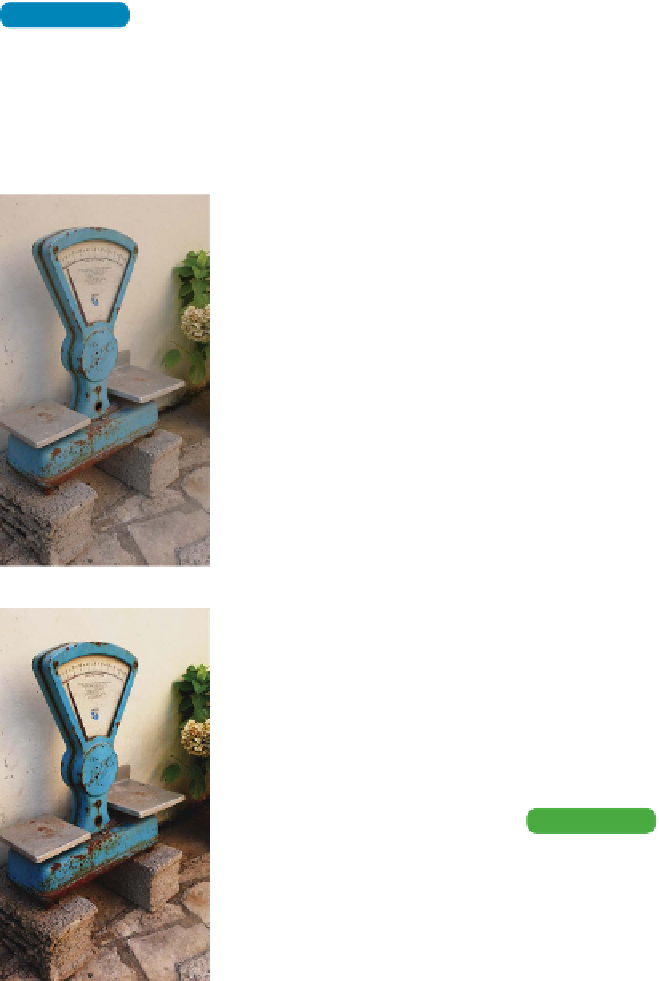
1.
Close any open files, and then open the image Ch10_Curves.tif
from the Chapter 10 folder.
NoTe
RGB Reverse
You're about to work with an RGB
image; the direction of darks and
lights will be reversed from the
Grayscale image.
2.
Add a Curves adjustment layer by
clicking the Curves icon in the Adjust-
ments panel. The curve has only two
points on it—one representing the
black point; the other, the white point.
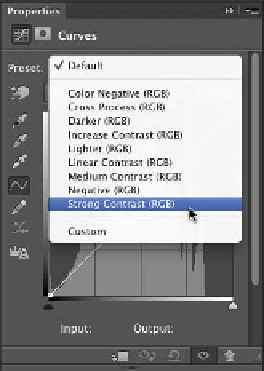
3.
It's now time to add more control
points to refine the curve. To do this,
you'll use a Curves preset. Click the
menu to select a Curves preset in the
Adjustments panel. Choose the Strong
Contrast (RGB) preset. Notice that
the image now has more contrast in
the shadows and highlights, and more
visual “pop.”
4.
Experiment by adjusting the five con-
trol points. Try to further emphasize
the shadows in the image. Continue
to experiment by moving the control
points (you can use the up and down
arrow keys for precise control).
Tip
Easy Curves
When the Curves Editor is open, you can easily
add control points. Click the icon that looks like
a pointing finger, and then just click and drag
in the image to modify the curve. The control
points will appear in the editor.
NoTe
Pay Attention to Your Axes
When working with a grayscale or CMYK file, the axes go from light to dark.
When working with RGB images, the scales are reversed. This means that
pulling a control point up or down may have a different effect.