Image Processing Reference
In-Depth Information
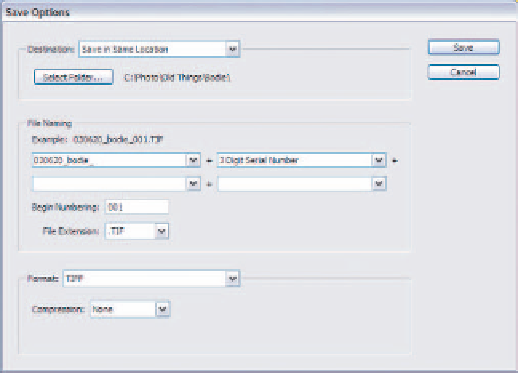
Figure 5.12
Yo u ' ll specify where to put the
converted files and to which file
type you want them converted.
Format offers several options, including Digital Negative, TIFF, and JPEG. You'll
typically want to save as TIFF in order to take full advantage of the 16-bit color space.
Selecting JPEG will automatically convert your files as 8-bit regardless of the Depth set-
ting in Camera Raw. If you do select JPEG, you have the option to set Quality; I rec-
ommend setting this to Maximum for best results.
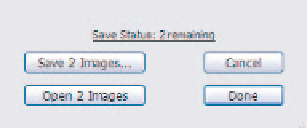
Once you click Save, all images will be converted and saved in the specified loca-
tion. As the images are processed, a not-very-obvious status link is displayed above the
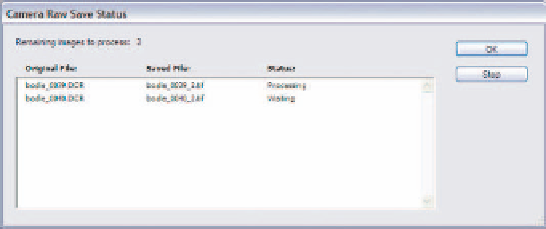
Save button (Figure 5.13). Clicking this link will open a Camera Raw Save Status dia-
log (Figure 5.14) showing which files have been processed and as what type. If you
want to cancel the conversion, click the Stop button in this dialog.
97
Note:
Holding the Alt/Option key while clicking Save bypasses the Save Options dialog. The Save
Options from the previous conversion will be used if you bypass the dialog.
Figure 5.13
Camera Raw shows the number of files being con-
verted. Clicking the link opens the Save Status dialog
showing the progress of the batch conversion
Figure 5.14
To c a n c e l a batch conversion, click the Stop button in the Camera Raw Save
Status dialog. This dialog also shows which files have been converted and to what file type.


Search WWH ::

Custom Search