Graphics Programs Reference
In-Depth Information
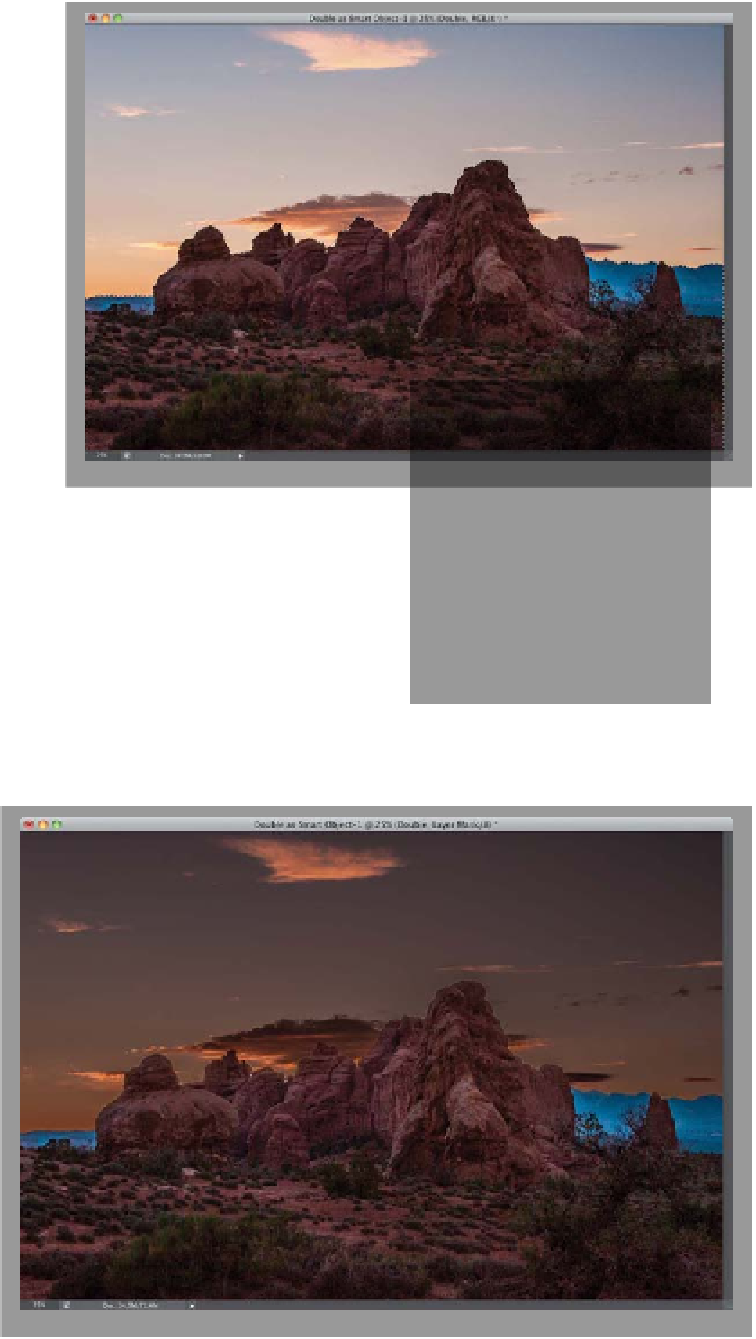
Step Five:
You now have t wo versions of your photo,
each on a different layer—the brighter
one exposed for the rocks in the fore-
ground on the bottom layer, and the
darker sky version on the layer directly on
top of it—and they are perfectly aligned,
one on top of the other. This is why we
call it “double-processing,” because you
have two versions of the same image,
each processed differently. Now what
we need to do is combine these two dif-
ferent layers (with different exposures)
into one single image that combines the
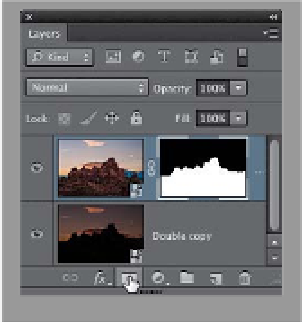
best of both. It'll be easier if we have the
image with the properly exposed rocks
as our top layer, so click on that layer and
drag it above the darker sky layer (as seen
here). We'll combine the images with a
layer mask, but rather than painstakingly
painting it, we can cheat and use the
Quick Selection tool
(W)
. So, get it from
the Toolbox and paint over the rocks and
foreground, and it selects them for you in
just a few seconds (as shown here).
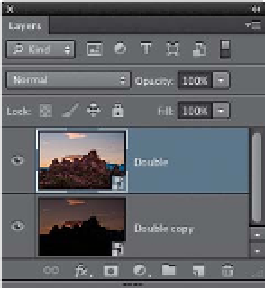
Step Six:
Go to the Layers panel and click on the
Add Layer Mask icon at the bottom of
the panel (shown circled here in red).
This converts your selection into a layer
mask, which hides the light sky and re-
veals the new darker sky layer in its
place (as seen here). It still needs some
tweaking (for sure), but at least now
you can see what we're aiming for—the
brighter foreground rocks from one layer
blended with the darker sky from the
other layer.