Graphics Programs Reference
In-Depth Information
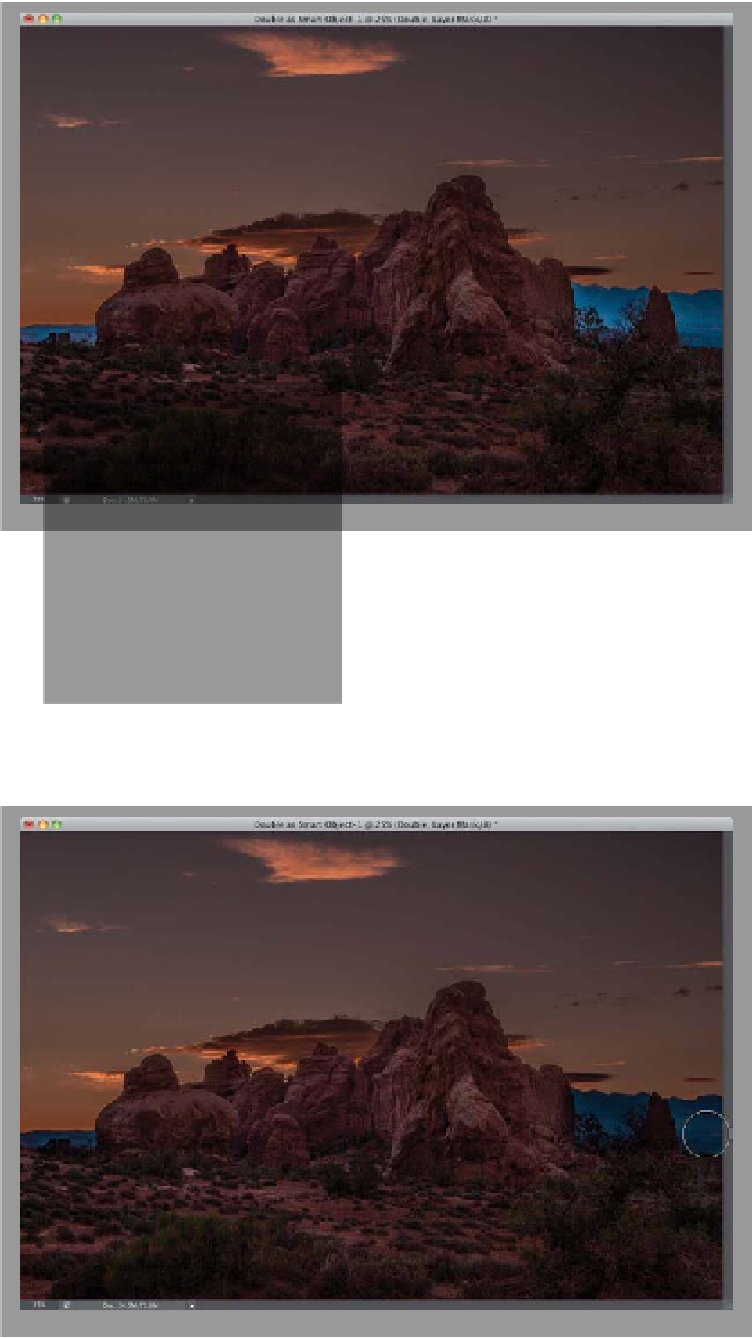
Step Seven:
Now, you're going to lower the Opacity
of this top layer (the brighter rocks layer),
so it blends in a little better with the
darker sky layer. Here, I've lowered it to
77%, and the colors match much better.
Well, except for those blue mountain
areas on either side of the base of the
rocks, which look kind of funky. They're
too bright, and a bit “glowy.” We're
going to have to fix that. Uggh!
TIP: Always Opening Your Images
as Smart Objects
If you always want your RAW-processed
images to open as smart objects, click
on the workflow options link at the bot-
tom of the Camera Raw dialog (the blue
text below the Preview area), and when
the dialog appears, turn on the Open in
Photoshop as Smart Objects checkbox.
Step Eight:
Press the letter
B
to get the Brush tool,
then click on the Brush icon in the Options
Bar and choose a medium-sized, soft-
edged brush from the Brush Picker. Also,
to help blend this a little better, lower the
Opacity of the brush (up in the Options
Bar) to just 50%. Now, press
D
, then
X
to
set your Foreground color to black, start
painting over those blue mountain areas
on the sides of the photo, and it paints
back in 50% of the darker image, so it
helps to hide those areas without making
them solid black. If you make a mistake,
switch your Foreground color to white
and paint over your mistake to erase
the spillover.
(Continued)