Graphics Programs Reference
In-Depth Information
Step 17:
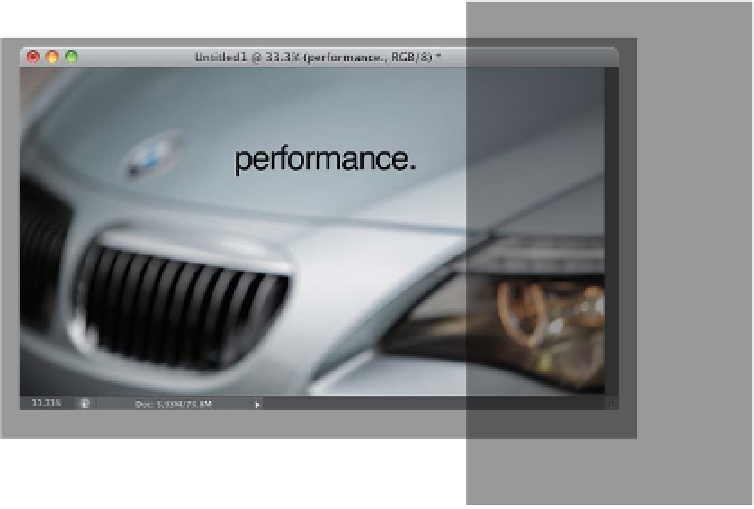
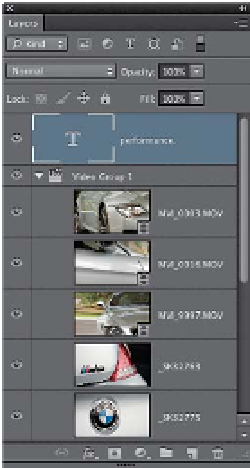
To get this tex t layer to appear on top of
your video, you have to go to the Layers
panel and drag it to the top of the layer
stack and out of Video Group 1, so it
creates a new track above your video track.
Sadly, you still won't see your text at this
point, because while it does take your text
and adds it to a new track, it also moves it
so it starts wherever your playhead is. So,
find your type clip, click on it, and drag
it back to the beginning of your movie.
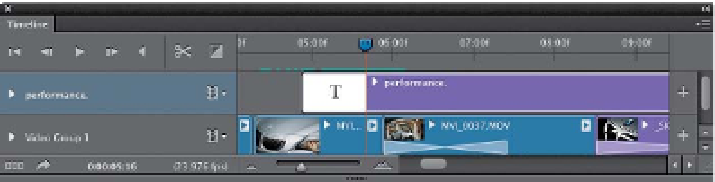
Actually, the text doesn't look that good
over the first clip, so drag it above the
second clip, and indent it a little, so the
second clip plays for a moment before the
text appears. Also, add a Fade transition
to your text, so it fades in (you can see
the transition in the next step).
Step 18:
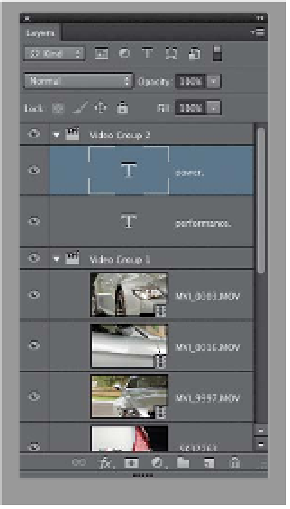
To add more tex t above other video clips
is actually easier: first, drag your play-
head over to the video clip where you
want the next text clip to appear (I went
to the third clip here). Now, just click on
your Type layer, and press
Command-J
(PC: Ctrl-J)
to duplicate your text layer.
This automatically creates a new track
above your existing text track in the
timeline. You really don't need more
tracks to keep track of (no pun intended),
so once it appears, just click-and-drag
it back down to your original text track
in the timeline (as shown here, where
they're both on the same track). Double-
click on the “T” thumbnail over in the
Layers panel to highlight your text, go
up to the Options Bar and change the
text color to white, and then type in
“power.” Next, use the Move tool
(V)
to
reposition it.
(Continued)