Graphics Programs Reference
In-Depth Information
Step Five:
Technic ally, things go fas ter in the edit-
ing process if you wait until the end to
add things like transitions and Photoshop
adjustments and effects, so usually you'd
put all your clips in order first, and then
go back and add all these little enhance-
ments, but since this movie is so short,
I thought we could bend the rules a bit
here. Okay, let's choose our third clip, and
move it to the third position from the bot-
tom in our Layers panel (let's use the wide
shot). Go ahead and trim the front and
back of that clip, so you just see the slide
move, and cut it a second or so after the
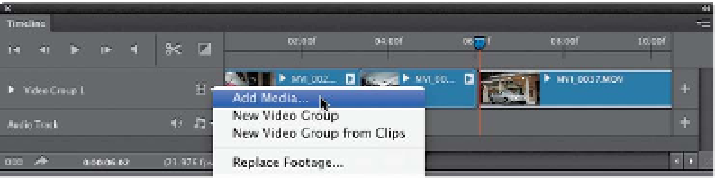
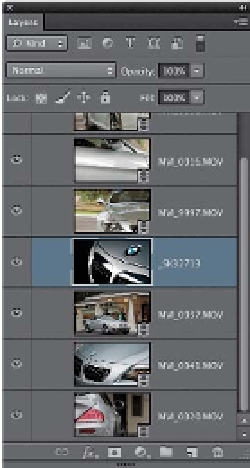
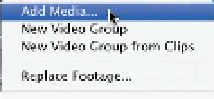
move. Now, let's add a digital photo to
our movie, so click on the filmstrip icon
to the right of Video Group 1 in the Time-
line panel, and choose
Add Media
(as
shown here), navigate to the image, and
click Open.
Step Six:
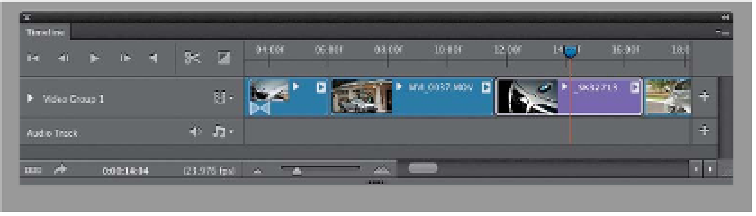
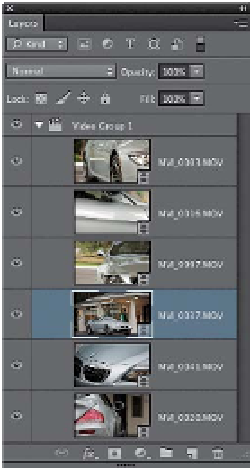
Your photo appears at the end of your
video, but we want it after our third video
clip, so in the Layers panel, click-and-drag
it downward in the stack so it's the fourth
layer (as seen here). You can see it now in
the timeline after the third clip (photos
appear in purple on the timeline). The
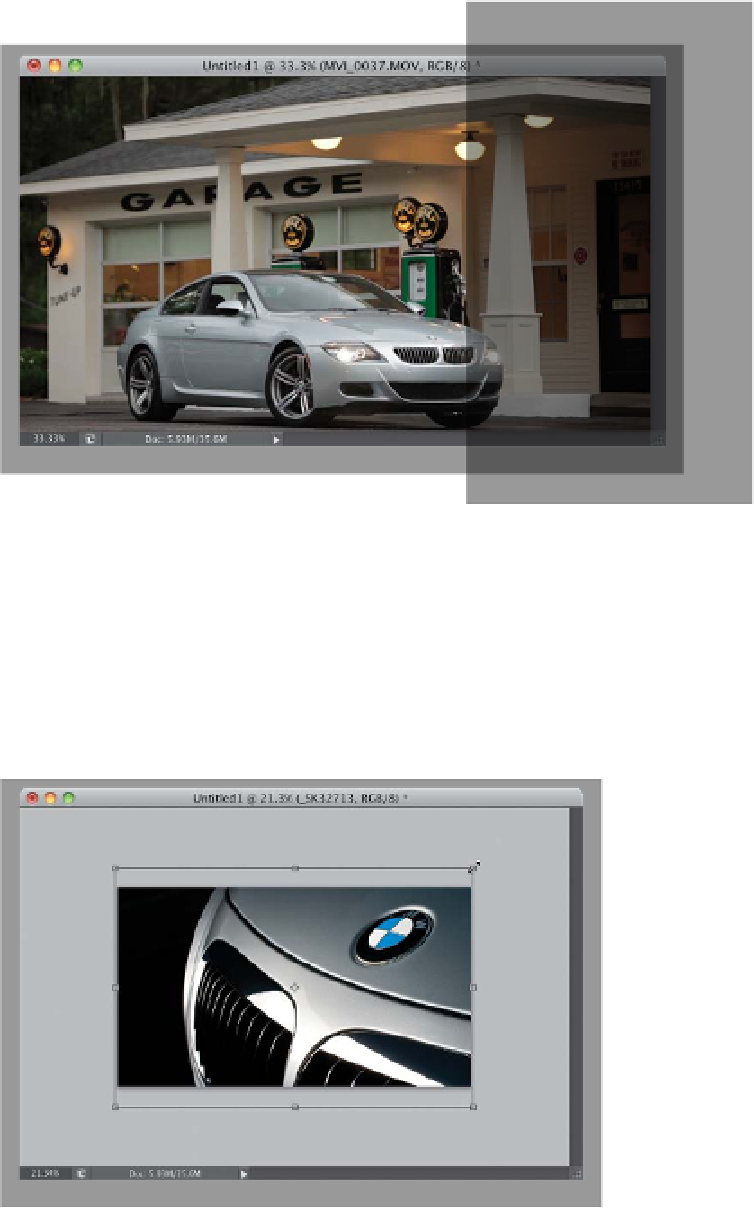
photo is fairly large in size (dimension-
wise), so we'll have to scale it down to
fit onscreen, and we can do that using
the same thing we use to scale down
any image on a layer in Photoshop: Free
Trans for m. Press
Command-T (PC: Ctrl-T)
,
but when the Free Transform handles
appear, the image is so large you won't
be able to reach them. So, press
Com-
mand-0
(zero;
PC: Ctrl-0
) and the docu-
ment window will resize so you can reach
all the handles. Press-and-hold the Shift
key, grab a corner point, and drag inward
until the photo fits the image how you
want it (as seen here), then press
Return
(PC: Enter)
to lock in your transformation.
(Continued)