Graphics Programs Reference
In-Depth Information
Step Three:
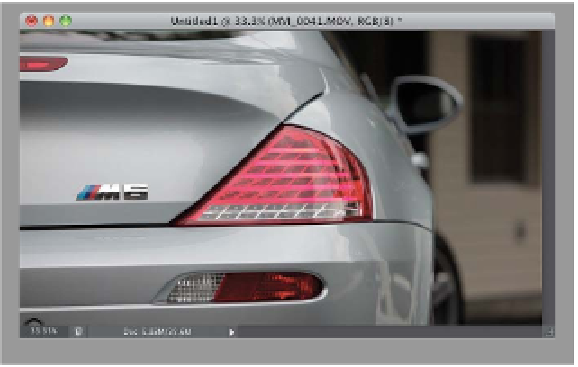
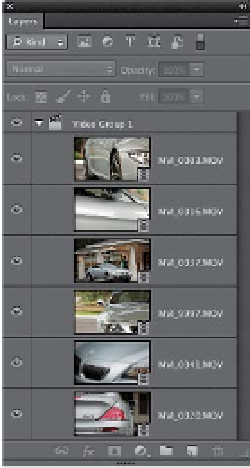
Let's go ahead and make the clip of the
back of the car our opening clip, so go to
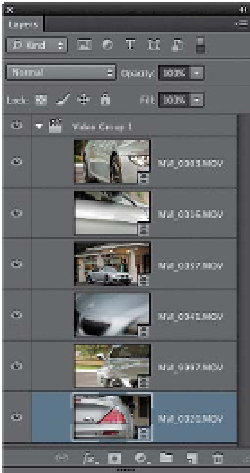
the Layers panel and drag this clip down
in the layer stack, so it's the bottommost
layer (as shown here). Now, let's trim the
clip (the first couple of slide moves aren't
that good, so we'll go with the third one):
trim the front (as seen here) and the back
to get it so it's just that one slide move
from left to right. Trim it so the clip stops
just a second after the slide move ends
(see page 390 for more on trimming).
Note:
If you have trouble trimming the
end of the clip so there's no movement
back toward the left (I sure did), this
is where zooming in on your timeline
(using the slider at the bottom left of
the timeline) really pays off (I zoomed
in tight, then it was a breeze getting
to just the right spot, because the blue
clip got a lot longer, which makes it easier
to trim).
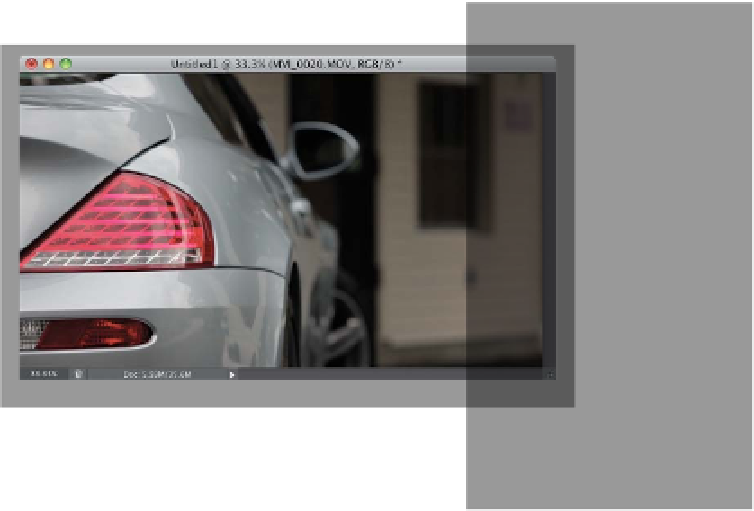
Step Four:
Let's make the car hood unfocused-to-
focused shot the second clip, so in the
Layers panel, drag that clip down in the
stack so it's the second layer. We'll need
to trim this one a bit to get just the sec-
ond unfocused-to-focused move, and
make sure the end cuts off right after
it's in focus for just a second. Go ahead
and play the first two clips and see how
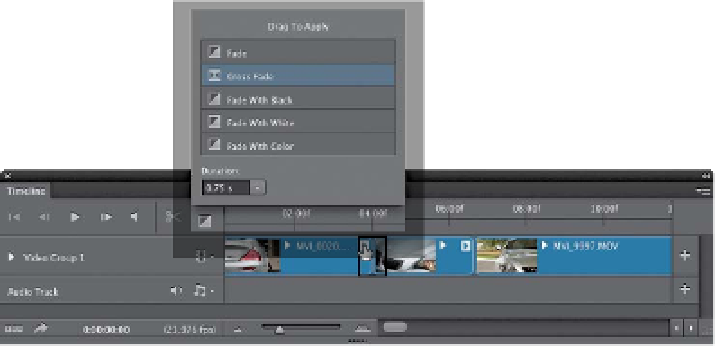
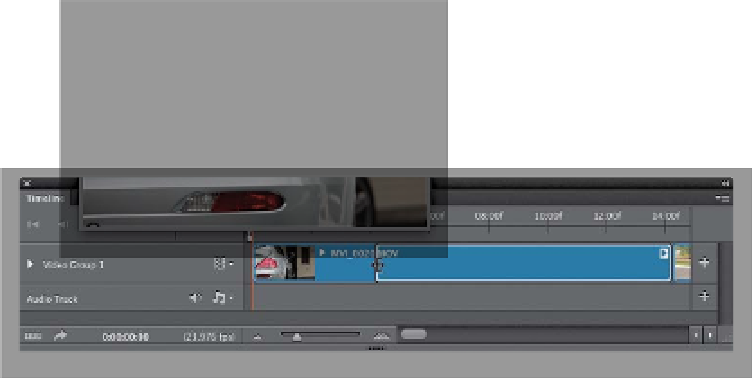
it looks. Looks like it needs a transition
between those two clips, right? Click
on the Transition icon at the top left of
the Timeline panel, and choose
Cross
Fade
. Choose a short Duration (like 0.75
seconds), and then click on Cross Fade
and drag-and-drop it right over the spot
where the first and second clips meet in
the timeline (as shown here) to make it
dissolve between the two (see page 396
for more on transitions).