Graphics Programs Reference
In-Depth Information
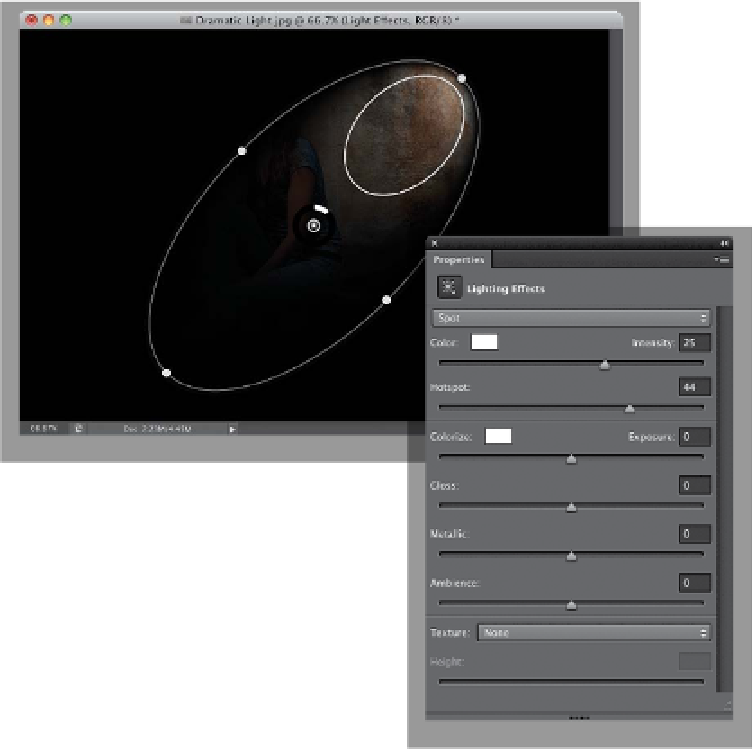
Step Two:
Go under the Filter menu, under Render,
and choose
Lighting Effects
. The Tool-
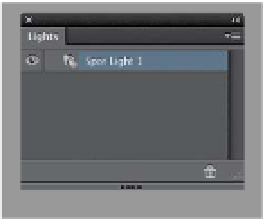
box gets hidden (you don't need it), a
new Lights panel appears on the right,
the Properties panel shows the Lighting
Effects controls, and we have new options
in the Options Bar. Also, you can see that
it has greatly darkened your entire image
and put a spotlight in place. If all this looks
kind of intimidating, I've got good news:
you can choose to ignore almost all of
it and just use the built-in presets at the
left end of the Options Bar. When you
click on the Presets pop-up menu, a list
of predesigned lights (including multiple-
light scenarios) appears (you're just seeing
the default spotlight effect here).
Step Three:
For the dramatic lighting look, my favor-
ite preset is Flashlight (it uses the Point
style of light, which is a perfect circle of
light, rather than the large, oval shape
of the Spot Light style). When you chose
Flashlight
from the Presets menu, you
get this soft, round spotlight, and to po-
sition it where you want it, just click right
in the center of it (you'll see a little HUD
[Heads Up Display] appear with the word
“Move”), and drag it where you want it.
Here I dragged it over onto our subject.