Graphics Programs Reference
In-Depth Information
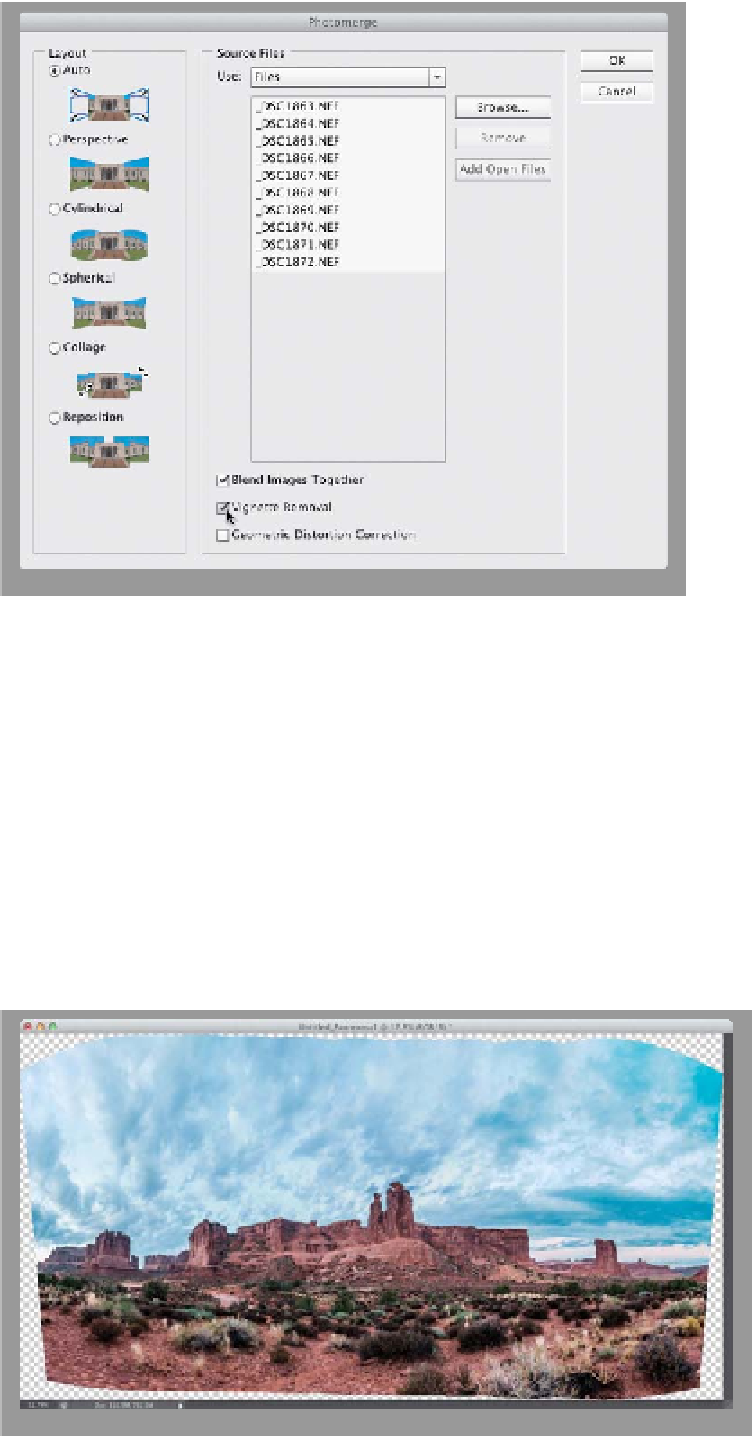
Step Four:
When you choose Photomerge, it
brings up the dialog you see here, with
the images you selected listed in the
center column. (
Note: I
f you opened
your pano photos from within Photo-
shop, the center column will be empty,
so you'll click the Add Open Files but-
ton.) We'll look at the Layout part in the
next step, and jump down below that
center column. Leave the Blend Images
Together checkbox tur ned on. Now, there
are two other options you may need, de-
pending on how you shot your pano:
(1) If you have lens vignetting (the edges
of your images appear darkened), then
turn on Vignette Removal (as I did here),
and although it will take a little longer
to render your pano, it will try to remove
the vignetting during the process (it
does a pretty decent job). If you're
using a Nikon, Sigma, or Canon fisheye
lens to shoot your panos, then turn on
the Geometric Distortion Correction
checkbox at the bottom to correct
the fisheye distortion.
Step Five:
In the Layout section on the left, the
default setting is Auto (as seen in Step
Four), and I recommend leaving that set
to Auto to get the standard wide pano
we're looking for. The five Layout choices
below Auto (Perspective, Cylindrical,
Spherical, Collage, and Reposition) all
give you…well…funky looking panos
(that's the best description I can give
you), but suffice it to say—they don't
give you that nice wide pano most of
us are looking for. So, let's just stick with
Auto. Click OK, and within a few min-
utes (depending on how many photos
you shot for it), your pano is seamlessly
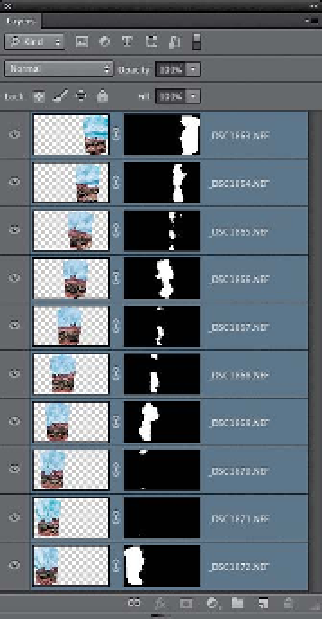
stitched together (as seen here). In the
Layers panel, you can see all the masks it
created to do its thing.