Graphics Programs Reference
In-Depth Information
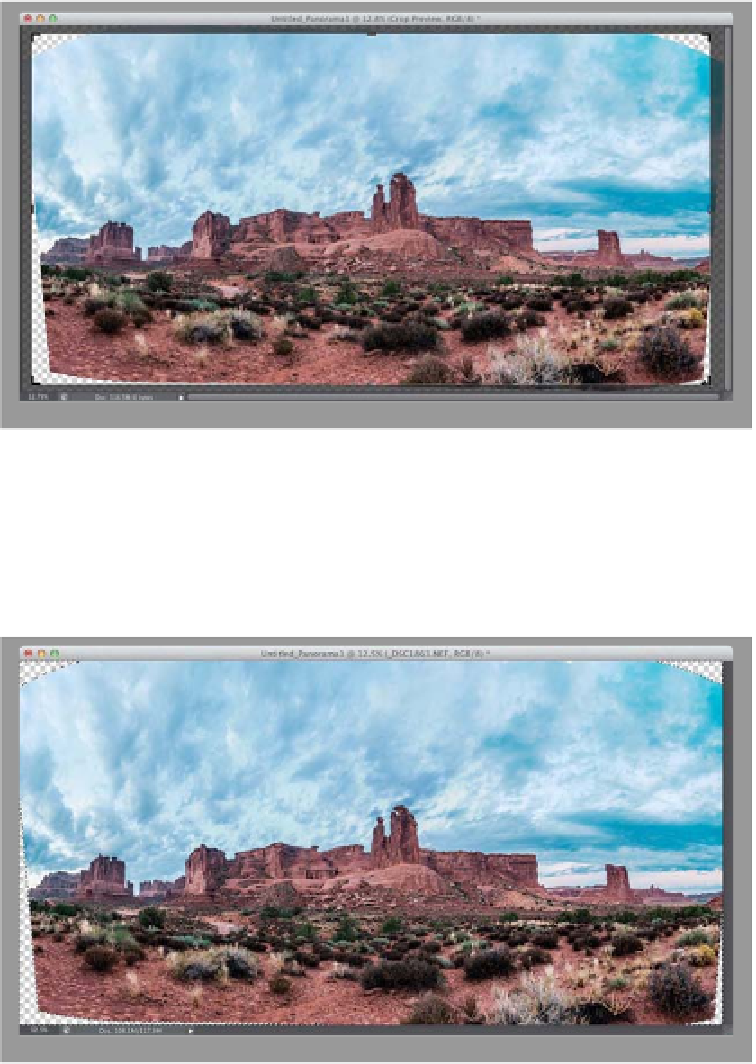
Step Six:
To make your pano fit per fec tly together,
Photomerge has to move and rearrange
things in a way that will cause you to
have to crop the photo down to get the
final result you want (we get the easy job—
cropping only takes about 10 seconds).
So, get the Crop tool
(C)
, which brings
up a cropping border around your image
(like you see here). Don't worry if there are
a few gaps along the edges, because we'll
fix that in a moment.
Step Seven:
Press
Return (PC: Enter)
, and your pano
is cropped down to size (as seen here),
but you can see that we have gaps in all
four corners (and a couple of tiny white
gaps on the top-right side, which we can
fix later with the Clone Stamp tool—that's
easy—but we need to deal with these
corner problems now). First, from the
Layers panel's flyout menu, choose
Merge
Visible
to merge all your layers and leave
the background transparent. Next, get
the Magic Wand tool (press
Shift-W
until
you have it), click in the top-left gap once,
then press-and-hold the Shift key and
click in the other corners (holding the
Shift key lets you add the other areas to
your current left-corner selection). We're
going to use Content-Aware Fill to fill in
those gaps, but it works best if you give it
some breathing room by expanding your
selected areas by 4 pixels. To do that, go
under the Select menu, under Modify,
and choose
Expand
. Enter 4 pixels (as
shown here) to grow your selection out-
ward a bit, and click OK. Now our file is
ready to let Content-Aware work its magic.
(Continued)