Graphics Programs Reference
In-Depth Information
the group (Figure 12.82). Note that Blender has named the vertex group
“Group.” You can of course change this name if you wish. Tab back to
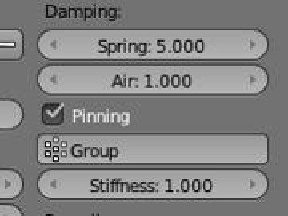
object mode, go to the “Physics” button and tick “Pinning,” then click
on the vertex group panel just below “Pinning” and click on “Group” to
select the vertex group (Figure 12.83). In the 3D window, press Alt + the
A key to play the animation again. Observe that the plane (cloth) falls
away as if pinned in place and held by its two corners (Figure 12.84).
Press Esc to stop the animation.
Figure 12.83
Figure 12.84
The two rear corners appear
to be pinned in place, and the rest
of the cloth falls away.
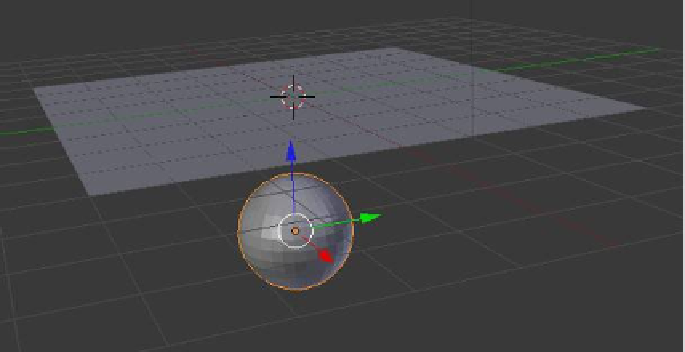
The cloth plane can be made to interact with other objects in the scene. Add a UV sphere
and position it below the plane as shown in Figure 12.85. With the sphere selected, go to
the properties window - “Object Modifiers” button and add a collision modifier. Replay the
animation and you will see the cloth plane fall and drape over the sphere (Figure 12.86).
The UV sphere is
selected in the 3D view
as indicated by the
manipulation widget.
Figure 12.85