Graphics Programs Reference
In-Depth Information
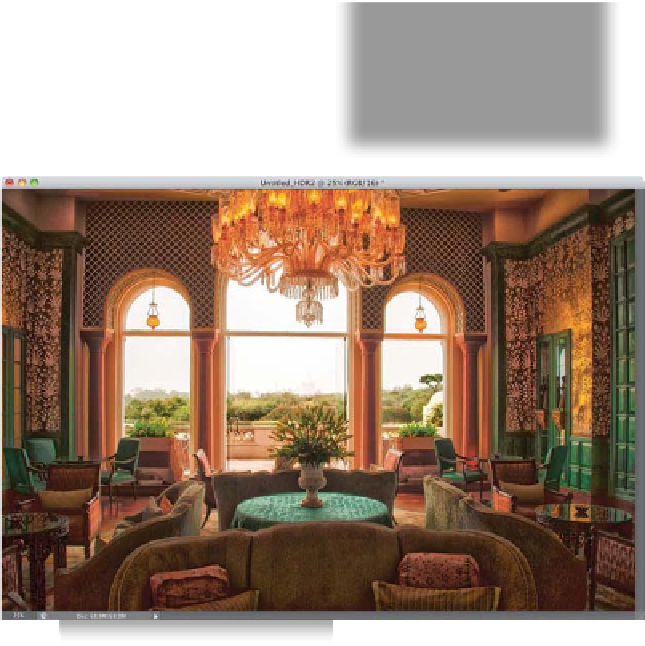
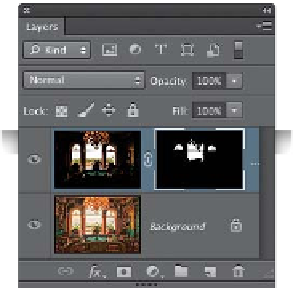
Step Seven:
With your Foreground color set to white,
get the Brush tool
(B)
, choose a small, soft-
edged brush from the Brush Picker in the
Options Bar, then just paint over the sky
and trees to reveal the normal exposure
image. If you make a mistake, just press the
letter
X
to switch your Foreground color
to black and paint over those areas.
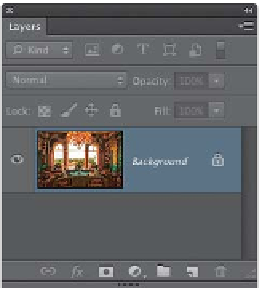
Step Eight:
At this point, we don't really need to
do anything else in Photoshop—we'll do
our final tweaking in Lightroom itself.
So, all we need to do at this point to get
this image back over to Lightroom is to:
(1) f flatten the image, (2) save the f file, and
(3) close it. So, from the Layers panel's
flyout menu, choose
Flatten Image
, then
press
Command-S (PC: Ctrl-S)
to save it,
and then close the image window.
Continued