Graphics Programs Reference
In-Depth Information
Step Five:
First, go under the File menu, choose
Open
, and open the normal exposure
image from our HDR (we'll be using this
to fix the area outside the windows in our
HDR image) in Camera Raw. We'll tweak it
a bit by decreasing the Exposure to -1.00
and then increasing the Contrast to +50,
the Clarity to +50, and the Vibrance to +25.
When you're done, click Open Image.
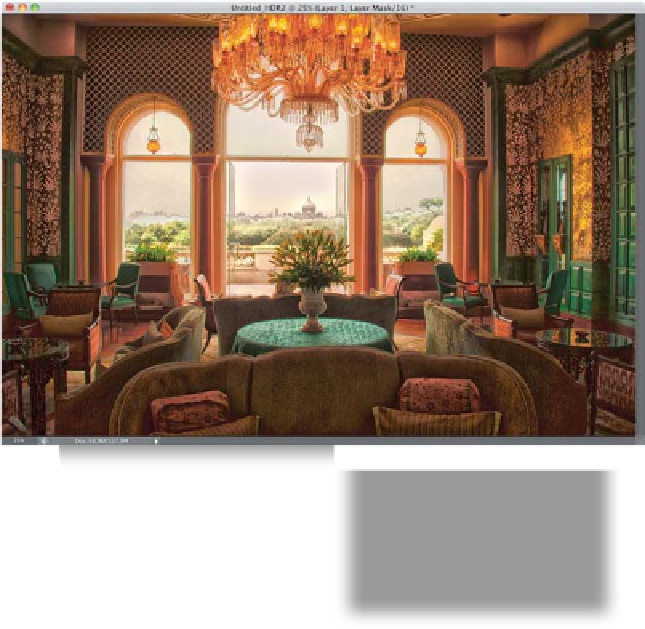
Step Six:
Now, get the Move tool
(V)
, press-and-
hold the Shift key, and drag-and-drop the
normal exposure image on top of the HDR
image (holding the Shift key makes sure
the two line up), so they appear in the
same document on different layers. Next,
press-and-hold the Option (PC: Alt) key
and click on the Add Layer Mask icon at
the bottom of the Layers panel to hide
the normal exposure image behind a
black layer mask (as shown here).