Information Technology Reference
In-Depth Information
2.
Double-click the thumbnail preview picture, and then click the pencil
icon at the bottom left of the pop-out dialog box. Then click the circular
button to the right of the preview of your login image.
3.
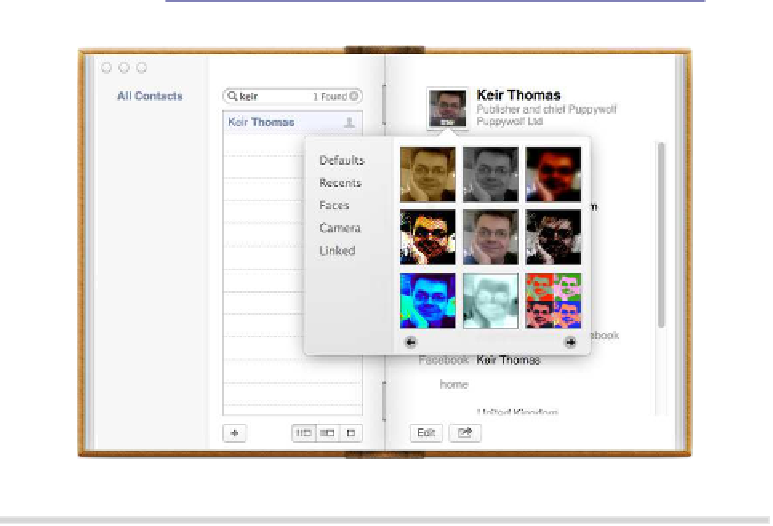
This will open an effects palette similar to the one seen in Photo Booth,
and clicking any of the previews will instantly apply the effect to your
the left/right arrows beneath the effect previews to see more effects.
Figure 34—Apply effects to your login pic.
4.
By holding down
OPTION
and clicking and dragging the image after you've
applied the effect, you can also rotate it (also hold
SHIFT
to “snap” the image
to points on the compass-like circle that appears). Simply clicking and
dragging without
OPTION
will let you reposition the image within the frame,
and clicking and dragging the zoom slider will let you zoom in and out.
5.
Once you've finished, click the Done button at the bottom right of the
pop-out window. Note that you can repeat these steps later and will be
shown the original iSight/FaceTime HD snapshot once more without the
effects you added, ready for a different set of effects to be applied.
You can also click the Camera tab on the left of the pop-out effects window
to take an entirely new photo for your login pic—pose, and then click the
Camera icon at the bottom left to take the snap.