Graphics Programs Reference
In-Depth Information
To start the online production process remember that you need to have selected an online
production book at the beginning of the creation process. This will mean that once the topic
has been created and edited you just need to click the Order button located at the bottom
of the Create panel to place an order. A warning window will appear letting you know that
the process required to prepare the topic for upload-
ing can take between 5 and 20 minutes to complete.
Obviously placing an order for a Photo Book online
requires an Internet connection and you won't be
able to proceed from this point if one is not available.
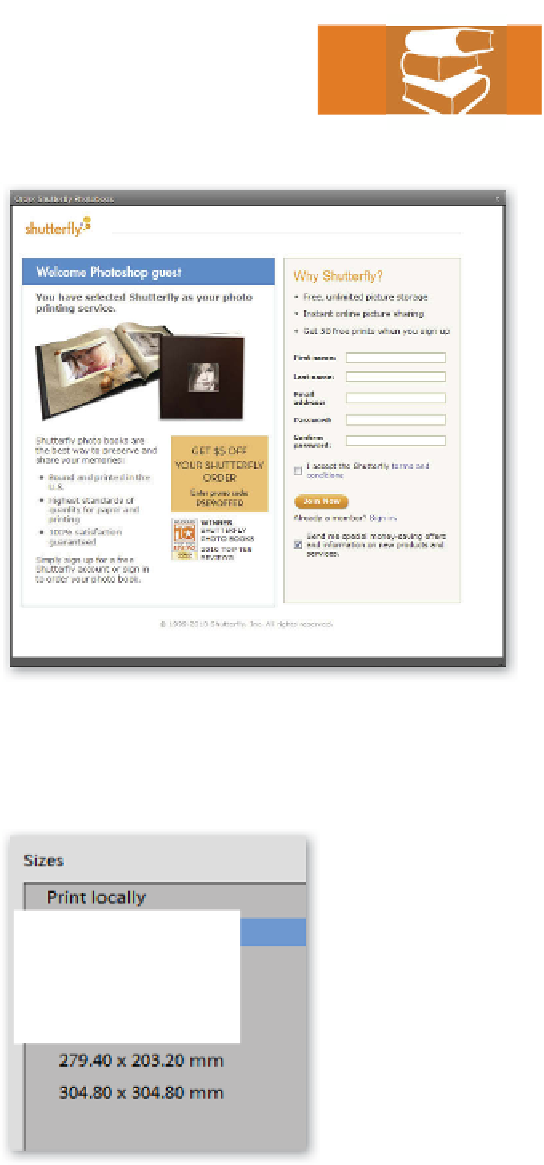
Next, you will see the Shutterfly wizard display. If
you haven't used the service before you will need to
register before proceeding. Work your way through
each of the screens choosing cover material and
color and adding recipient and billing details before
finally uploading the topic file and confirming the
order. With the order process completed the topic file
will be printed and bound and then returned to you
in the post or by courier.
Printing at home
The alternative to online production is printing
your Photo Book project via a desktop inkjet printer.
The multi-page document is designed for producing
book pages in standard A4 or Letter sizes as well as the typical scrapbook format of 12 x 12
inches, so make sure that you have paper either equal to these dimensions, or greater, and
a printer capable of outputting to this size sheet. Alternatively, you can use standard paper
sizes and simply select the Scale to Fit option (in the
Print dialog) to squeeze your book pages to suit.
ShutterFly use an online
wizard to step you through
the Photo Book ordering
process.
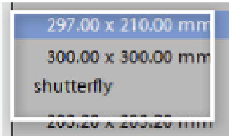
Print sizes for Photo Book
pages are determined in
the first step of creating a
book. The range of paper
sizes available to you will
depend on the country in
which you live.
To get the look and feel of a traditionally printed
book some photographers, who regularly produce
their own albums or scrapbooks, use paper that can
be printed on both sides. After printing on one side,
the sheet is reinserted into the printer to print the
reverse. When bound these pages replicate a profes-
sionally printed page.
With the paper and printer organized, outputting
the file is a simple matter of selecting the Print entry
from the File menu or the floating book options bar.
Elements will then display the Print dialog. Here you can select the printer, adjust the size
and position of the topic page on the paper and choose how the color will be managed.


Search WWH ::

Custom Search