Graphics Programs Reference
In-Depth Information
3
2
1
4
6
5
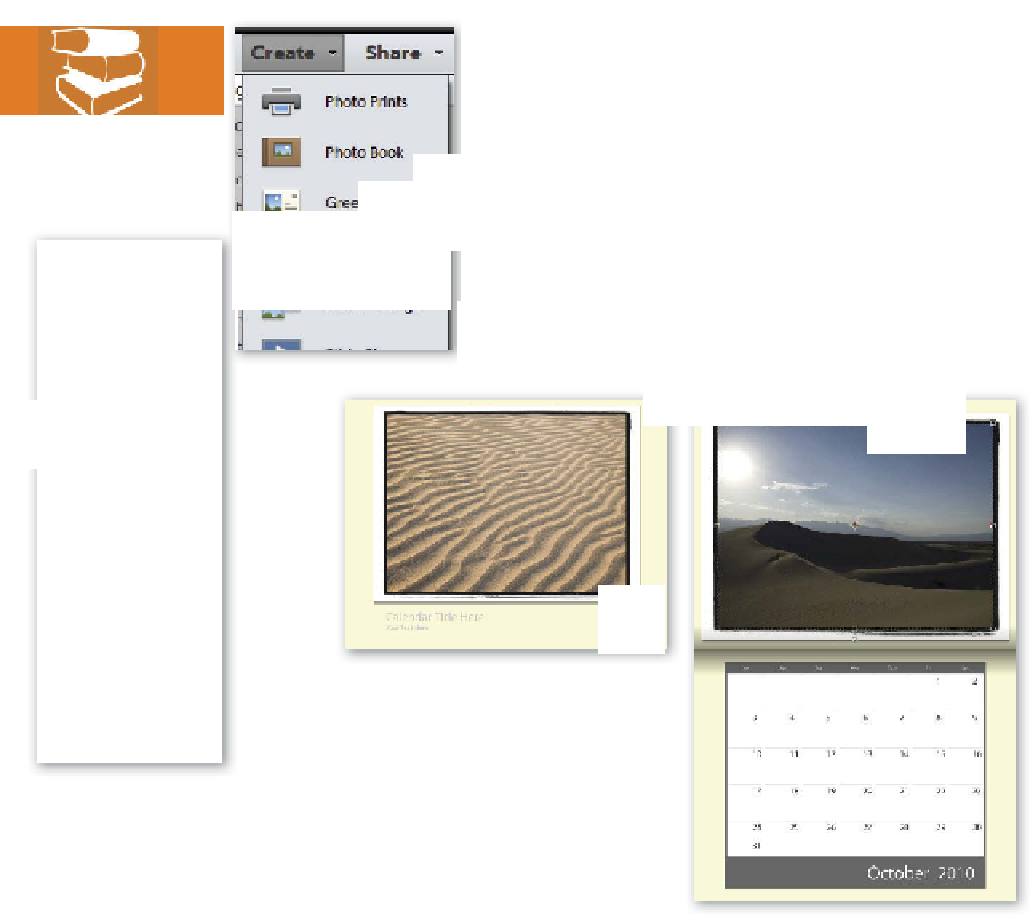
Photo Calendars are started in the Create panel (1) by selecting
the project's entry. Next the starting month and size is selected
in the Photo Calendar dialog (2). Next the Theme (3) and
AutoFill (4) setting is selected. Clicking the OK button produces
the final calendar ready for uploading or printing locally (5).
The various pages that make up the calendar project can be
selected for display in the main workspace by clicking on their
thumbnail in the Pages section of the Create panel (6).
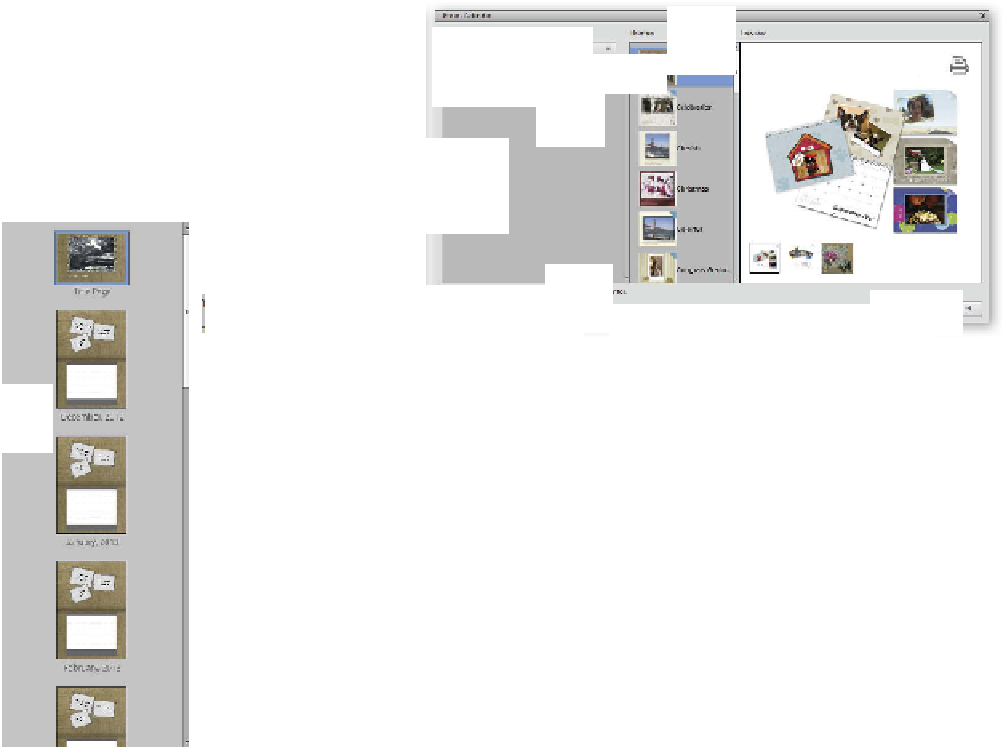
Photo Calendars are multi-page documents that feature your photos and a series of days in a
month-by-month format. The design has a Title, or cover page, and several calendar pages.
Like the other photo projects we have looked at, you can choose the way that your layout
looks and which provider you will use to produce the calendar. There is also an option for
choosing the start month and year making it a cinch to get those Christmas calendars
organized well ahead of time. Once created the various pages of the project can be selected
in the Page section of the Create panel. Frames and backgrounds are adjustable just as is
the case with the other projects and yes you can add extra pictures, text and graphics if you
wish. And if you decide not to go online to produce the calendar then you also have the op-
tion to print the project to a desktop printer.


Search WWH ::

Custom Search