Graphics Programs Reference
In-Depth Information
3
2
1
4
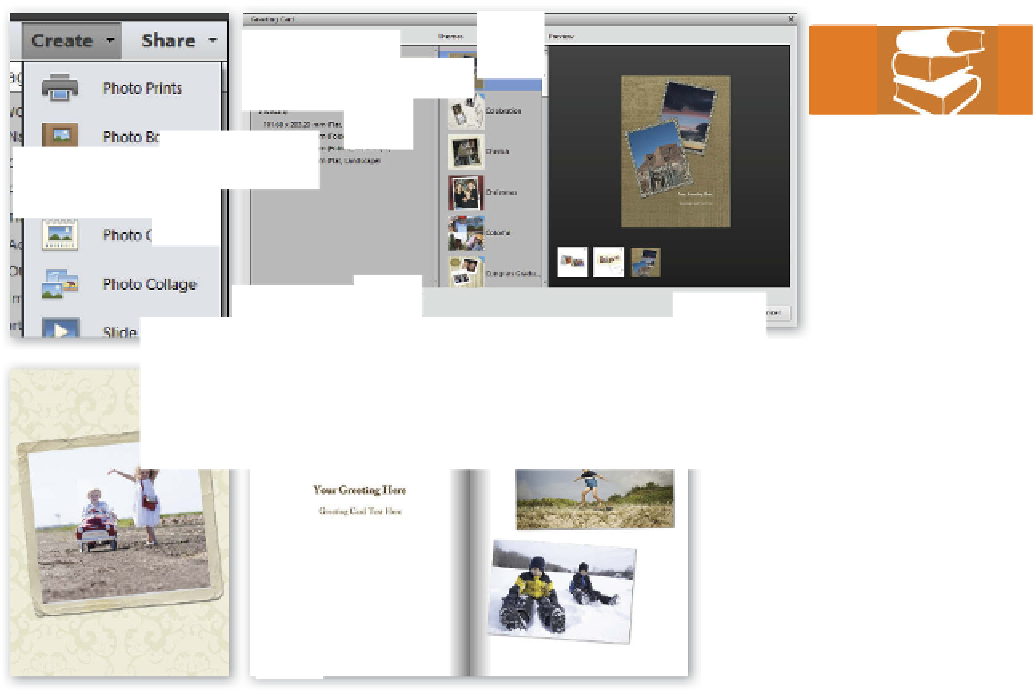
After selecting your images in the
Organizer choose the Greeting Card
option from those listed in the Create
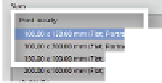
panel (1). The size and type of output is
then selected in the Size section of the
Greeting Card dialog (2). The frame t ype
and background design are chosen in the
Themes area (3) and AutoFill is used to
add the selected images automatically
to the frames (4). The resulting greeting
card may have several pages depending
on the design (5).
5
The Greeting Card project was updated in Photoshop Elements 9.0 and now follows the
same basic workflow as Photo Books, Collages and Calendars. Users have the opportunity to
create a range of cards that can be printed locally or produced by one of the online compa-
nies. If you are based in the US then you will be able to select card options from ShutterFly.
Other regions will have different options with some locations having no online options.
The Greeting Card production process is a familiar one with the images being selected first
before picking the entry in the Create panel. Next, the size, theme and output option is cho-
sen. This is essentially a choice between printing locally or using the services of an online
provider. Remember that you can always print the designs you make for online providers
but you can't upload the designs you create for printing locally. Again there is an option for
getting Elements to automatically fill the frames created in the card design with the images
you have selected. Clicking OK produces the card. Once this is completed you can adjust the
design before selecting the Done button to save the projects, the Print button to output the
project locally or the Order button to send the project to an online provider.


Search WWH ::

Custom Search