Graphics Programs Reference
In-Depth Information
1
White Balance - Step-by-step
There are three different ways to remove color casts in Adobe Camera Raw. The method you
use will be determined by the type of photo you are correcting, or the method you find easi-
est. With tricky white balance problems you may have to try a couple of approaches before
finding a method that works.
2
3
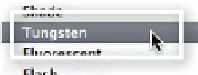
White Balance drop-down menu:
If you
selected a Daylight setting in-camera and
think that Shade or another white balance
preset may be closer to the actual lighting
conditions you may select one of the options
from the list of presets under the White Bal-
ance drop-down menu.
In this example the Daylight setting was used
to capture the photograph. Simply switching
the setting to Tungsten or Auto will remove
the majority of the color cast in the picture.
Moving either the Temperature or Tint slid-
ers switches the setting to Custom. These
controls are used for matching the image
color temperature with that of the scene.
Temperature slider:
The Temperature slid-
er is a fine-tuning device that allows you to
select a precise color temperature in units of
degrees Kelvin. When an image is too yellow,
meaning it has a lower color temperature
than you prefer, move the Temperature slid-
er to the left to make the colors bluer and
compensate for the lower color temperature.
When an image is too blue, or higher in tem -
perature than you prefer, move the slider to
the right to make the image warmer, adding
more yellow compensation. So, left is to make
image colors cooler and right is to make im-
age colors warmer.
Tint slider:
The Tint slider fine-tunes the
white balance to compensate for a green or
magenta tint.
Moving the Tint slider to the left adds green
and to the right adds magenta. This control
is often used to neutralize a color cast caused
by lighting from fluorescent tube or strip
sources.
White Balance tool:
The quickest and
perhaps easiest way to adjust white balance
is to select the White Balance tool and then
click in an area that should be neutral gray
or even amounts of red, green and blue.
For best results, use a dark to midtone area
as the reference and be careful not to click
on an area with pure white or specular
highlights. These will produce unreliable
results so keep away from the bright
highlight areas of highly reflective or
chrome surfaces. One suggestion for
working with neutral gray is to:
1. Click on the White Balance tool.
2. Move the White Balance tool cursor over
a midtone area which should be neutral
gray (e.g. textured white area) but
contains a color cast in the preview.
3. Click on the image location to neutralize
the cast not just in the selected area but
in the whole photo.
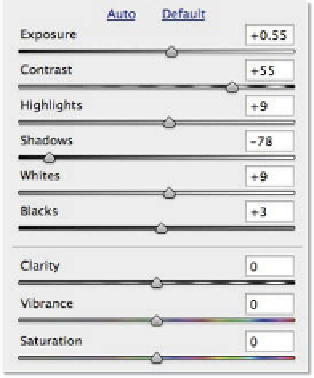
Making tonal and color adjustments
Below the white balance controls are the Exposure,
Contrast, Highlights, Shadows, Whites, Blacks, Clar-
ity, Vibrance and Saturation sliders which are also
available for making adjustments to raw files. Adobe
has positioned these controls in the dialog so that
when working from top to bottom you follow a specific
enhancement workflow.
For this reason you should make enhancement
changes in the following order.


Search WWH ::

Custom Search