Graphics Programs Reference
In-Depth Information
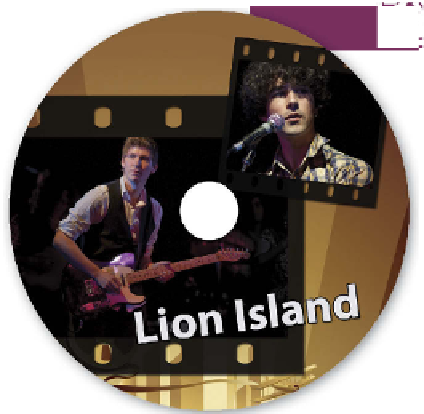
Another inclusion for image makers saving their files to disk is the CD/
DVD Label project. This photo project produces a circular design that is
suitable for printing onto the surface of printable CDs or on perfo-
rated label paper. Like the other projects in Elements, an image
or images are selected from the Organizer workspace or Project
Bin, before selecting the CD/DVD Label option from the More
Options menu in the Create task pane. Once selected the panel
options will not provide a choice for the document's size as all
the templates are designed with dimensions to suit a standard
DVD or CD disk. The choice of layouts is largely based on the
number of images to include on the CD label, but the selection
you make here doesn't restrict you from adding (or taking away)
images later in the design process. Some of the same themes that are
available in the CD/DVD Jacket creation are also contained here and so it
is possible to create matching label and jacket sets for your projects.
1
2
3
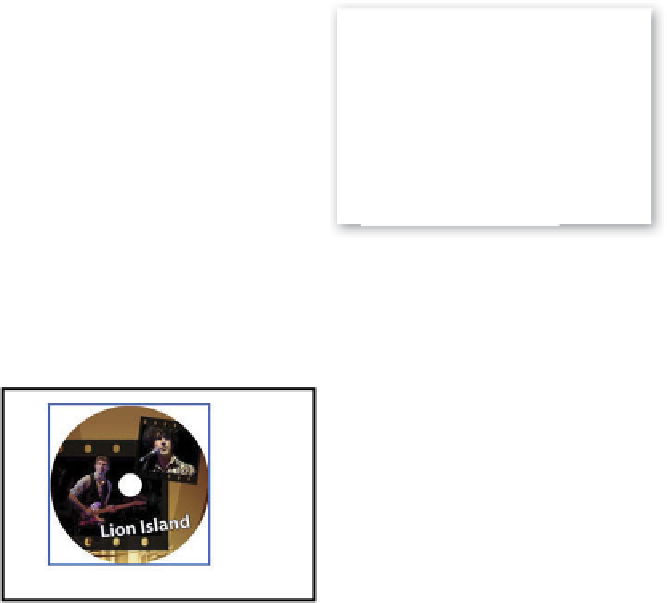
Start by multi-selecting photos from the
Organizer workspace before choosing CD or
DVD Label from the menu in the Create task
pane. Choose the theme and the Auto-Fill
option from the dialog displayed. Click OK
to create the label and insert the images.
Right-click on the photo and choose Fit Frame
To Photo. Next adjust the size and orientation
of the photo and the frame using the side
and corner handles. Keep in mind that the
edges will be cut to suit the disk shape.
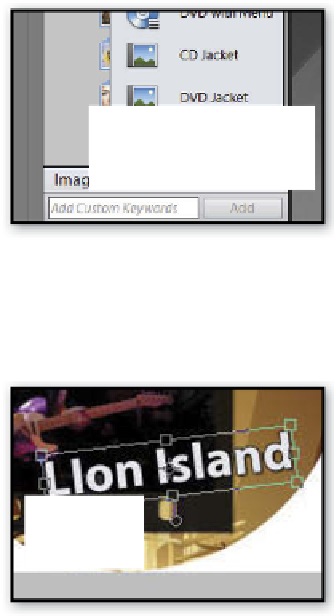
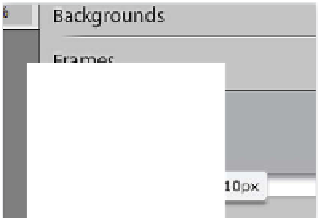
If you want to add more images to the design
then locate a frame to include from the
Graphics section of pane on the right of the
workspace. Click the Graphics button to
display the pane. Drag the frame thumbnail
onto the document. A new frame will appear.
To add a photo either drag one from the
Project Bin to the frame or click in the center
and browse for a picture file in the dialog
that opens.
4
5
After positioning the pictures we can now
add some tex t to the composition. A s we are
matching the design used in the CD/DVD
Jacket creation, the text is inserted in an
appropriate section in the theme's
background. The color and style of the text
are matched with the design.
Once the design is completed save the
creation project and then insert the CD/DVD
or label sheet into the printer ready for
printing. Select File > Print and ensure that
the print size is set to Actual size (scale =
10 0%). This will guarantee that the final label
is an exact match to the CD/DVD disk.


Search WWH ::

Custom Search