Geography Reference
In-Depth Information
attributes, including the value of MINOR1. Note that a polygon “flashes” when you click it. From
your knowledge of what is where, determine the “soil type code” for water? _________. What is
the “soil type” for an area with no data? _________. Hide the Identify Results window.
5.
Label each polygon with the number that indicates soil type:
In general, you can automatically
place a label in each polygon. The label, which comes from the attribute table, is a value from
the record associated with the feature.
35
Bring up the Layer Properties of cole_soil_polygon.
(Recall: To get to Layer Properties, you may either double-click the entry name or right-click it
and choose Properties.) Click the Labels tab. Turn on Label Features in this layer by clicking
the check box next to it. Click Apply. A number appears in each polygon, but for each it is
999. That's because these are the values found in the MAJOR1 field of the attribute table. By
default, the software picks the leftmost “real” field (or a field titled “NAME”) in the attribute
table to use in labeling. Not what we want. In the Text String Label Field dropdown menu change
the text MAJOR1 to MINOR1 and press Apply again. Now you should see the two-digit value for
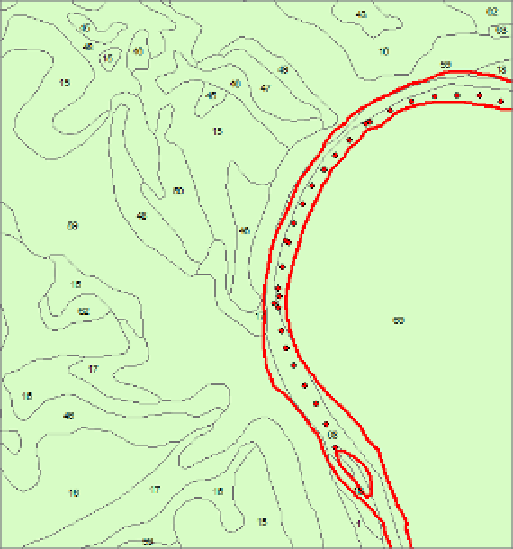
the soil type in each polygon. In the Layer Properties window, press OK. See Figure 2-39.
FIGURE 2-39
6.
Display the feature class with different colors based on the field Minor1:
In order to more
easily distinguish between polygons, you can change the symbology so that the polygons are
displayed in different colors. Bring up the Layers Properties of cole_soil_polygon. Click the
Symbology tab. Notice that you can Show:
Features
❏
Categories
❏
35
You saw labels briefly earlier when we labeled counties.


Search WWH ::

Custom Search