Graphics Reference
In-Depth Information
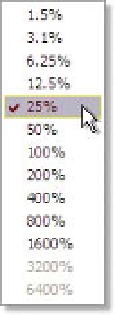
To the right of that is the
Magnification Ratio
pop-up. This setting zooms your
view either tighter or wider within the window, allowing you to work more
precisely or loosely. You select the precision of your view by
clicking on the percentage then dragging to the setting you
need, or press the Comma (,) key for
Zoom Out
or the Period (.)
key for
Zoom In
.
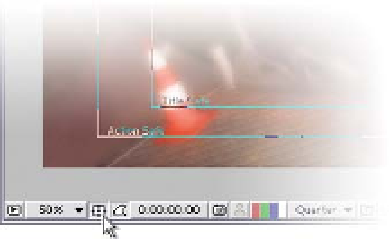
Next is
Title/Action Safe Generator
(image below). When you
build projects, you need to ensure that what you build is what is
seen. But you often cannot know how someone is going to view
your project, so by using the
Title/Action Safe
grid you have a
better chance to ensure that your most important information
(text particularly) is not cropped out of view by a bad screen. In
addition, if you Alt
click this
button you access the Grids overlay.
The grid spacing is adjustable in
the Preferences menu. Press
Apostrophe (') to activate
Title/Action Safe Generator.
The little curved icon next to the
Safe Generator
is the
View Masks
button. It either hides or shows the
displayed outlines of masks, but does not affect the masks' function.
The
Frame/Timecode
display shows the
current Frame Number, Footage Count, or
Timecode of your Timeline. Click on it, or press
'Ctrl
G', to open the
Go To Time
dialog.
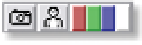
The small camera icon (below) captures quick
screen
Snapshots
of your present view. You
can then use snapshots for reference by
pressing the next button (the person's figure -
Show Last Snapshot
) to toggle
between the saved Snapshot and the present view.
The four color bars allow you to isolate the
RGB
and
Alpha
color channels of your composition. This is helpful when
adjusting your matte settings or when trying to analyze your images for color