Graphics Reference
In-Depth Information
Now that you've assigned your Lens
Flare to your clip you need to instruct
the tracker to apply its data to the
flare's center point. But since you
added the Lens Flare, the Tracker Controls menu has
become inaccessible. To reacquire the Tracker Controls
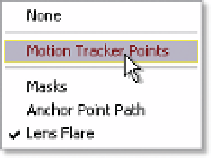
you need to change the Footage Window's
View:
selector (close to the bottom edge of the Footage
Window) from Lens Flare to Motion Tracker Points. This
hides the Lens Flare and returns to the Track Point
screen, while reactivating the Tracker Controls menu.
12
Click on Edit Target in the Tracker Controls menu.
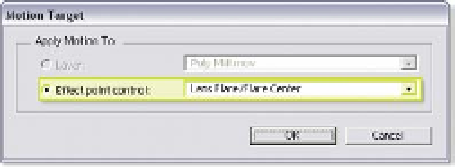
13
The Motion Target window opens and has selected the Lens Flare's
Center as its point control - click 'OK'.
If your scene had many
effects that can use Tracker
or other layers to apply the
Tracker's data, the Motion
Target menu would offer
many more selections in its
drop-down menu.
Now that you've placed the Track Point and set the Motion Target, your motion
track is ready to proceed.
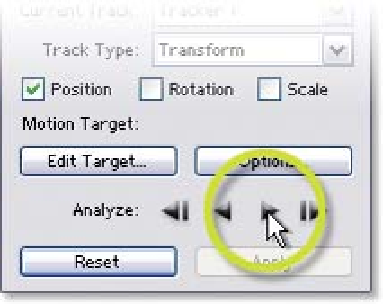
14
Click on the Track Forward
arrow in the Tracker Controls
menu (seen at right).
15
Once it has finished its track,
click 'Apply'.
Another menu pops up - the Motion
Tracker Apply Options allows you to
select how the data will be applied to
your target. This is convenient when you want to restrict your target's motions
to one axis of motion.