Graphics Programs Reference
In-Depth Information
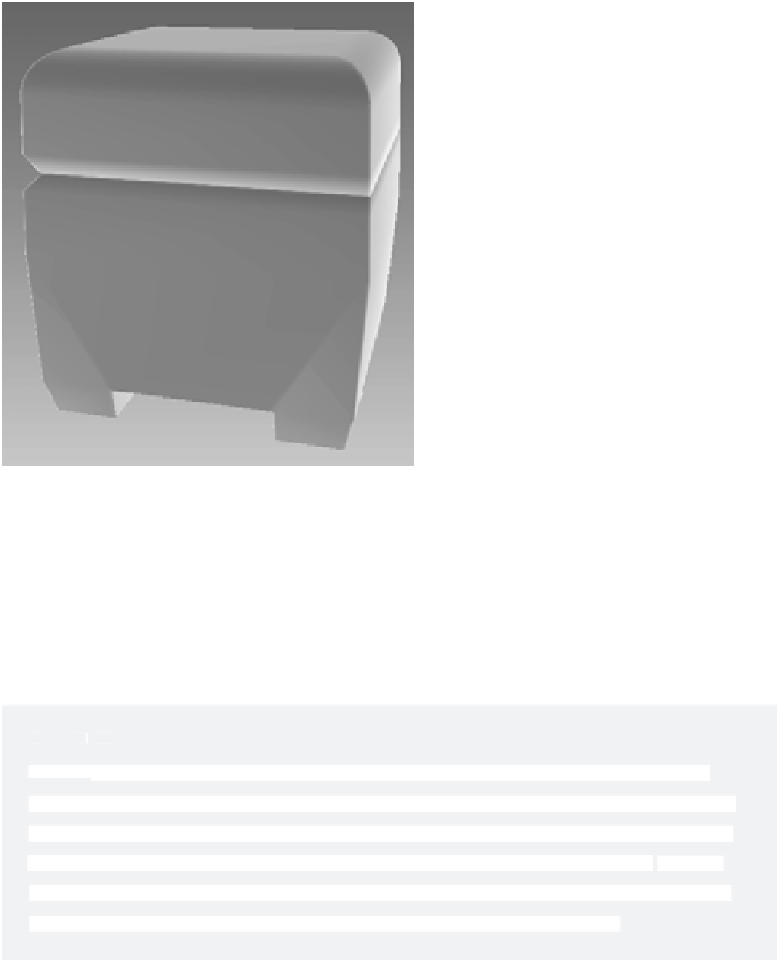
Figure 6.161
The box now looks right.
Figure 6.160
The completed box needs one more adjustment.
You're finished with the modeling portion of this decorative box. In the following chap-
ters, you'll texture, light, and render the box with photorealism in mind. You can load
boxModel.mb
from the
Scenes
folder in the Decorative_Box project on the CD to compare
your work.
in orM alS
in orM alS
Normals
are imaginary lines that are perpendicular to a mesh's poly face and that define
sides for that face. They also help determine how a renderer, such as mental ray, shades the
surface. In some cases when you're modeling, you may notice an action that causes part of
your model to display a darkened area as you see in the decorative box in Figure 6.160. By
manually setting a Normal angle for the box as you did in step 24 of the exercise, you over-
ride the seeming display error. You'll learn more about Normals in Chapter 7.
Summary
In this chapter, you flexed your knowledge from the previous chapters and concentrated
on creating a model of a child's toy wagon. You used many of the tools discussed in the
previous chapters, from extruding, to adding edge loops, to using a lattice to finesse a
shape, and even to sculpting by moving vertices and welding them together. You also