Databases Reference
In-Depth Information
6.
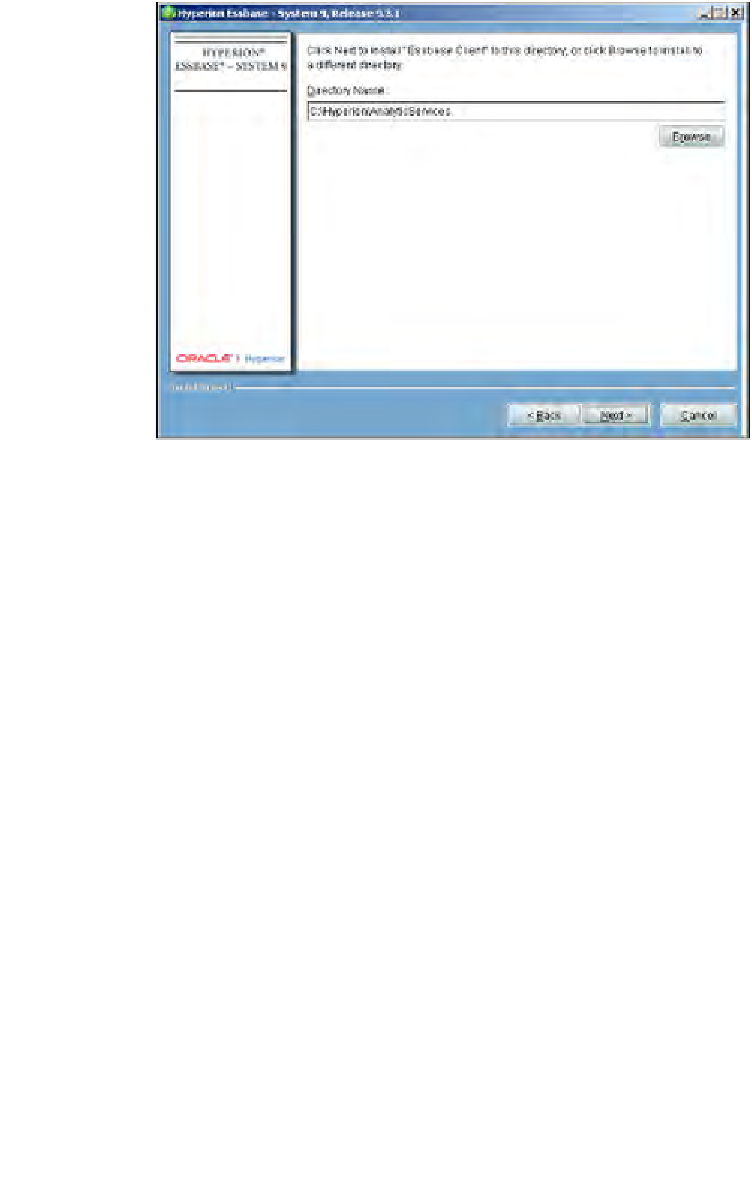
In this step, you are creating a directory for the Essbase client installation.
Please choose
c:\Hyperion
and click
Next
when you are done.
7. We recommend that you select
Typical
and click
Next
. As stated earlier,
the
Typical
installation gives you all of the tools included with the software.
Choosing
Custom
will really only provide more choices for samples.
8. This step requires you to select
ESSLANG
. The
ESSLANG
variable defines
the locale of the computer. Just like before, please feel free to select
English
.
9. This step summarizes all of the components required for the client installation
as well as the path. Please look them over carefully. Most importantly, verify
the path and that it is correct with consideration to the other components
installed on this machine. Click
Next
when you are satisfied that everything
is correct.
10. This steps shows that the Essbase client installation is in progress and we
recommend you not to take any more coffee breaks since you have already
taken a lot of breaks in the previous installations.


