Databases Reference
In-Depth Information
Following the documentation, connect to the Essbase server to test the installation.
Using your mouse, right-click on
Add Essbase Server
. In the text boxes of the login
screen, enter the Essbase server name as it is known on the network, the initial user
ID (in our case
Hypuser
) and the initial password (ours is
password
, all lower case).
This is the password that you have provided to the
Essbase server upon the completion of the installation
(Please refer to Step 14 of the Essbase Installation steps).
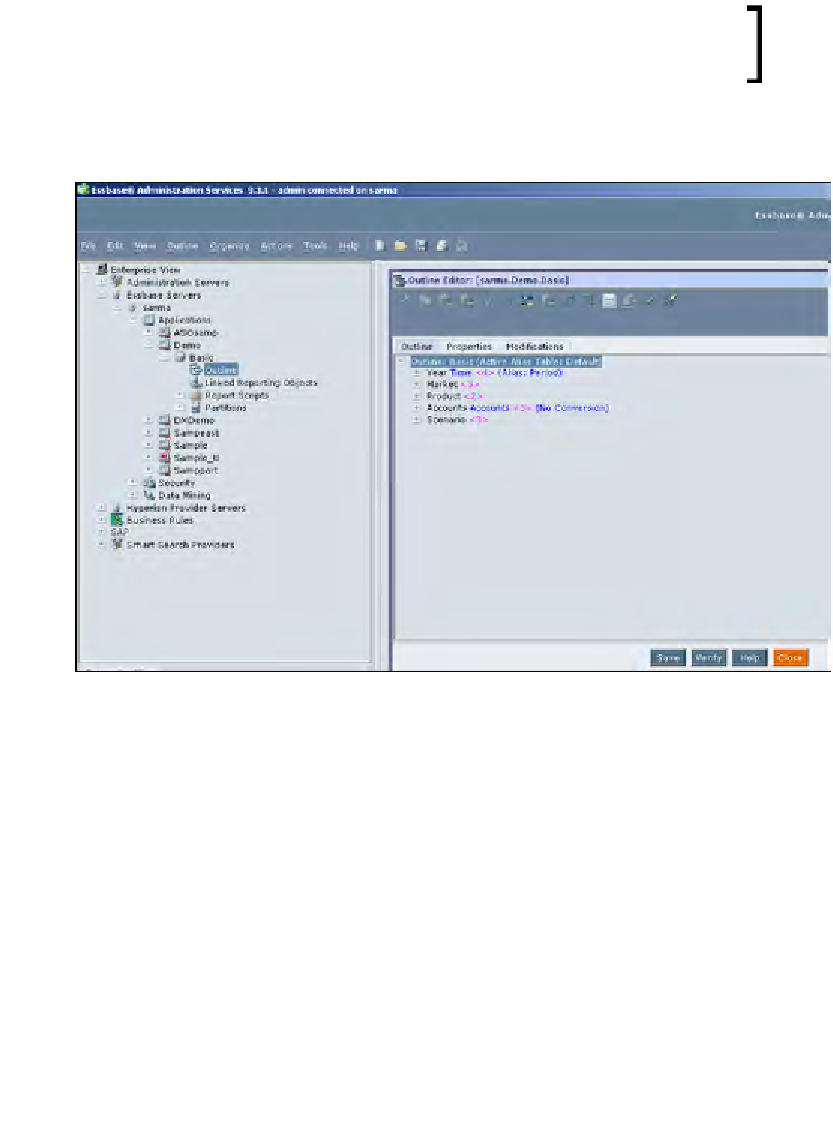
If your connection is successful, you will see the Essbase server listed in the left
pane. You should be able to expand the server to see many options that are available.
We now have the Essbase analytic server software installed on the analytic
server. We also have the EAS tool that is needed to create, maintain, and support
Essbase databases installed on the desktop PC. On top of that, they are able to
talk to each other.
There is only one tool left to install!
In the next series of steps, we will install the much heralded Essbase Add-in
for Microsoft Excel to complete the toolbox. Once that is accomplished, we will
be ready to begin building and programming in Essbase.