Databases Reference
In-Depth Information
If you decide to display your member names using Essbase member aliases, you
will also have the option of choosing which alias table to use. Simply check the
Use Aliases
box.
If you choose to
Suppress Shared Members
, Essbase will not return any members
that would normally be returned by your selection if they are tagged as
Shared
Members
in the database outline. This option is only available if you are viewing
the outline in
Level
or
Generation
mode.
If the
Place Down the Sheet
checkbox is checked, Essbase will place the selected
members downward vertically, beginning with the active cell on the worksheet. If
the box is unchecked Essbase will place the selected members horizontally across
the worksheet from left to right, beginning with the active cell.
If you check the
Insert List Before Active Cell
box, Essbase will place the selected
members opposite of how they would be placed with the preceding option.
Using the Keep Only function
The
Essbase
|
Keep Only
function is really great. When you click this function,
Essbase will automatically keep all members on the sheet, that are in the same
dimension as the members in the selected cells on the worksheet.
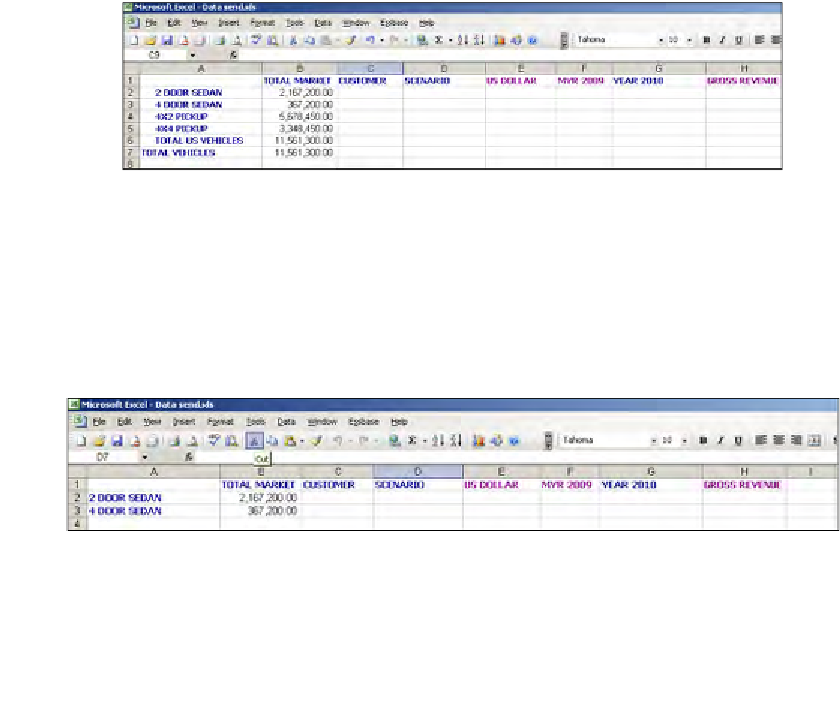
This function is perfect if you have selected all cars and pickup trucks for your initial
report. You have the zero level members of the
Total Vehicles
dimension as your
row header values, as shown in the previous screenshot. If you decide to only show
cars (Sedans) on the report, then select the cells with the car member names in them,
and click
Essbase
|
Keep Only
. You can also select multiple rows at the same time
and click on
Keep Only
. The report now only contains data for cars as shown in the
following screenshot: