Image Processing Reference
In-Depth Information
3.15.5 Creating an HDR Image with the
Appropriate Software
The current version of Cinepaint is available only for Linux and Mac OS (
http://
www.cinepaint.org/docs/download.html).
l
). So far, there isn't a version available
for Windows. The same can be said about Krita. Therefore, for this example I
will be using the FDRTools freeware version 2.3.2 that is available for Windows,
Linux, and Mac OS to create HDR images.
Step 1: Loading the Bracketed
Exposures—the Default
Settings
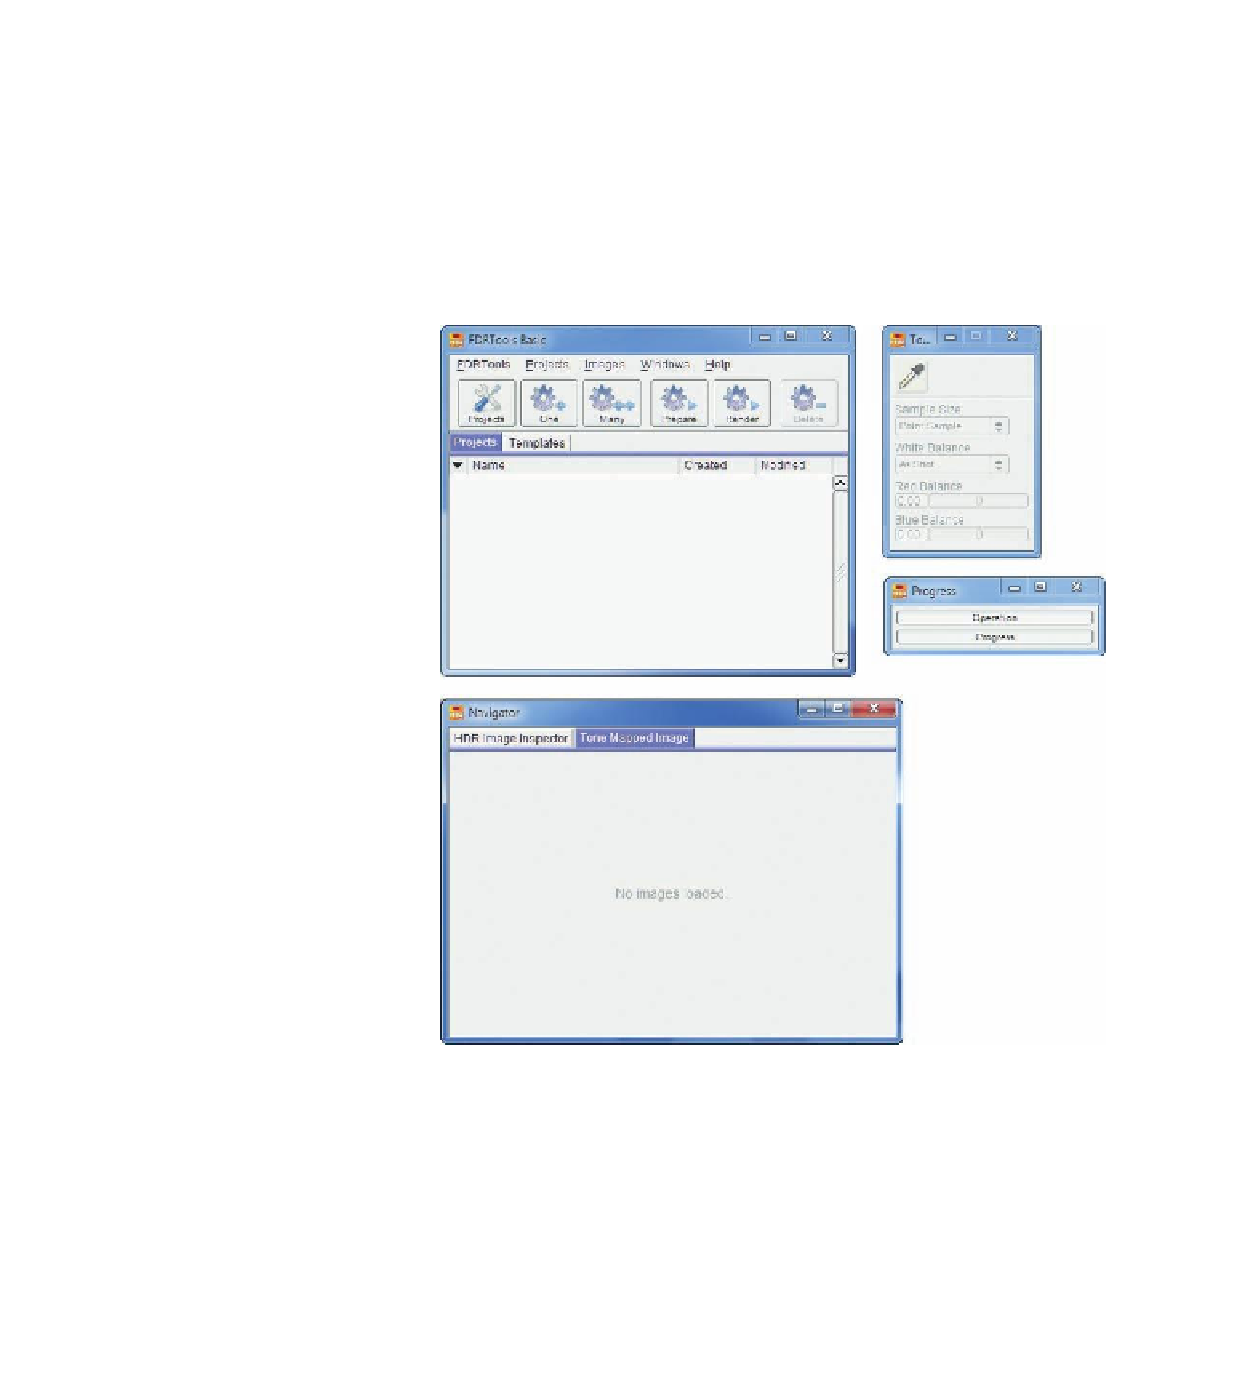
After you start FDRTools Basic,
several windows open, as shown
in
figure 3.119.
The upper-left window,
FDRTools Basic
, is used for
opening and editing the images.
Top right is the toolbox with
the eyedropper. It is used for
the (manual) white balance.
Underneath that is the
Progress
window with its progress bars
for the individual procedures of
the tool. The
Navigator
window
at the lower left basically shows
what happens when applying
a setting. Here you can toggle
between the
HDR Image Inspector
and the
Tone Mapped Image
tabs.
The
HDR Image Inspector
shows
the HDR image with the current
settings applied, whereas the
Tone Mapped Image
view shows
the actual result for output.
Clicking the
+ One
button
opens the
Open Images
window.
Select the images you would like
to work on. In this case, you should open the RAW files (NEF files) on the DVD
in the
Exposure Bracketing
subfolder of the
SampleImages
folder. Select the
images and click the Open button.
Figure 3.119
The windows of FDRTools at startup. The upper-left window is the main window.


Search WWH ::

Custom Search