Graphics Programs Reference
In-Depth Information
Note
We're about to make the window moldings.
Instead of doing all of them at once, I want
us to just do one, which we'll copy and paste
to where the others should be. The reason
for this is that we're about to see a situation
where Rail Bevel doesn't quite work per-
fectly.
When you have a polygon that has a hole
cut out of it, that poly has a “seam”—abit
of a slice where the poly meets itself coming
from the other direction. (Think of taking the
ends of a U and bending them around to
make an O.) When Rail Bevel encounters
this, it splits those points apart by the same
distance it is
shifting
the rest of the bevel.
You'll probably encounter this problem at
some point in your modeling career. The fol-
lowing step shows how to fix it.
Figure 6-26
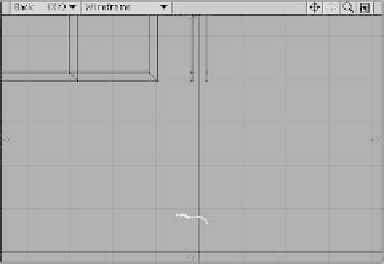
40. Put the window moldings in the back-
ground layer and the Molding_Rail
(from creating the floor moldings) in
the foreground layer. Zoom in on the
Molding_Rail in a Back viewport, and
with your mouse near the top of the
rail, press <
r
> to rotate that rail 90°
clockwise around the mouse's position.
(This will get the window moldings to
have the same basic shape as the floor
molding. To rail bevel, the rail's place-
ment in relation to the polys to be rail
beveled doesn't matter, but its
orienta-
tion does
. I'm not quite sure why the
Molding_Rail has to be angled this way
in order for the window moldings to be
the same basic shape as the floor mold-
ings, but if it works, go with it!)
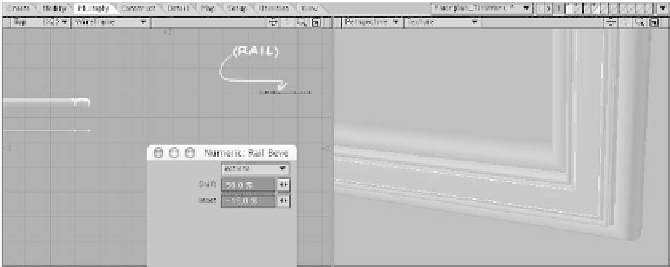
41. With your reoriented Molding_Rail in
the background layer and the high-
lighted Window Molding shown in
Figure 6-25 selected in the foreground
layer, activate Rail Bevel, using
50%
for the Shift and
-15%
for the Inset.
(See Figure 6-27.)
Figure 6-27