Graphics Programs Reference
In-Depth Information
4.
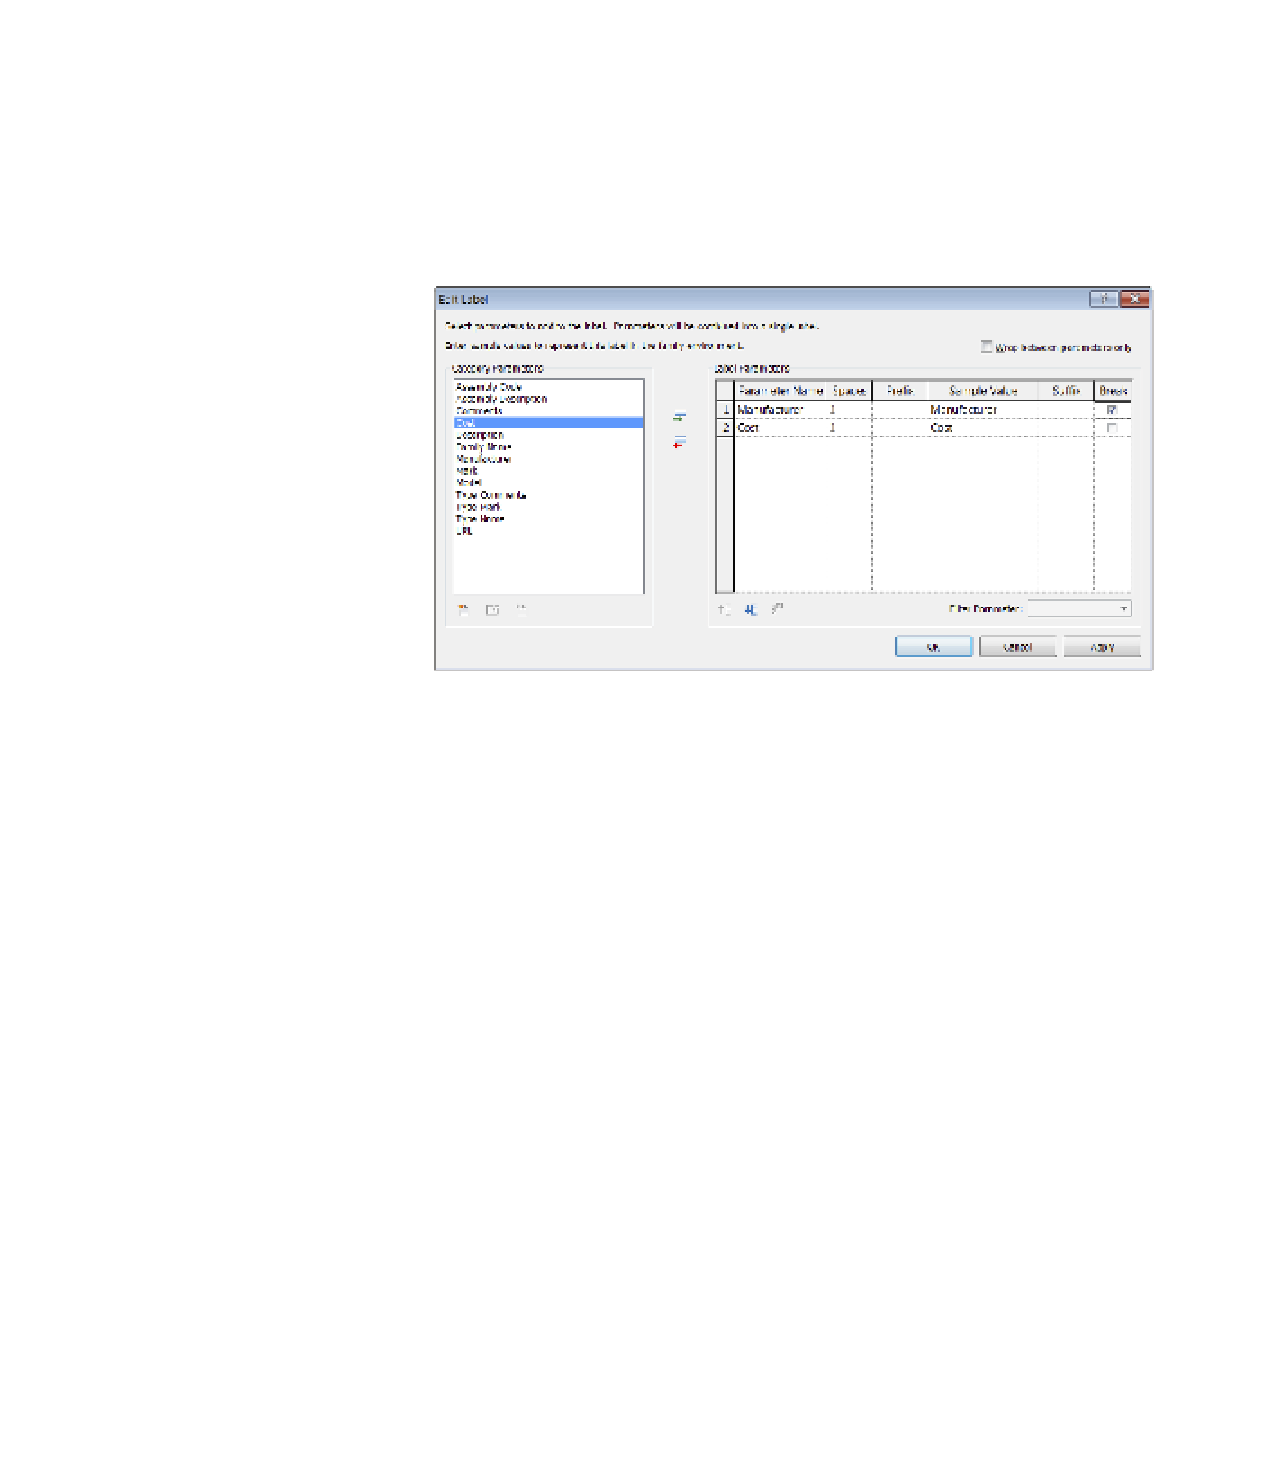
Once the label is placed in the view, the Edit Label dialog box opens (Figure 18.28).
Here you'll see a list of the parameters that are common across multiple family types—
Assembly Code, Cost, Family Name, and Model, among others. Select Manufacturer
and Cost from the list and click the icon with the green arrow to add them to the Label
Parameters list. Select the Break option in the Manufacturer row, as shown in Figure 18.28.
Click OK to close the dialog box.
Figure 18.28
Adding parameters
to a label
5.
Save the family as
MfrCost.rfa
and then click the Load Into Project button in the
ribbon. If you have multiple project files open, select the c18 Sample project file when
prompted.
6.
Back in the project file, switch to the Annotate tab in the ribbon, locate the Tag panel,
and then click the Multi-Category button. Click one of the chairs in the space named
LOUNGE. When the tag is placed, you will see a question mark, indicating that this ele-
ment has no predefined value for either Manufacturer or Cost. Press the Esc key or click
Modify to exit the Tag command, select the tag you just placed, and then click the ques-
tion mark.
7.
The Change Parameter Values dialog box (Figure 18.29) opens. This dialog box is
used only when a tag has multiple parameters assigned to a single label. Otherwise,
you would usually be able to type a value directly into a tag. Enter values for both
Manufacturer and Cost, and then click OK. You'll get a dialog box stating that
you're changing a parameter that will affect many other parameters. Click OK to accept
that change.
8.
As you hover your mouse over other elements in this view, you'll notice the same
behavior as with other tags. Elements that have predefined values will show the tag
filled in while elements without values will have question marks. Add a few more tags,
and you can begin to see some of the versatility of the Multi-Category tag.